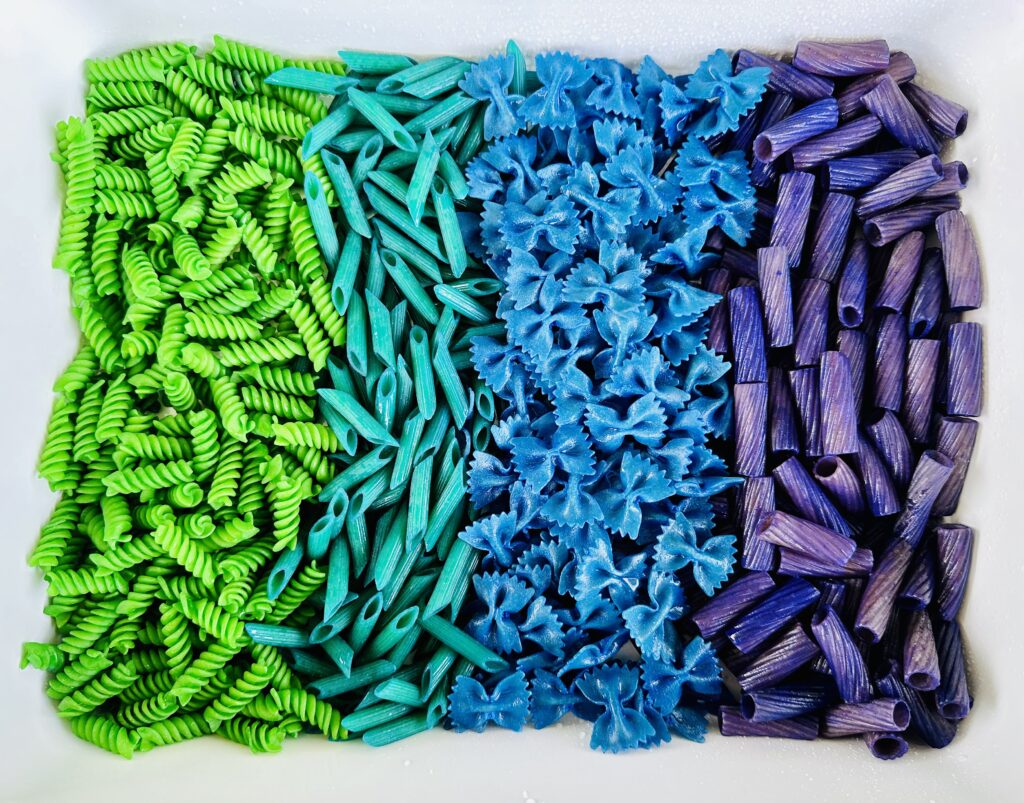
How To Dye Pasta Noodles For Sensory Play
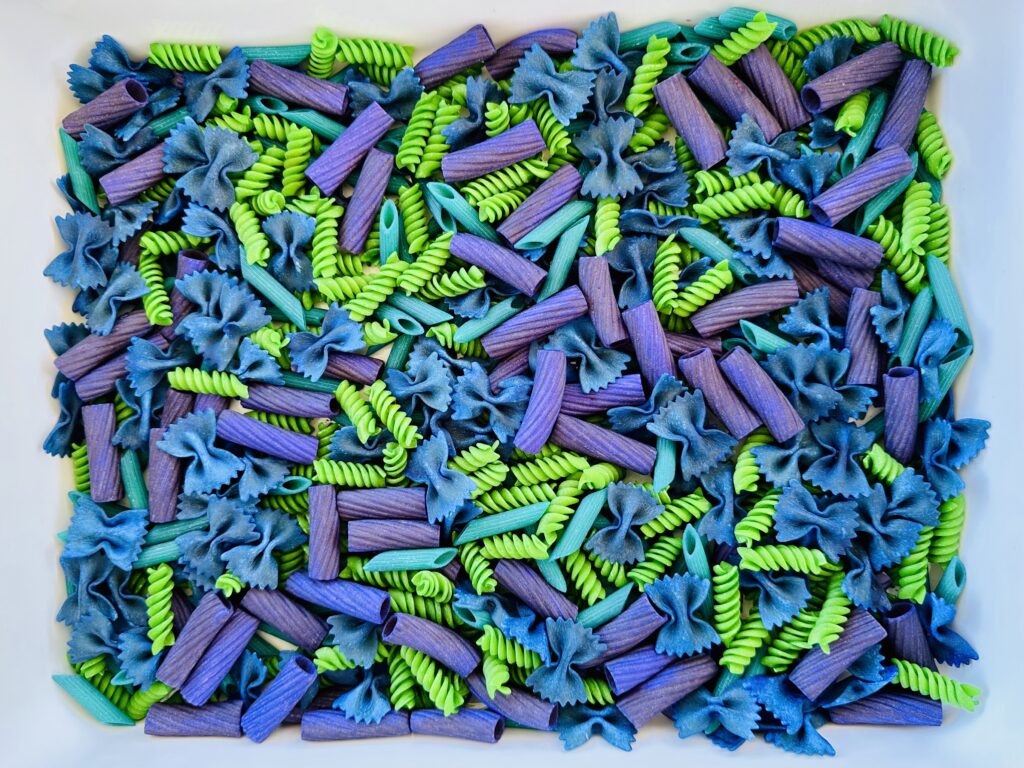
Learn how to dye dry pasta for sensory play using vinegar or alcohol! Create vibrant, colorful pasta perfect for sensory bins and crafts!
Always supervise children during sensory play. See full disclaimer here. This post may contain affiliate links, which means I may earn a small commission if you make a purchase through these links, at no extra cost to you. As an Amazon Associate, I earn from qualifying purchases. I only recommend products I personally use and love! You can read more about my disclosure policy here.
Dyeing dry pasta noodles for sensory play is a fun and easy DIY that adds a burst of color to your little one’s activities.
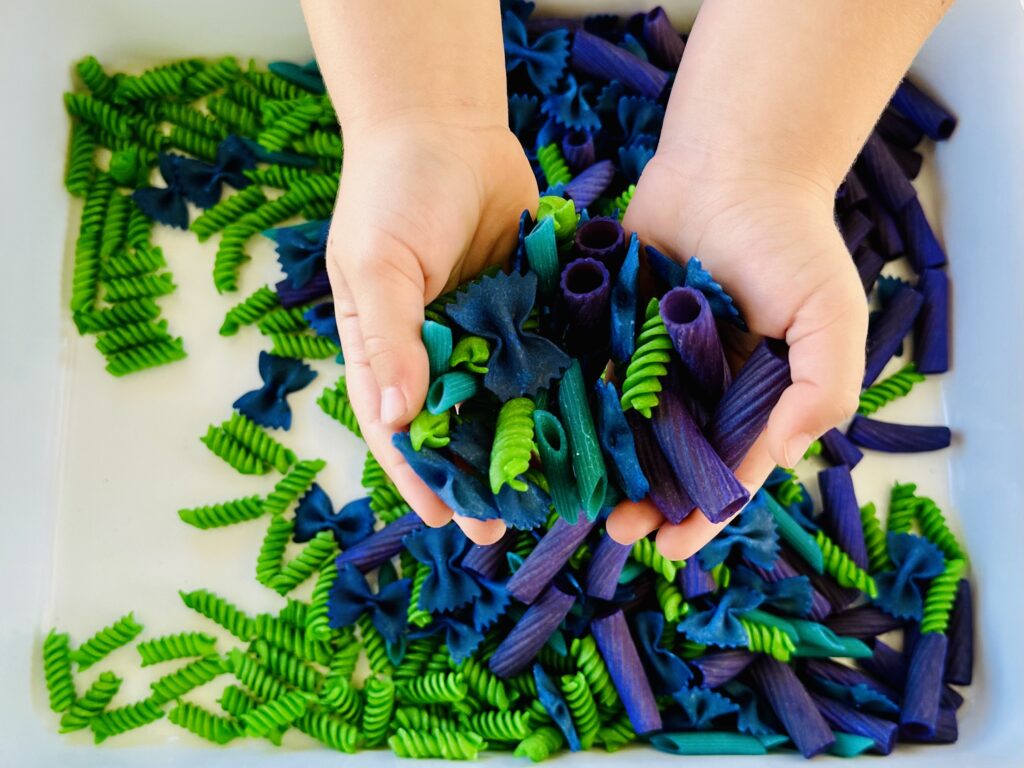
Whether you’re filling sensory bins, setting up sorting games, or making pasta necklaces, dyed pasta is a versatile tool that will keep your kids entertained. And the best part? No cooking required!
Today, I’m going to walk you through how to dye pasta using rubbing alcohol or vinegar, with all the details you need to get those vibrant colors just right. Plus, I’ll share some fun activity ideas for all that colorful pasta!
How To Dye Pasta Noodles For Sensory Play
Here’s a foolproof method you can follow using either rubbing alcohol or vinegar to dye pasta. The process is super simple, and you’ll have a beautiful batch of colorful pasta ready for playtime in no time!
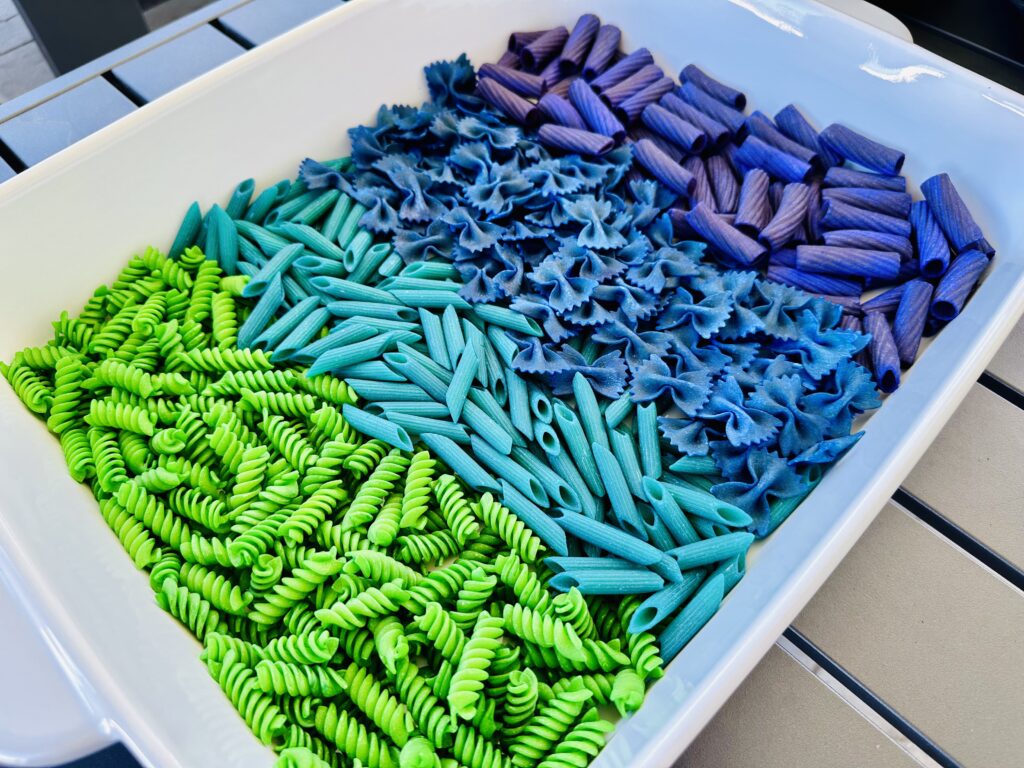
What You’ll Need
- Dry pasta: Any shape will work! Go wild with different varieties to make it extra fun.
- Food coloring: Liquid or gel, in all the colors of the rainbow.
- Rubbing alcohol or vinegar: I’ll explain the pros and cons of each below.
- Ziplock bags or a container with a lid: Something you can seal tight and shake around.
- Baking tray and parchment paper: To lay out the pasta for drying.
Ingredients
- 2 cups of dry pasta
- 2 tablespoon of rubbing alcohol or vinegar
- 10-15 drops of liquid food coloring or gel food coloring (adjust to your desired intensity)
Instructions
1. Mix Your Dyeing Solution
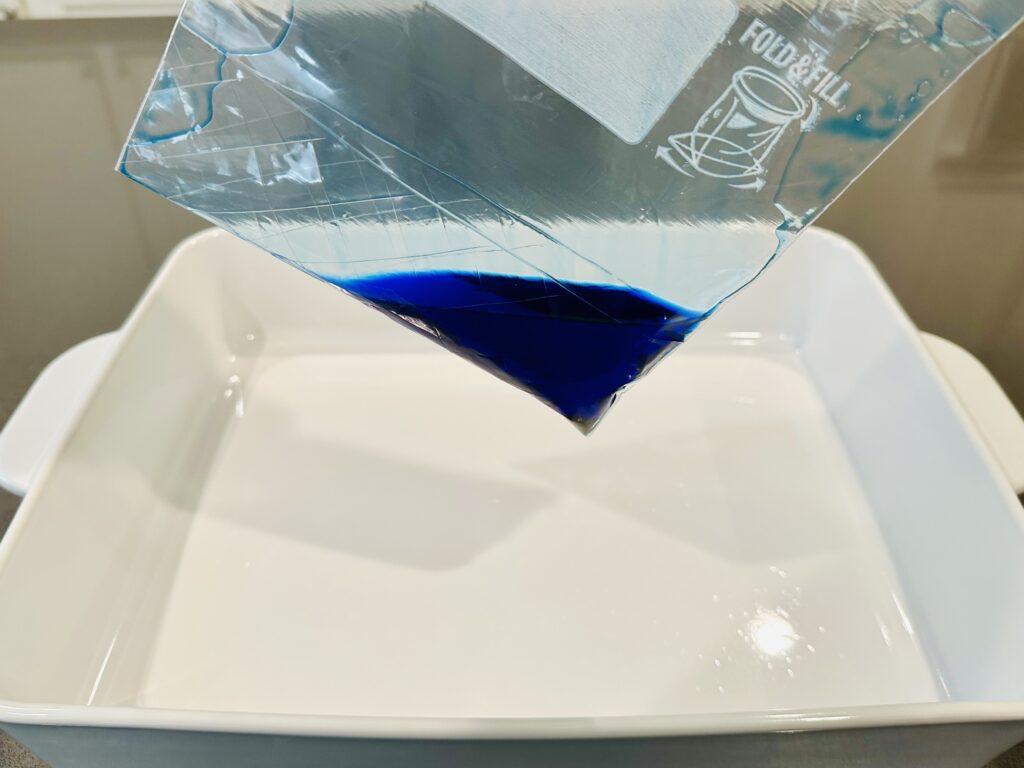
Start by mixing your dyeing solution. The ratio for this is 2 tablespoon of rubbing alcohol or vinegar for every 2 cups of pasta. The liquid helps the food coloring spread evenly across the pasta.
After adding the rubbing alcohol or vinegar to your bag or container, it’s time to add food coloring. Start with 10-15 drops for each batch of pasta, depending on how intense you want the colors to be. If you’re using gel food coloring, mix it with your liquid (alcohol or vinegar) first to help it dissolve better.
2. Prepare Your Pasta
Next, its time to select your dry pasta to dye. You can use any shape or variety—bowtie, penne, rotini, or even elbow macaroni. Feel free to mix different shapes for added texture and fun. Pour the dry pasta into a ziplock bag or a container with a tight-fitting lid.
We used about 2 cup of dry pasta per color to keep things manageable, but you can easily scale up for larger batches. If you’re using a variety of shapes, separate them into different bags if you prefer to keep them distinct.
3. Shake, Shake, Shake!
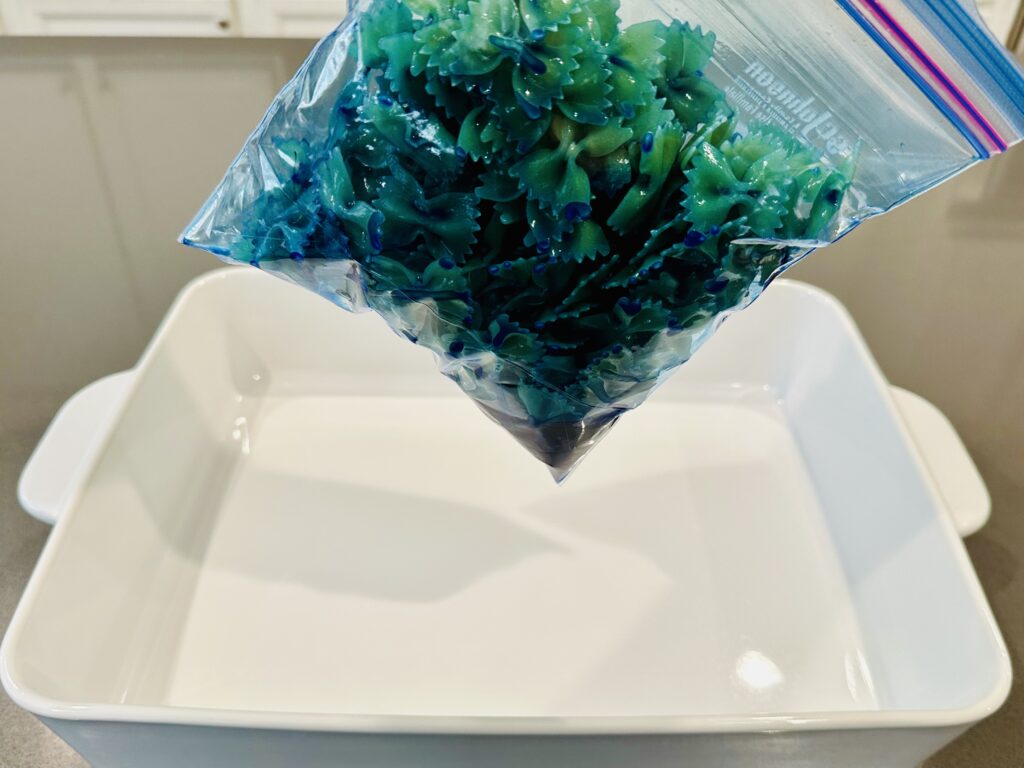
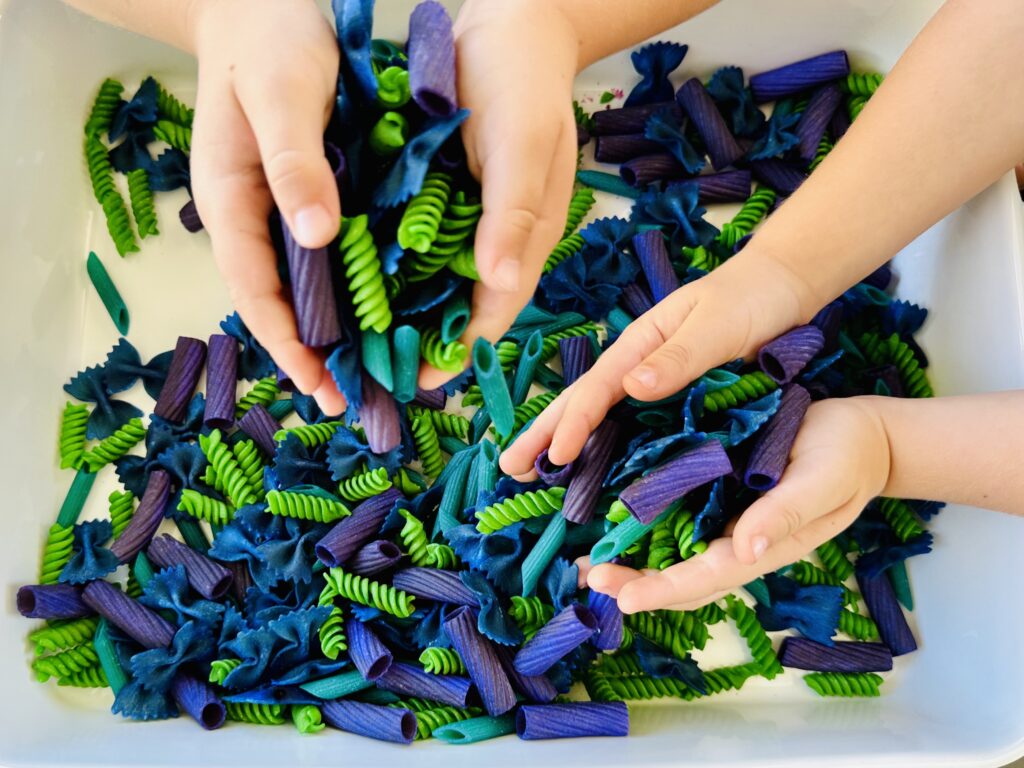
Once your pasta, liquid, and food coloring are all in the bag or container, seal it tightly. Now, it’s time for the fun part—shake it up! Have your kids help with this step! It’s a great way to get them involved, and they’ll love shaking the bag or container to spread the color around.
Keep shaking until all the pasta is evenly coated in the dye. You can stop and check periodically to make sure every piece is getting colored. If there are any areas that aren’t coated, simply add a few more drops of food coloring or another splash of vinegar/alcohol and shake some more.
4. Let It Sit
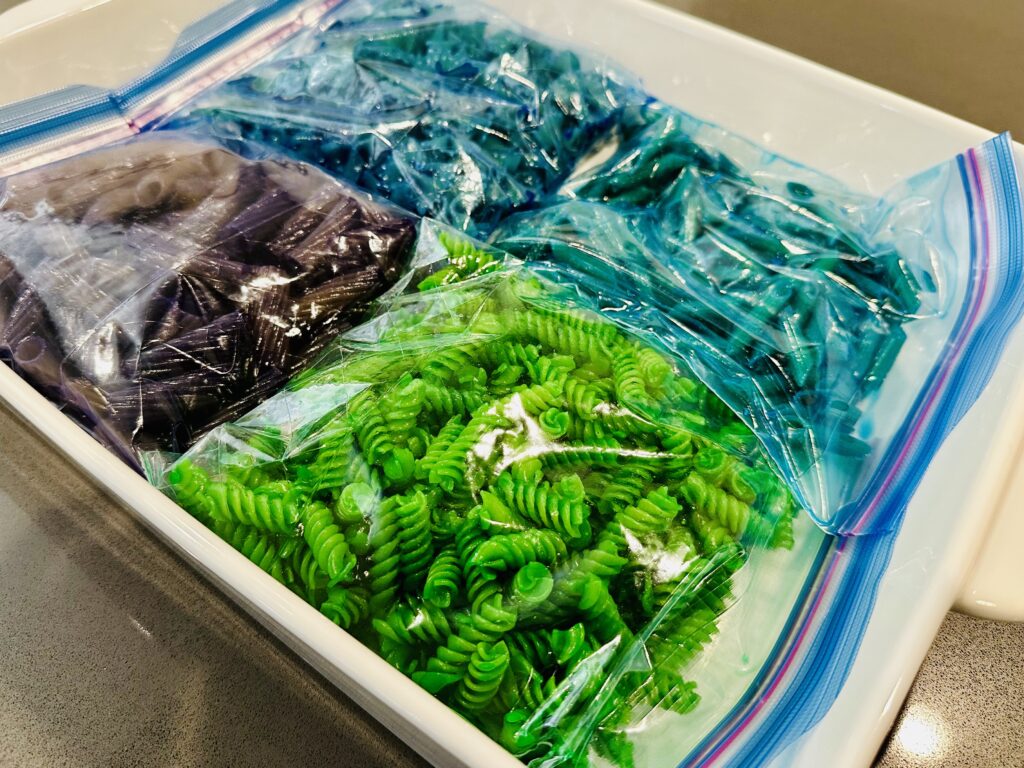
Once you’re happy with the color distribution, let the pasta sit in the bag or container for about 30 minutes. This resting time allows the food coloring to fully absorb into the pasta. Give the bag a gentle shake every 5 minutes and flip it to ensure the color continues to distribute evenly.
5. Dry the Pasta
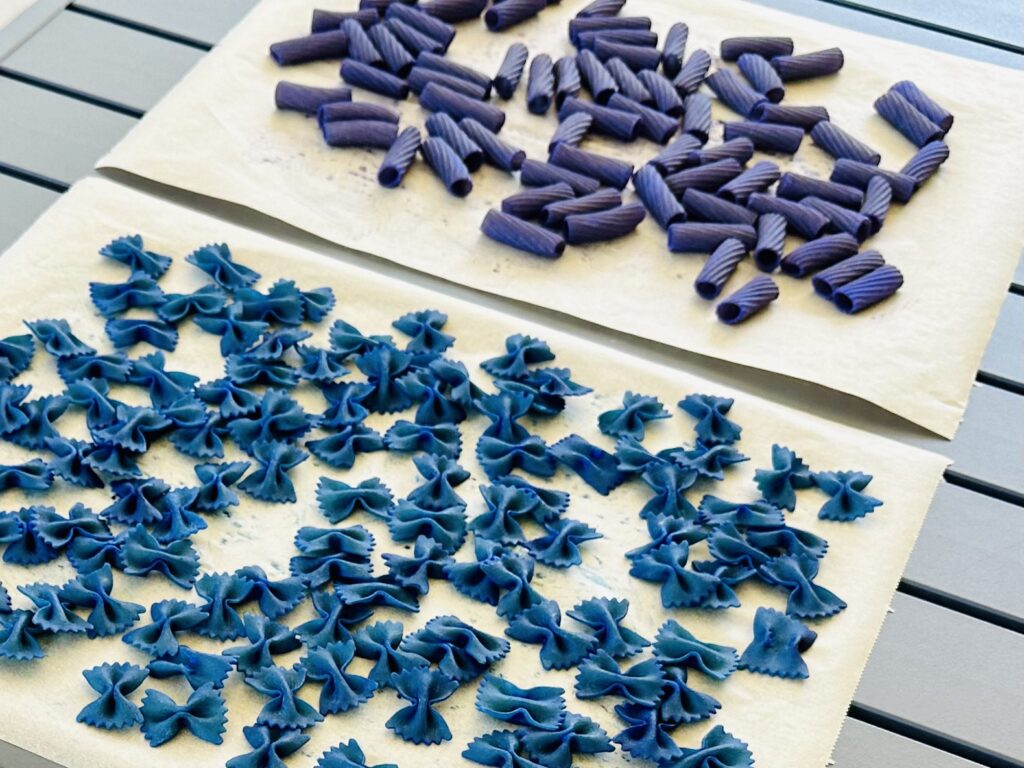
Next, it’s time to dry your pasta. Line a baking tray with parchment paper or wax paper to prevent the pasta from sticking to the surface as it dries. Carefully pour out any excess liquid. Then pour the dyed pasta onto the tray, making sure to spread it out in a single layer. This will help it dry more evenly and quickly.
For faster drying, you can place the tray in a warm, sunny spot or near a heater. Depending on your environment, the pasta should be completely dry in 2-4 hours if you used rubbing alcohol, or 3-5 hours with vinegar. Be sure to check periodically to ensure the pasta isn’t sticking together.
6. Final Check and Store
Once your pasta is dry, give it a quick check to ensure it’s no longer sticky or damp. At this point, the vinegar or alcohol smell will have dissipated. Store your dried, colorful pasta in an airtight container or ziplock bag. If the pasta is fully dry, it can last indefinitely, ready for crafting or sensory play whenever you need it!
Pros and Cons: Vinegar vs. Rubbing Alcohol
When it comes to dyeing pasta, both vinegar and rubbing alcohol will get the job done, but each has its own perks and drawbacks. Vinegar is a more kid-friendly option since it’s non-toxic and food-safe, making it ideal for sensory play if you have little ones who still put things in their mouths. The smell is fairly mild and dissipates as the pasta dries, and any spills are easy to clean up. However, the downside to using vinegar is that it can take a bit longer for the pasta to dry—usually around 3-5 hours—and the colors may be slightly more muted compared to alcohol-based dyeing.
On the other hand, rubbing alcohol offers faster drying times, typically within 2-4 hour, and tends to produce more vibrant, intense colors. The alcohol helps the food coloring absorb more thoroughly into the pasta, giving you those bright, bold shades. However, rubbing alcohol is not food-safe, so it’s important to supervise young children during playtime to ensure they’re not tasting the pasta. The alcohol also has a stronger odor compared to vinegar, but it evaporates quickly as the pasta dries, so it won’t stick around for long.
Both methods are effective, so it really comes down to what’s best for your family. If you’re working with toddlers who are still mouthing objects, vinegar is probably the safer option. If you’re short on time and looking for bright colors, rubbing alcohol might be your go-to.
Best Uses for Dyed Pasta
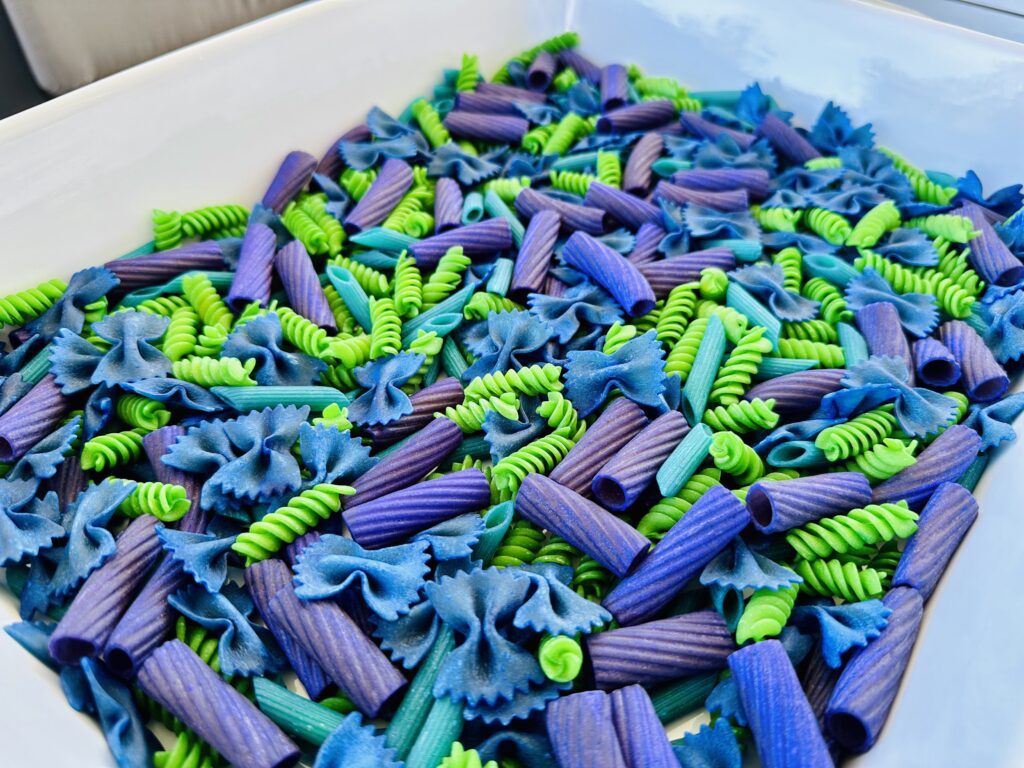
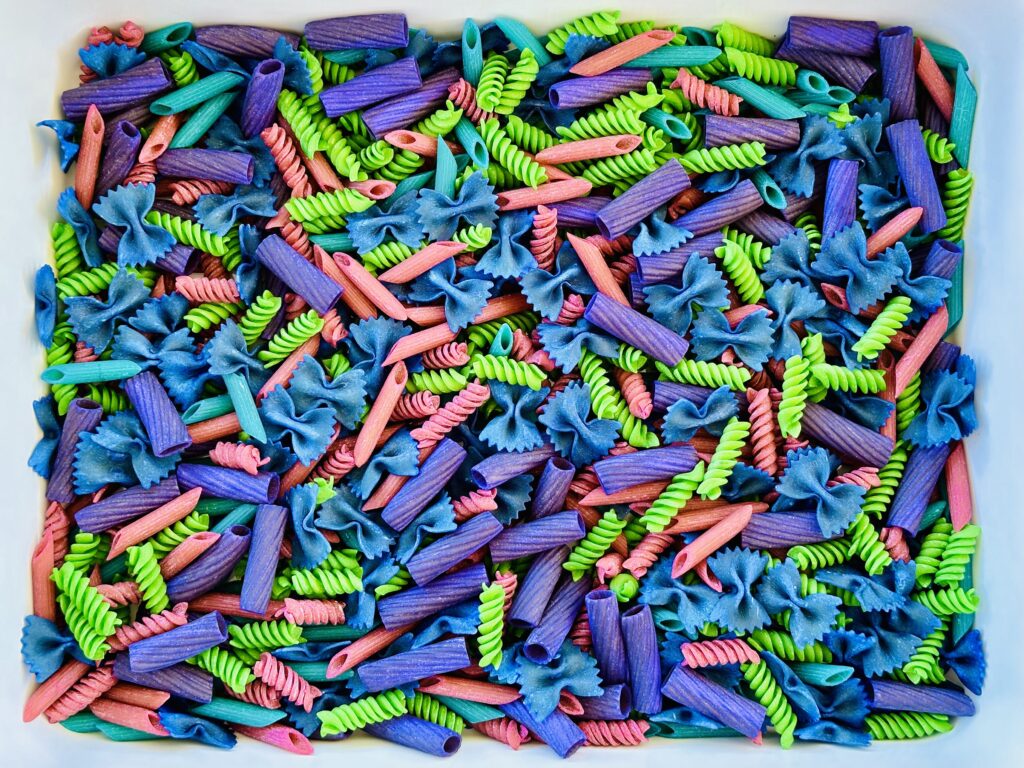
So, what can you do with your beautiful rainbow of pasta? The possibilities are endless! Here are a few of my favorite ways to use dyed pasta for sensory play and crafting:
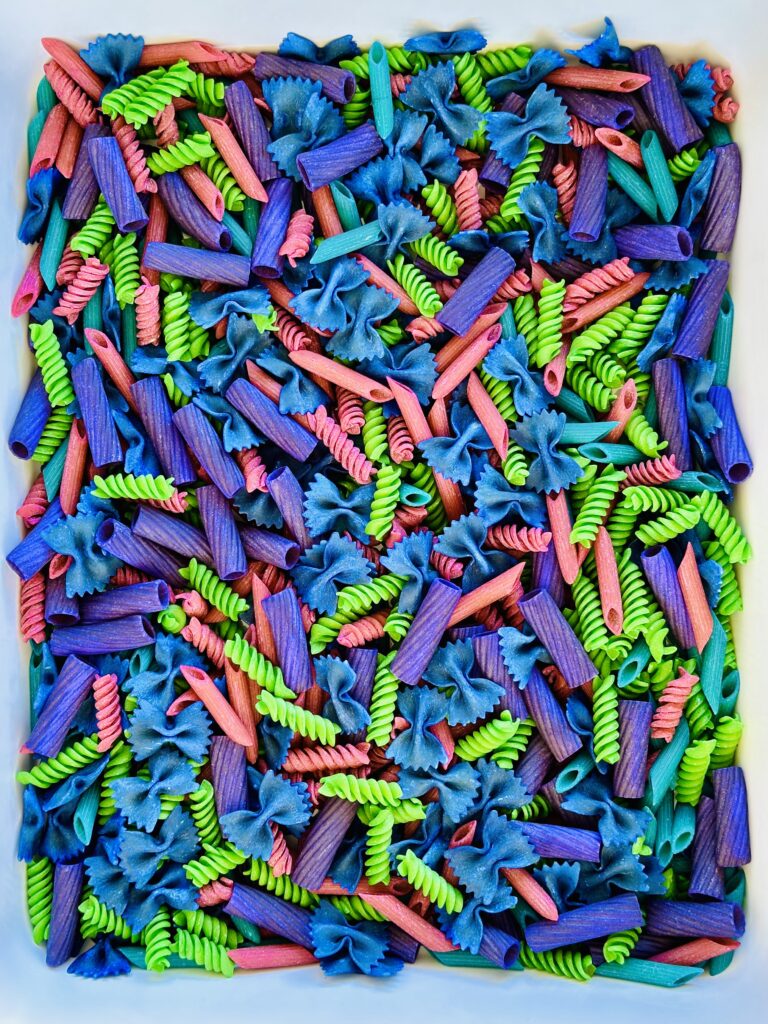
- Sensory Bins: Fill a sensory bin with your vibrant pasta and let your kids scoop, pour, and explore. Add in measuring cups, spoons, or other tools to encourage fine motor skills and imaginative play.
- Sorting and Counting Games: Colored pasta is perfect for sorting by color or shape. You can even use it to practice counting, patterns, and other early math skills.
- Craft Projects: Use the pasta to create necklaces, glue them onto paper for colorful collages, or even make pasta mosaics. The bright colors make any project pop!
Tips and Tricks
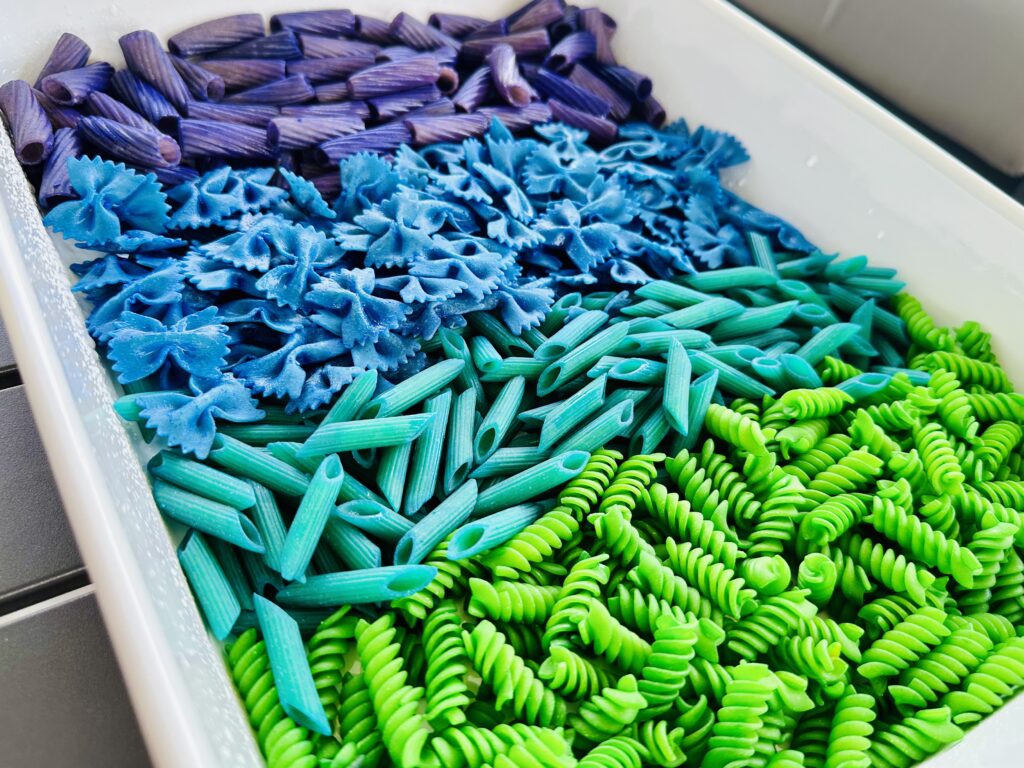
- Multi-color batches: Want multiple colors at once? Dye your pasta in separate ziplock bags or containers for each color. You can dry them all on the same tray—just spread them out to avoid color mixing.
- Storing dyed pasta: Your colorful pasta will last indefinitely if kept dry! Store it in an airtight container or ziplock bag and use it whenever you need a fun activity.
- Quick drying tip: If you’re in a hurry, place the baking tray in direct sunlight or near a heater to speed up the drying process.
Final Thoughts
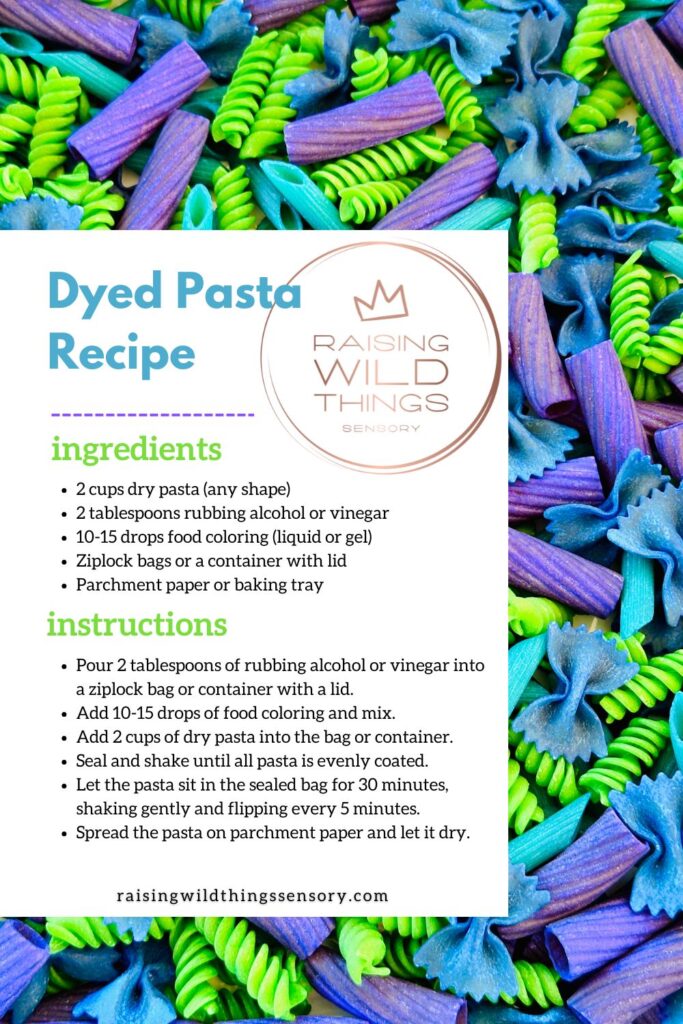
And there you have it! How to dye pasta in a quick, easy, and affordable way to create a sensory-rich playtime experience for your little ones. Whether you go with vinegar or rubbing alcohol, your kids will love the colorful results. Which method are you excited to try? Let me know how it turns out and what fun activities you come up with!
Recommended
- 17 Recipes: The Best DIY Sensory Bin Fillers
- How to Dye Chickpeas for Sensory Play
- How To Dye Rice To Make Rainbow Rice
- How to Make Jello Blocks for Sensory Play
- How to Make Taste-Safe Chia Seed Sensory “Slime”
- How To Make Edible “Mud” Playdough For Sensory Play
- How To Make Edible Dirt For Sensory Play
- How To Make The Best Taste-Safe Kinetic Sand
- How To Make Taste-Safe Moon Dough For Sensory Play
- How to Make Taste-Safe Chia Seed Sensory Mud Slime
- How To Create Awesome Colorful Bubble Foam
- How to Make The Best 2 Ingredient Cloud Dough
- How to Make The BEST 2 Ingredient Edible Play Dough
- Guide To Sensory Bin Supplies You Need To Have
