Space Sensory Bin Using DIY Kinetic Sand
Create an out-of-this-world activity with this Space Sensory Bin using DIY Kinetic Sand! Fun, easy, and perfect to keep your little astronauts entertained!
Always supervise children during sensory play. See full disclaimer here. This post may contain affiliate links, which means I may earn a small commission if you make a purchase through these links, at no extra cost to you. As an Amazon Associate, I earn from qualifying purchases. I only recommend products I personally use and love! You can read more about my disclosure policy here.
If your kiddo is fascinated by all things space, then this DIY space themed sensory bin is going to be a blast! It’s a fun and easy setup that will have them exploring the galaxy right from your living room.
Plus, sensory bins are such a great way to encourage imaginative play while keeping them engaged (and giving you a bit of a break!). With kinetic sand as the base, this one has the perfect mix of creativity and tactile fun.
What Is a Sensory Bin?
A sensory bin is like a little treasure chest of hands-on exploration and discovery! It’s a container filled with different materials like kinetic sand, rainbow rice, dyed chickpeas, dyed pasta, or dried beans, that engage your child’s senses. These bins are designed to stimulate touch, sight, smell, and sometimes even hearing and taste (if you’re using taste-safe fillers).
The real fun starts as your child explores sensory play, feeling all the different textures, shapes, and materials with curiosity and excitement! Sensory bins are open-ended, meaning there’s no right or wrong way to play! Whether they’re scooping, pouring, digging, or creating stories, sensory bins give kids the freedom to let their imaginations run wild.
And bonus, they’re super easy to set up and adapt to different themes, like our DIY sensory bin space adventure!
How To Create A Space Themed Sensory Bin
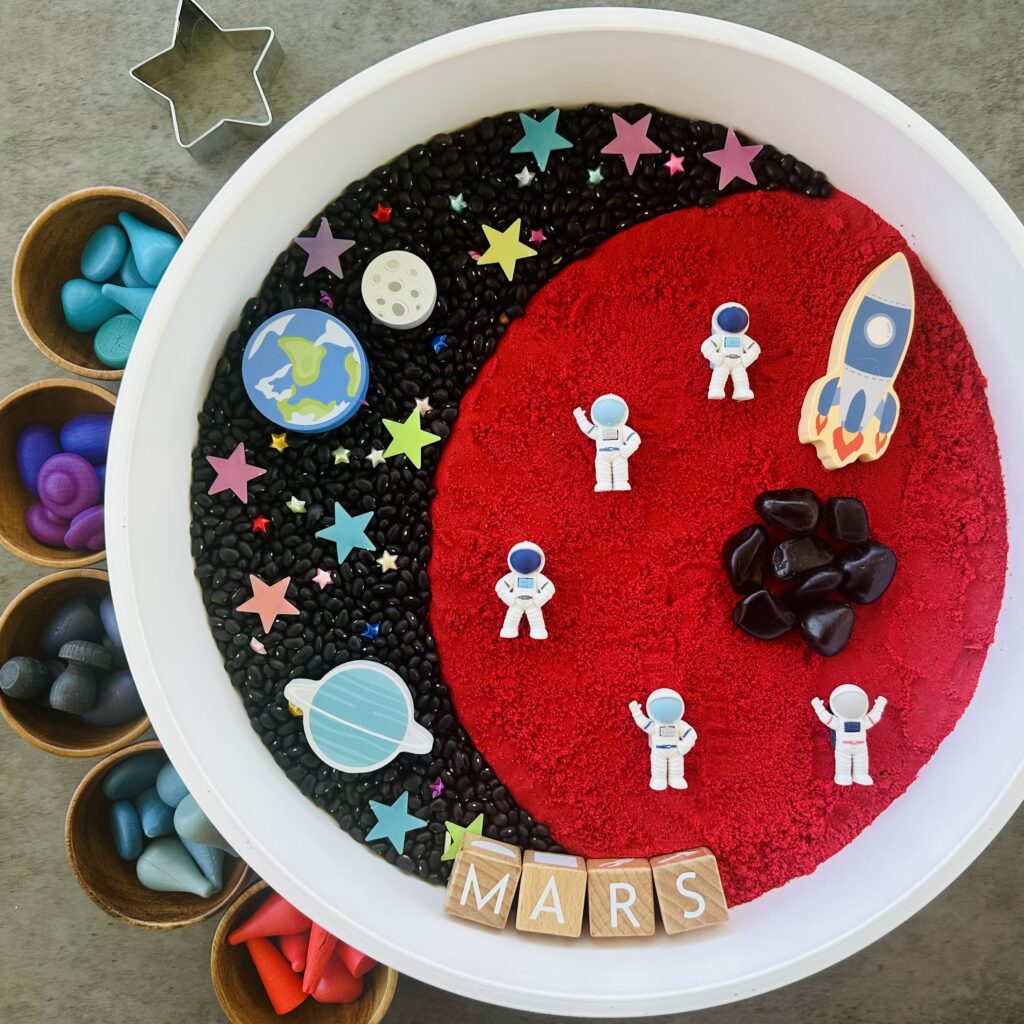
Ingredients
You could buy Kinetic Sand or make your own (it’s so easy!). If you’re worried about younger kids putting it in their mouths, you might want to try making our Taste-Safe Kinetic Sand Recipe which uses food-grade ingredients. Here’s everything you’ll need to make a batch of Kinetic Sand:
- 2 ½ cups Play Sand (we used red for Mars but any color works!)
- 1 ½ cups Cornstarch
- ½ cup Vegetable Oil
Extras for the sensory bin:
- Dried Black Beans (optional)
- Wooden Planets and Figurines
- Mini Astronauts (these astronaut erasers are so cute!)
- Space-Themed Cookie Cutters (rocket ships, stars, moons)
- Wooden Loose Parts, Rocks, Gems, or other space-themed trinkets
- Silicone Cupcake Liners or Small Bowls
- Scoops and Funnel, Tongs and Tweezers, Spoons
- Sensory Bin (or any container big enough for your child to play in)
Pro Tip: This sensory bin uses kinetic sand as the filler. But if you want to switch it up, other sensory bin fillers like taste-safe kinetic sand, moon sand, dyed rice, dyed chickpeas, dried black beans, cloud dough, or even edible play dough work great too! You can buy these materials, or if you’re feeling crafty, you can make your own. Click the link for our DIY recipes.
Be sure to check out our blog post about essential sensory bin supplies to have on hand, making it easy to set-up multiple different sensory bins in seconds!
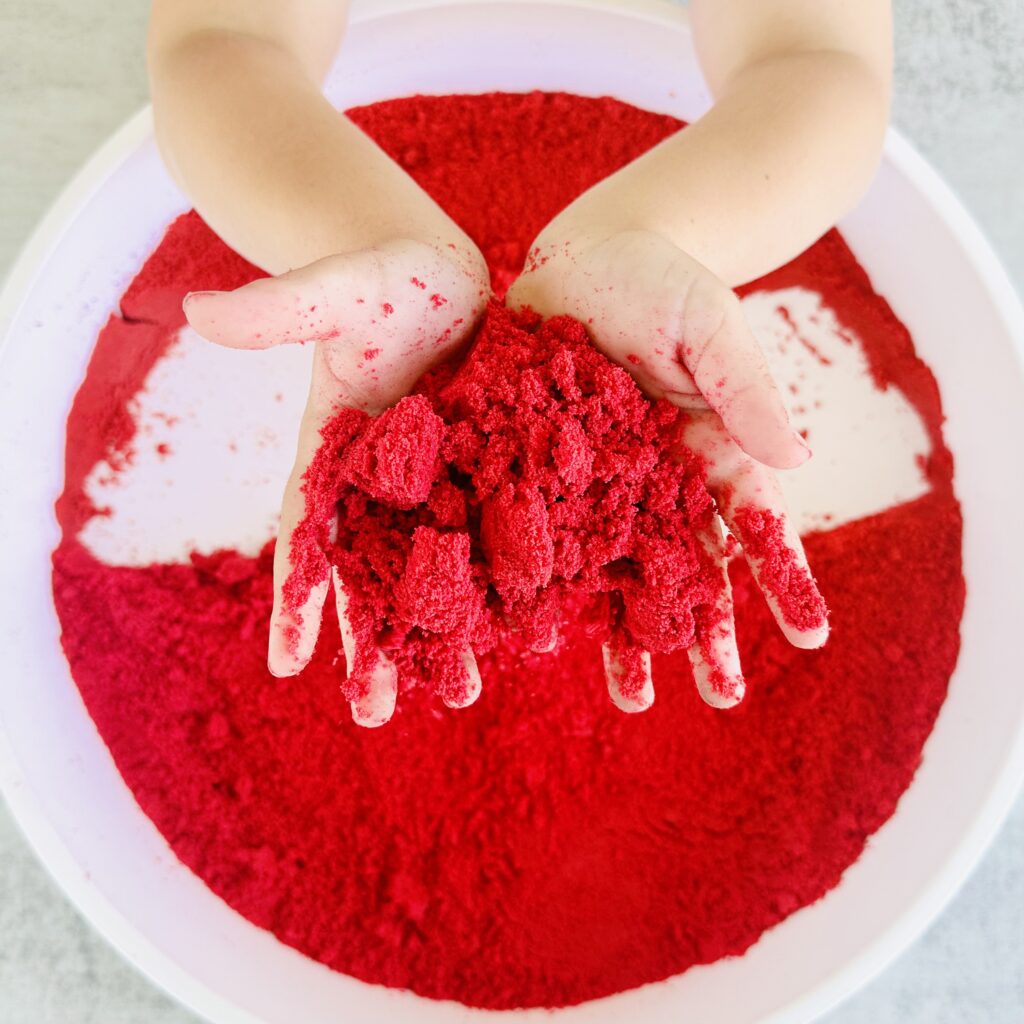
Kinetic Sand Instructions
1. Mix Dry Indredients
Add 2 ½ cups of fine play sand and 1 ½ cups of cornstarch into a mixing bowl. Stir well to evenly distribute everything.
3. Add Oil
Slowly mix in the ½ cup oil.
3. Mix It All Together
Use your hands to knead the mixture until it’s fully combined and has a soft, moldable texture. If it’s too dry, add a tiny bit more oil. If it’s too wet, sprinkle in a little more cornstarch.
4. Optional Extras
If you’re feeling fancy, now’s the time to add a few drops of essential oils for a lovely scent or a sprinkle of glitter for some sparkle.
Space Sensory Bin Instructions
1. Start with the base
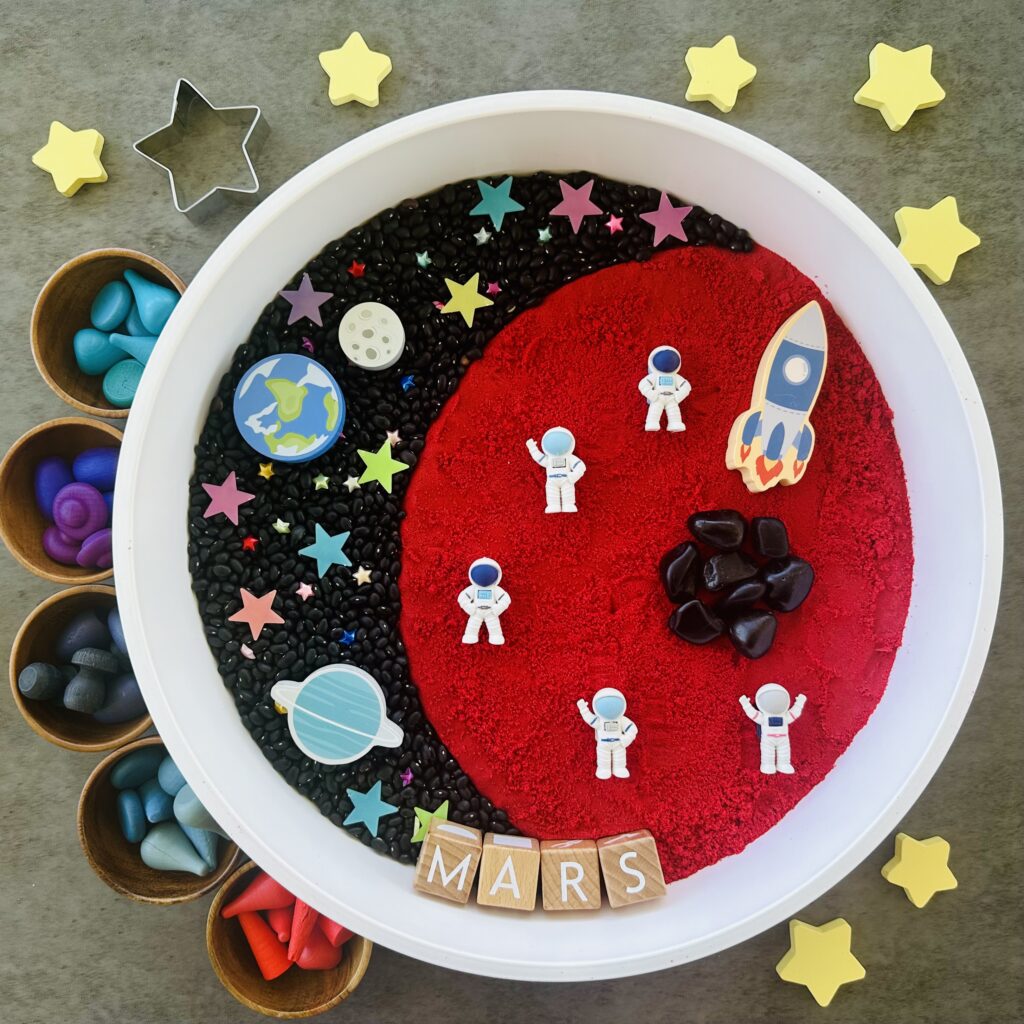
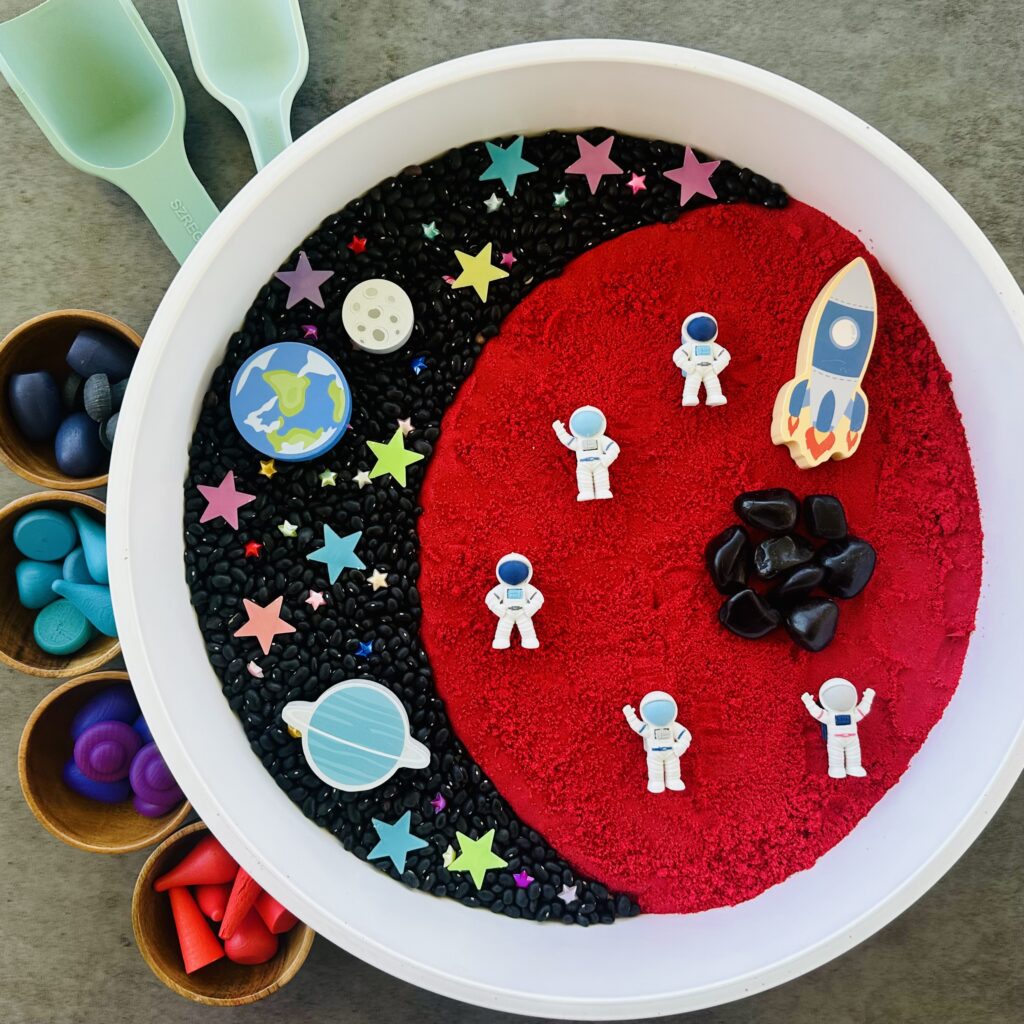
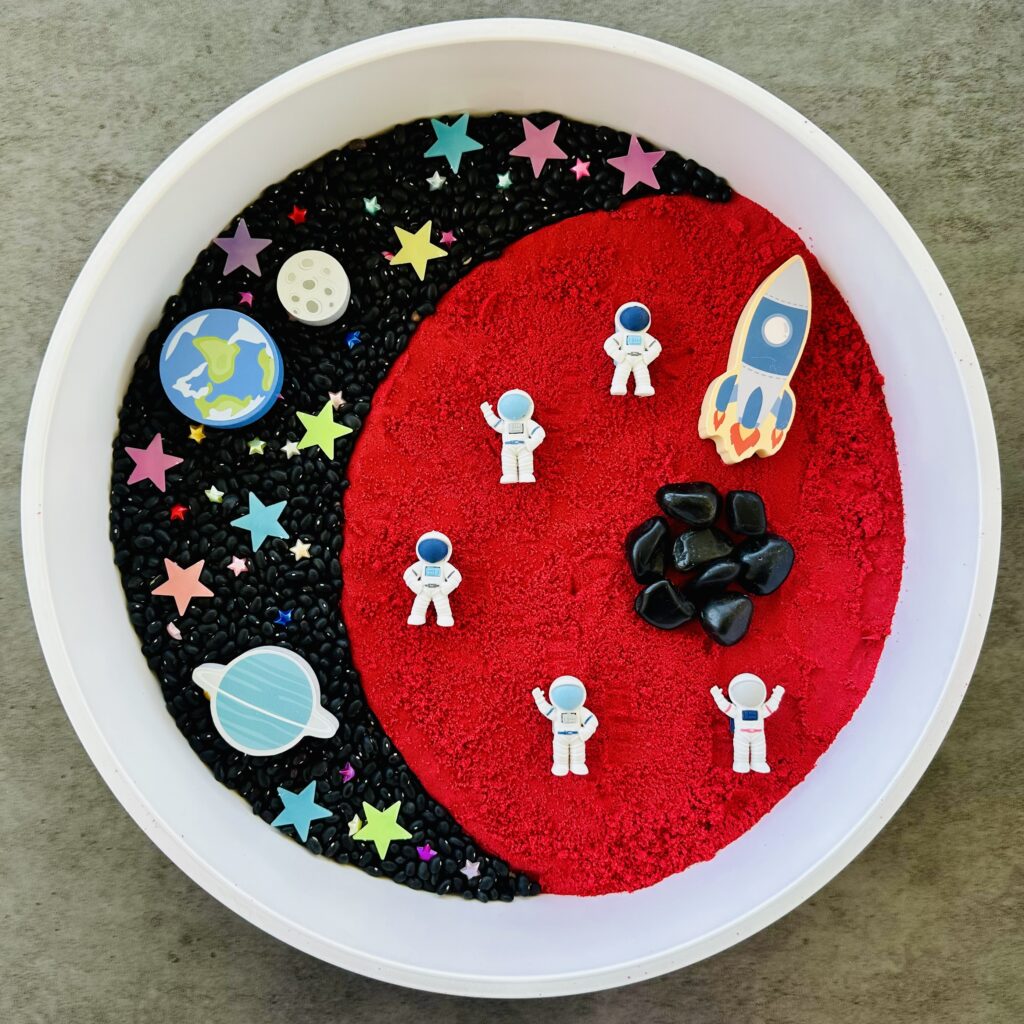
Grab your kinetic sand and spread it out evenly across the bottom of your bin. This is going to be your “planet surface” whether it’s Mars, the moon, or a faraway galaxy your child dreams up! We used red sand for a Mars vibe. Make sure there’s enough to cover the bottom of the bin so your child can dig and create craters.
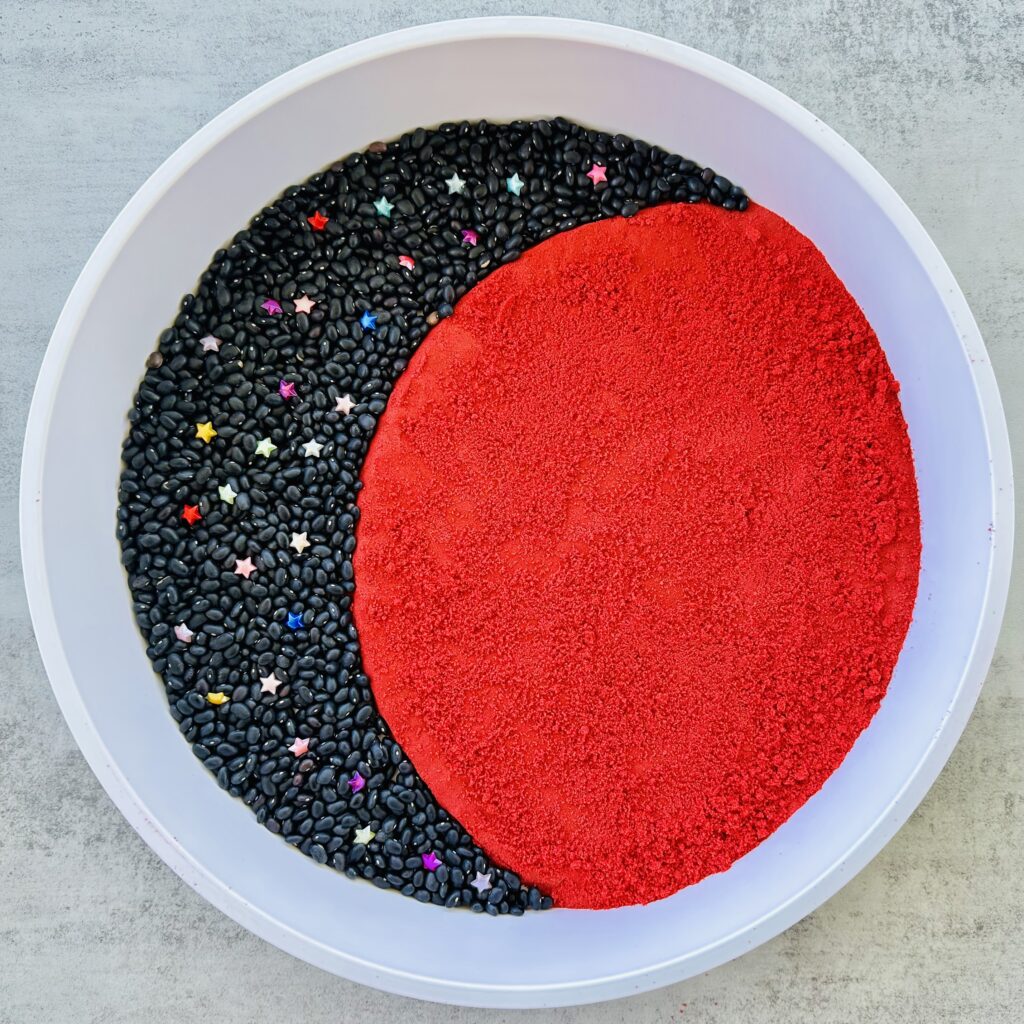
We shaped the kinetic sand into a planet and sprinkled dried black beans around it to create a starry outer space effect. The black beans add a fun cosmic contrast, but you can skip them if you prefer to keep it simple.
2. Add your space objects
Now comes the fun part, adding the space goodies! Place the planets, astronauts, glow stars, gems or pebbles, or any other space themed trinkets. We used a few black rocks to make Mars’ dark spot.
Don’t be afraid to bury some of these objects under the sand for a surprise discovery! Your child can dig up planets, mine for space rocks, or uncover hidden astronauts trapped in craters.
3. Introduce scoops, Bowls, and Tweezers
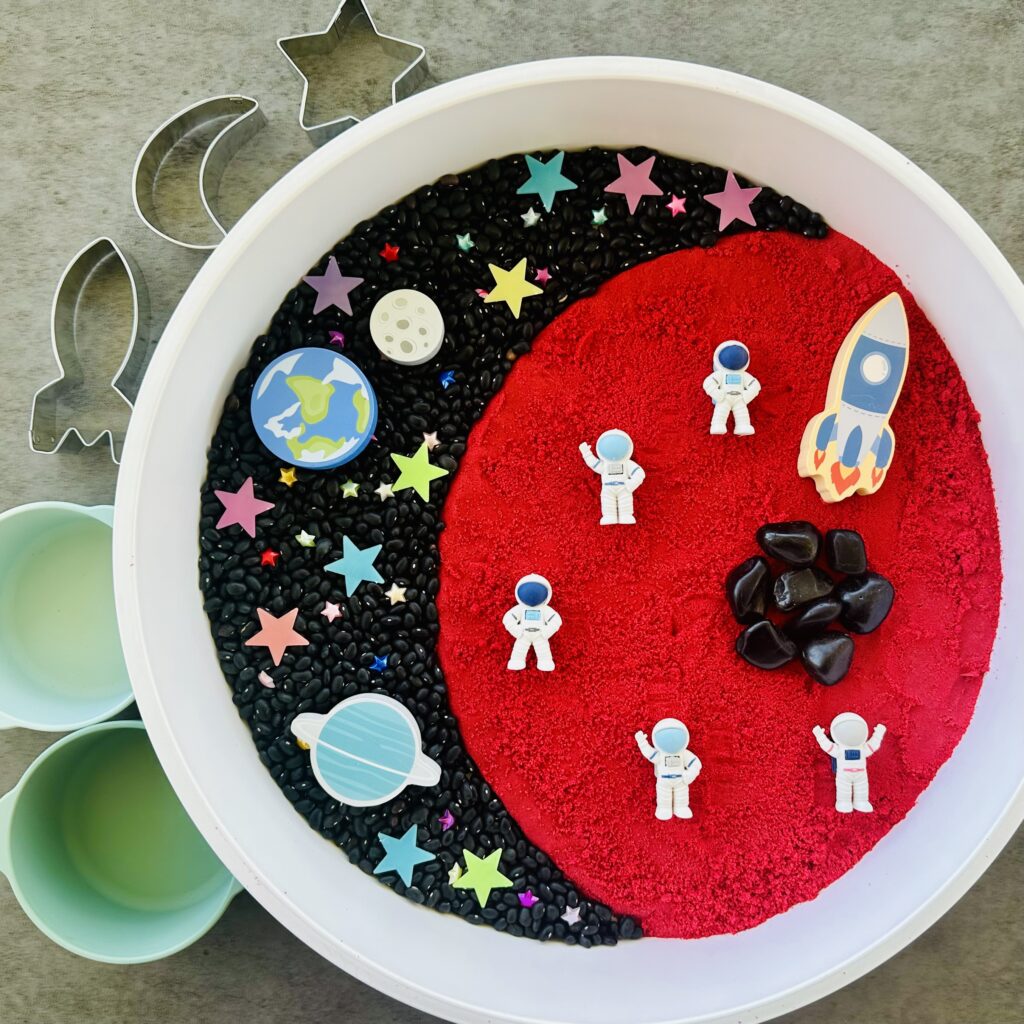
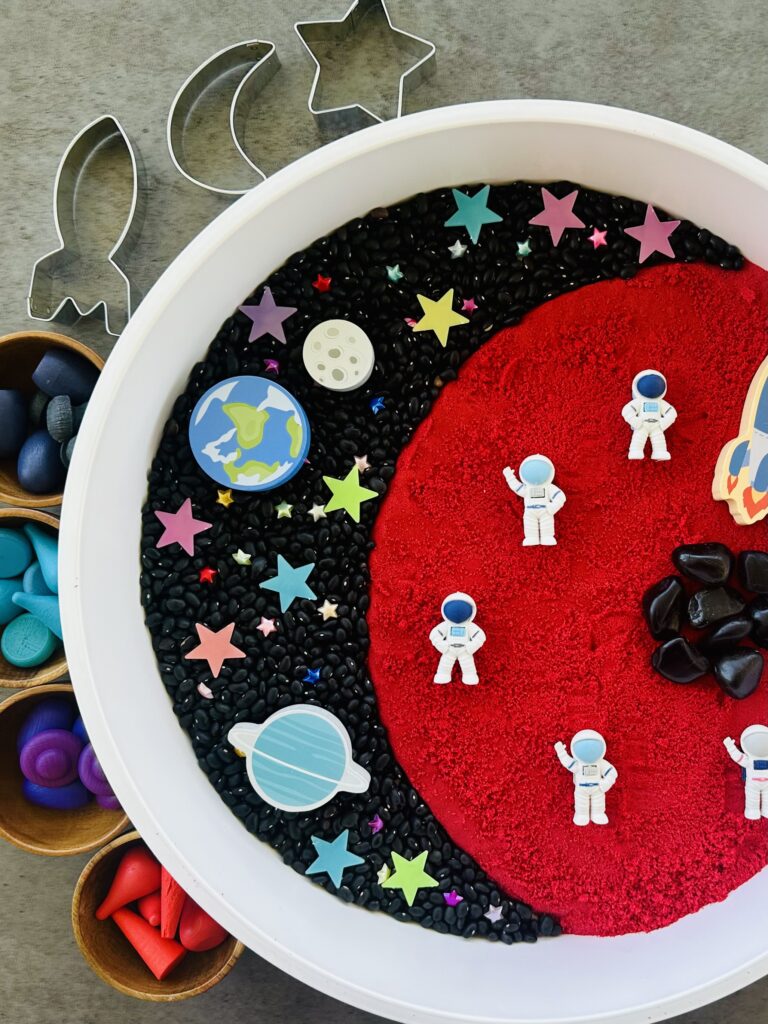
To take the sensory experience up a notch and build fine motor skills, add in some tools! Throw in a few small scoops or for digging, bowls for sorting objects, and tweezers for picking up tiny space treasures. Not only does this make the bin more interactive, but it also encourages your child to practice their pincer grip, which is excellent for developing hand strength and coordination.
4. Time to play!
Now it’s ready for action! Let your little one explore their new space world. They can create craters, dig for hidden treasures, fly toy rockets through space, or send astronauts on missions. Encourage them to tell stories or pretend they’re on an epic space adventure!
Creative Play Ideas for Your Space Sensory Bin
The magic of a sensory bin is how it opens the door to all kinds of imaginative play. Here are a few creative ways your child can play with their DIY space sensory bin:
1. Rescue mission
Bury small items or astronauts in the sand and let your child go on a “rescue mission” to dig them out. They can pretend the astronauts are trapped under a meteor and need to be saved!
2. Bury and Find Letters
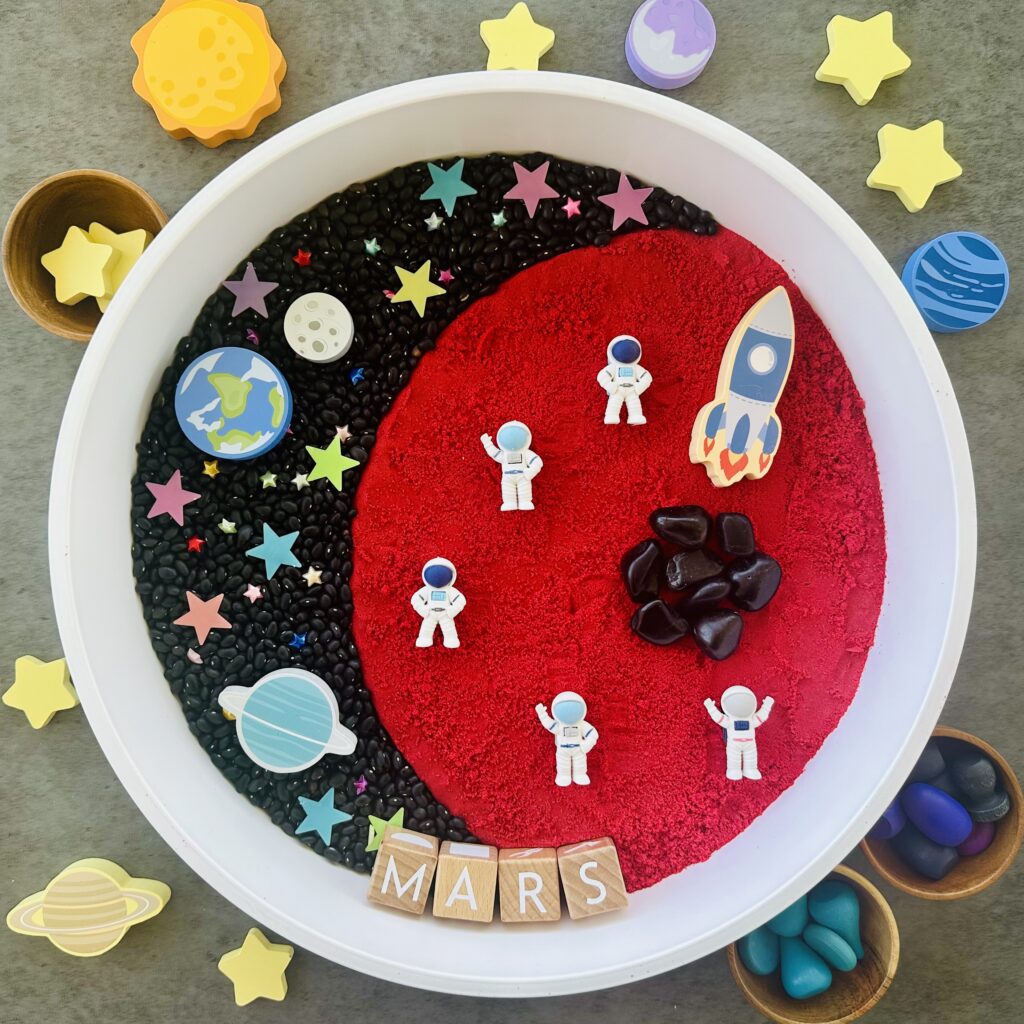
Hide wood or plastic letters in the kinetic sand that spell out words like “space” or “astronaut.” Let your little one dig through the sand to find them, then help them piece the letters together to spell the word! It’s a fun way to mix sensory play with a little bit of letter recognition and spelling practice.
3. Free Play
Sometimes the best moments come from unstructured exploration. Let your child explore freely, ask questions like “What planet are you on?” or “Can you find alien life?” to spark curiosity and expand imaginative play.
Tips for Making the Most of Your Kinetic Sand
Safety When Playing with Sensory Bins
Sensory bins are amazing, but it’s always good to keep a few safety tips in mind:
- Supervise younger kids. If you have toddlers or babies playing with the bin, always keep an eye on them to make sure they’re not putting any small objects in their mouths. Choking hazards are a real concern, so be mindful of the size of the objects you include.
- Watch out for sharp or fragile items. Avoid anything that could potentially break or shatter in the bin. Stick to soft or flexible items like plastic figures, pom-poms, and silicone or plastic scoops.
- Keep it clean. Sensory bins can get messy! Lay down a sheet or tablecloth underneath to catch any runaway sand or small pieces. This makes cleanup a breeze.
You’ll Love This Space Sensory Bin
And there you have it. Your very own DIY space themed sensory bin that’s packed with fun and learning! It’s easy to make and endlessly versatile for creative play. Plus, it’s an affordable way to bring a little extra fun to your Summer Sensory Activities.
So grab your supplies, mix up a batch of kinetic sand, set up your sensory bin, and watch as your child’s imagination soars into space! Don’t forget to share your creations in the comments.
Kinetic Sand Recipe
Equipment
- 1 Mixing Bowl
- 1 Mixing Spoon
- Measuring Cups
Ingredients
- 2 ½ cups fine play sand (any color works!)
- 1 ½ cups cornstarch
- ½ cup vegetable oil
Instructions
- Add 2 ½ cups of play sand and 1 ½ cups of cornstarch into a mixing bowl. Stir well to evenly distribute everything.
- Slowly mix in the ½ cup oil.
- Use your hands to knead the mixture until it’s fully combined and has a soft, moldable texture. If it’s too dry, add a tiny bit more oil. If it’s too wet, sprinkle in a little more cornstarch.
- Let the sensory play begin!
Recommended
- How To Make DIY Galaxy Sensory Bottles
- Outer Space Sensory Bin Using DIY Galaxy Rice
- Space-Themed Sensory Bin Using DIY Kinetic Sand
- How To Make The Best Taste-Safe Kinetic Sand
- 25 Best Summer Sensory Activities For Kids
- 9 Best Ocean Sensory Activities For Kids
- 4 Recipes: How To Make Taste-Safe Sensory Mud And Dirt
- 18 Recipes: The Best DIY Sensory Bin Fillers
- 6 of the Best Patriotic 4th Of July Sensory Activities
- Guide To Sensory Bin Supplies You Need To Have
