How To Make A Spring Garden Sensory Bin
Bring the magic of spring to life with this fun and engaging Spring Garden Sensory Bin! The perfect Spring or Easter sensory activity for kids of all ages!

Always supervise children during sensory play. See full disclaimer here. This post may contain affiliate links, which means I may earn a small commission if you make a purchase through these links, at no extra cost to you. As an Amazon Associate, I earn from qualifying purchases. I only recommend products I personally use and love! You can read more about my disclosure policy here.
If you’ve got a little one who loves flowers and playing in the garden, you’ve got to try making a garden sensory bin!
It’s the perfect combo of creative play and springtime magic! Plus, it’s super easy to throw together with just a few items you probably already have.
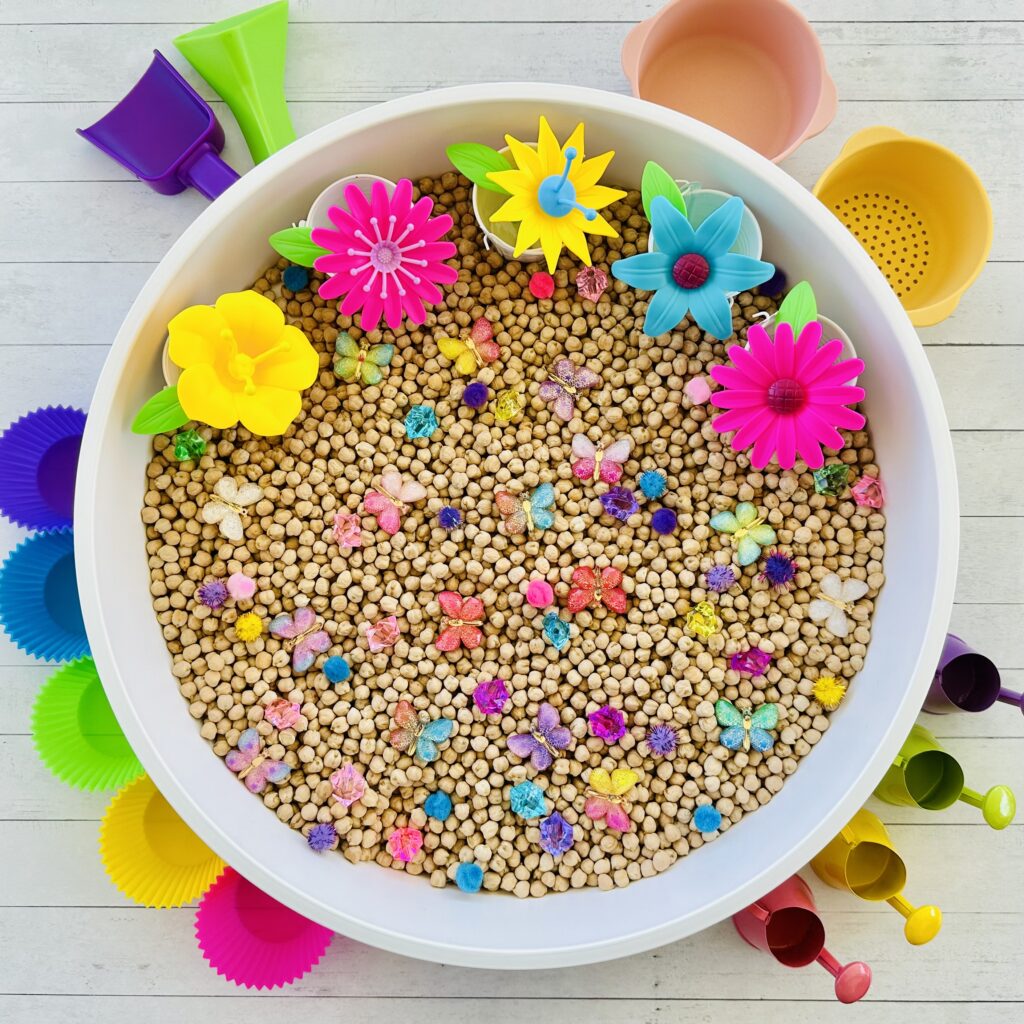
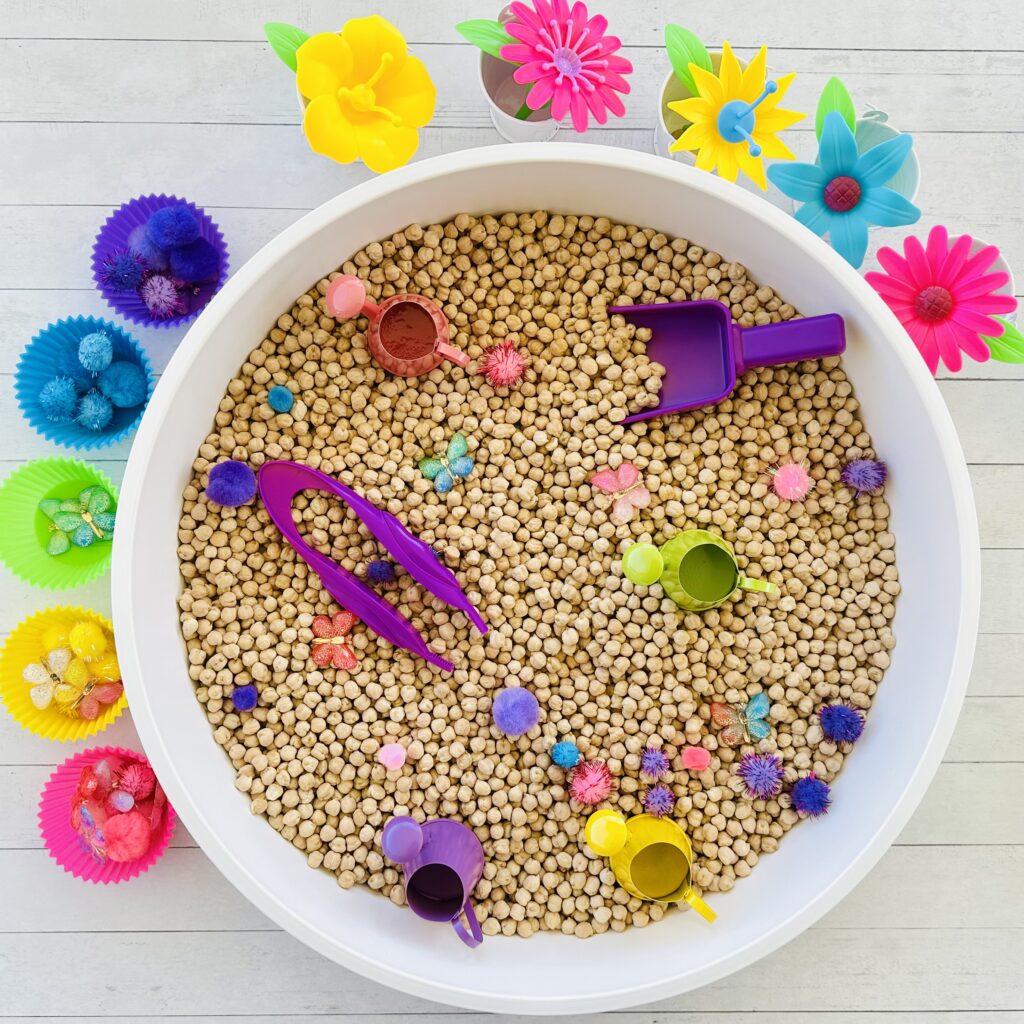
This Spring Garden themed sensory bin is a seasonal win for keeping little hands busy and imaginations flowing. We’re talking faux flowers, mini watering cans, colorful gems, and pom-pom balls. Yes, it’s as adorable as it sounds!
Why We Love This Garden Sensory Bin
This garden sensory bin is an absolute favorite because it brings a little bit of springtime magic indoors! Kids get to dig, scoop, and plant flowers, all while exploring different textures and colors. It’s a wonderful way to spark their creativity and imagination.
Spring-themed sensory play is a great way to work on fine motor skills and hand-eye coordination while your kids think they’re just having fun. Plus, sensory play has been shown to support emotional regulation and focus. Perfect for those moments when kids need a little calm in their day.
And let’s be honest, we love any activity that keeps little hands busy while we enjoy a cup of coffee in peace! This garden sensory bin is easy to set up, endlessly fun, and a great way to celebrate the beauty of spring.
How to Create a Garden Sensory Bin
What You’ll Need
Here’s what you’ll need to make a garden sensory bin. I linked what we used from Amazon, but Target’s Dollar Spot or your local Dollar Store are great places to find spring-themed sensory bin trinkets or toys.
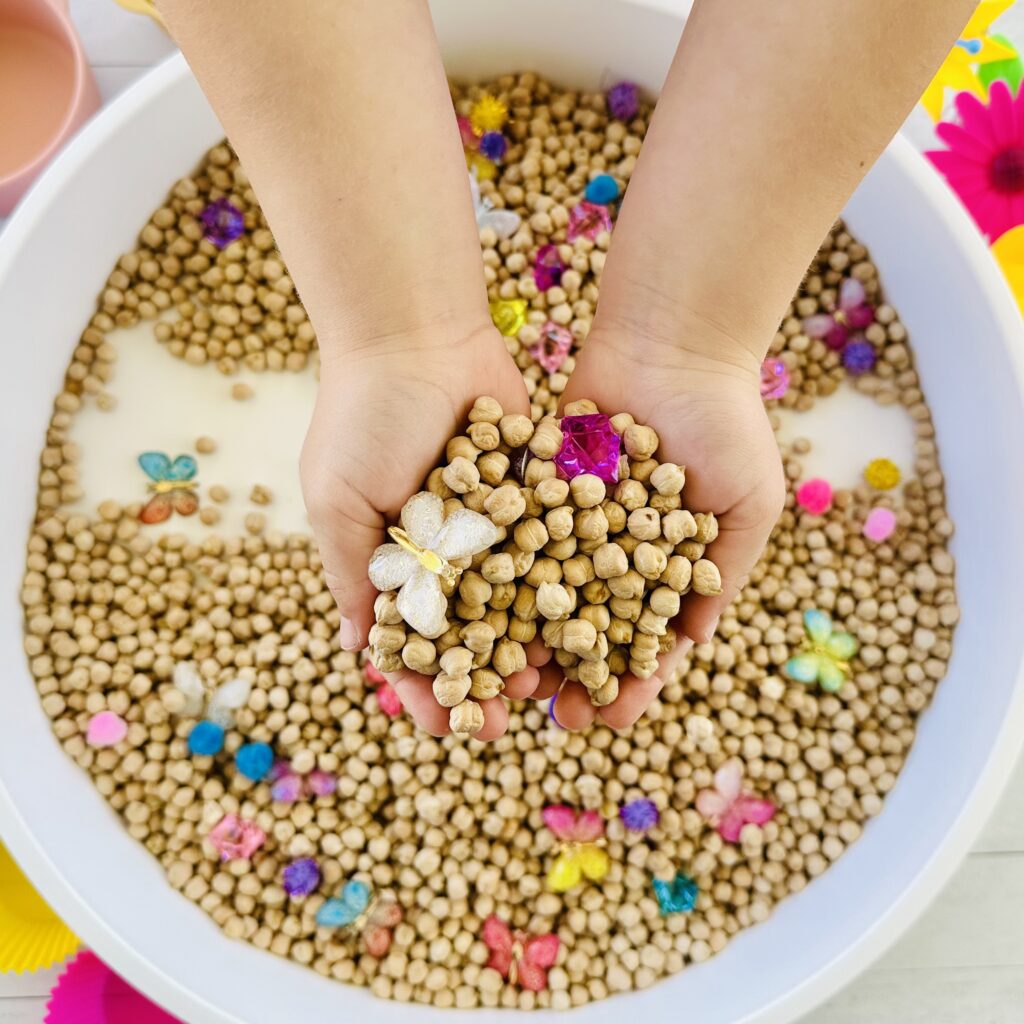
- Dried Chickpeas: Checkout our post how to dye chickpeas to make them a festive color!
- Spring-themed trinkets: We used these faux flowers, mini watering cans, gems, butterflys, and pom-poms (great for sorting)
- Silicone Cupcake Liners or Small Bowls
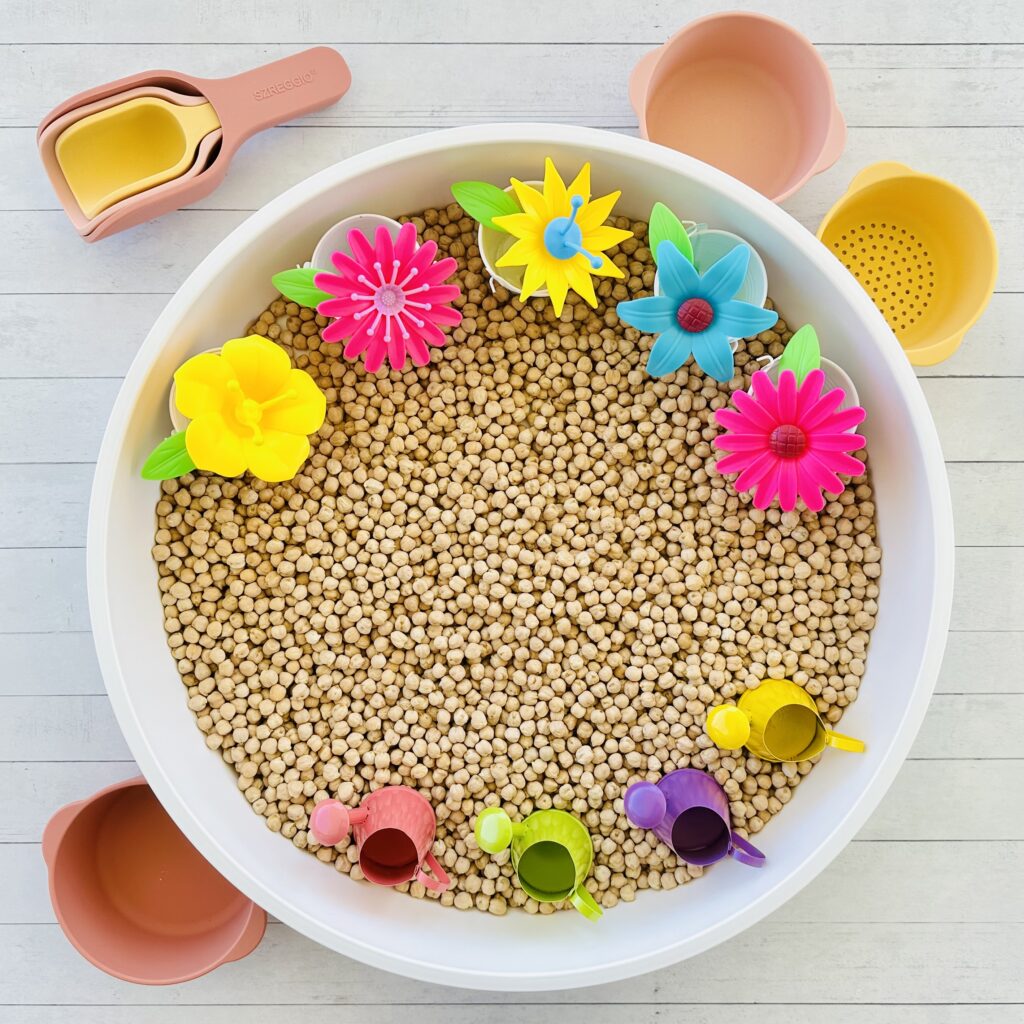
- Scoops and Funnel or Tongs and Tweezers
- Sensory Bin (or any container big enough for your child to play in)
Pro Tip: This sensory bin uses dried chickpeas as the filler. But if you don’t have any dried beans or want to switch it up, other sensory bin fillers like kinetic sand, edible sensory dirt, taste-safe kinetic sand, moon dough, dyed rice, cloud dough or even edible play dough work great too! Click the links for our blog posts with step-by-step guides to make your own.
Be sure to check out our blog post about essential sensory bin supplies to have on hand, making it easy to set-up multiple different sensory bins in seconds!
Instructions
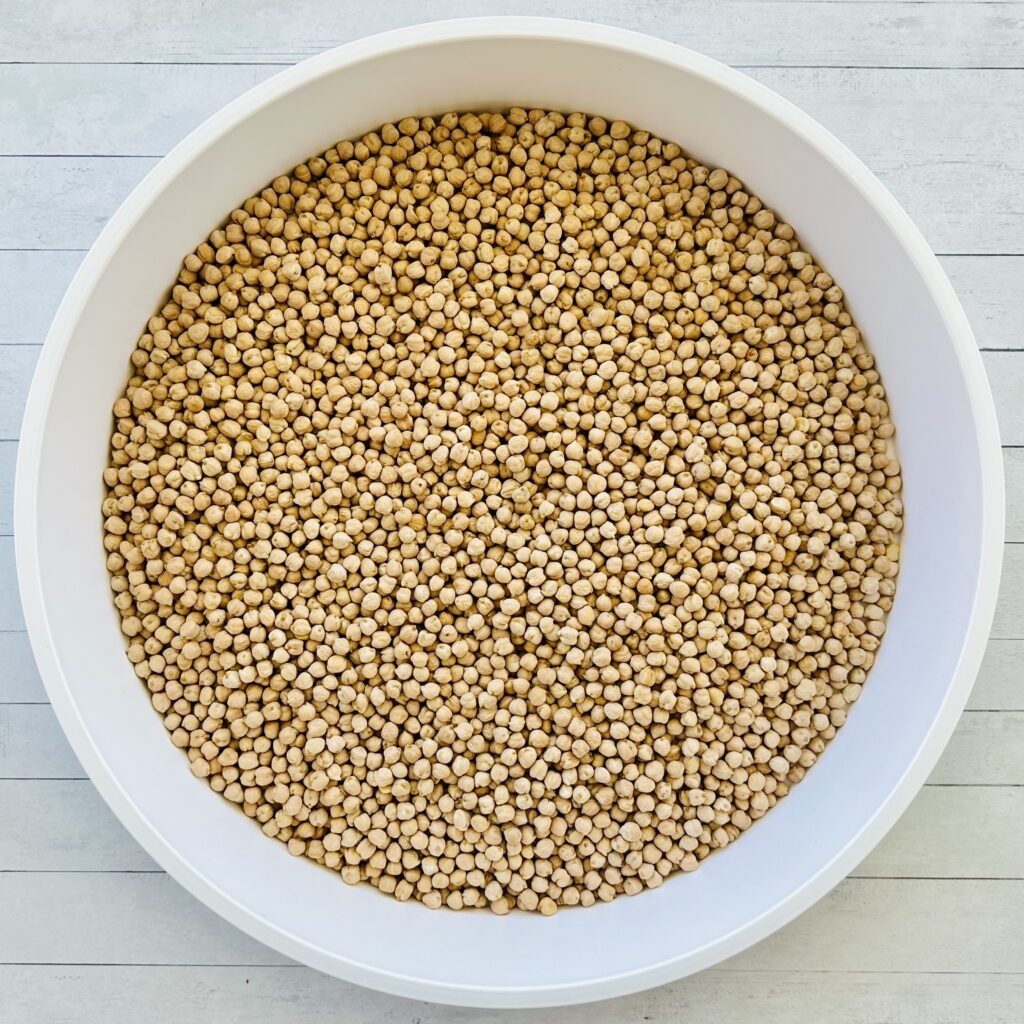
1. Start with the base
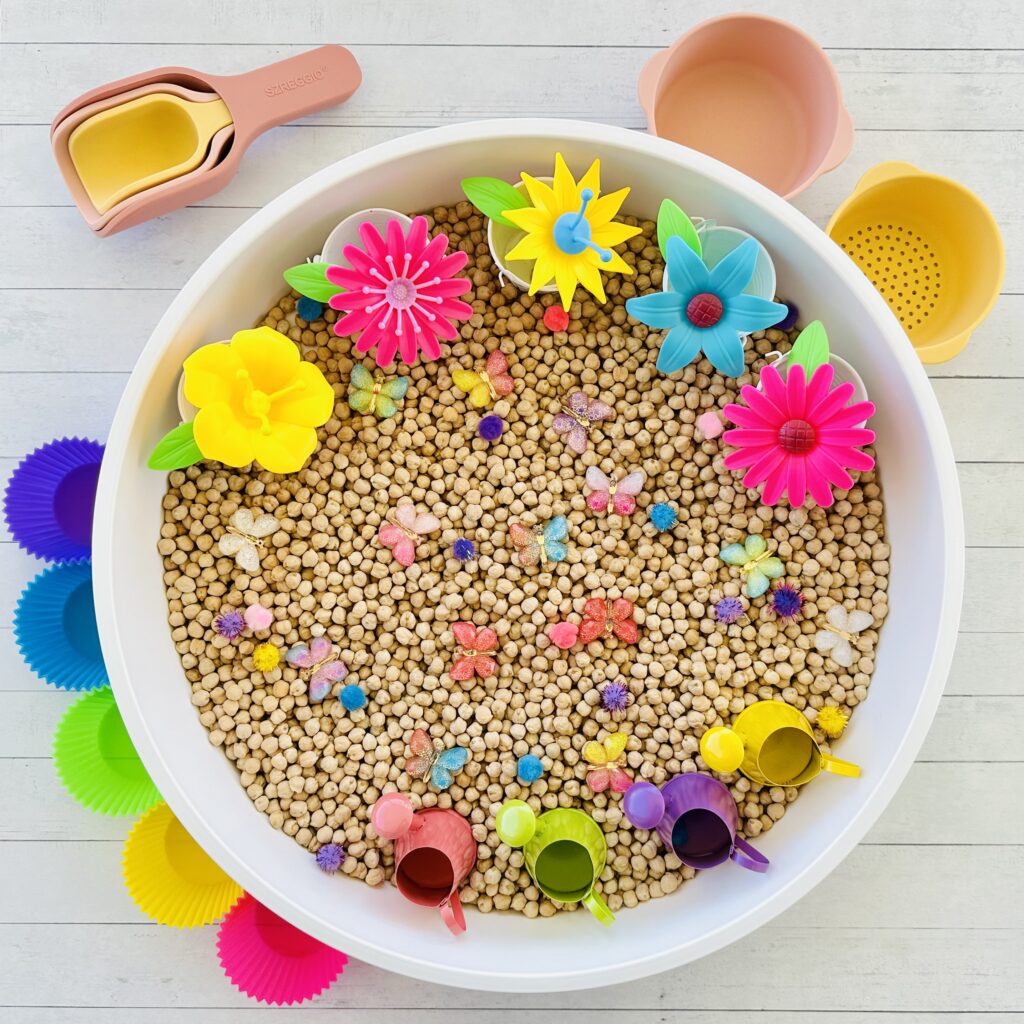
Pour your dried chickpeas or split peas into a sensory bin or a shallow plastic tub. Spread it out evenly so your kids have plenty of space to dig, scoop, and plant their “garden.”
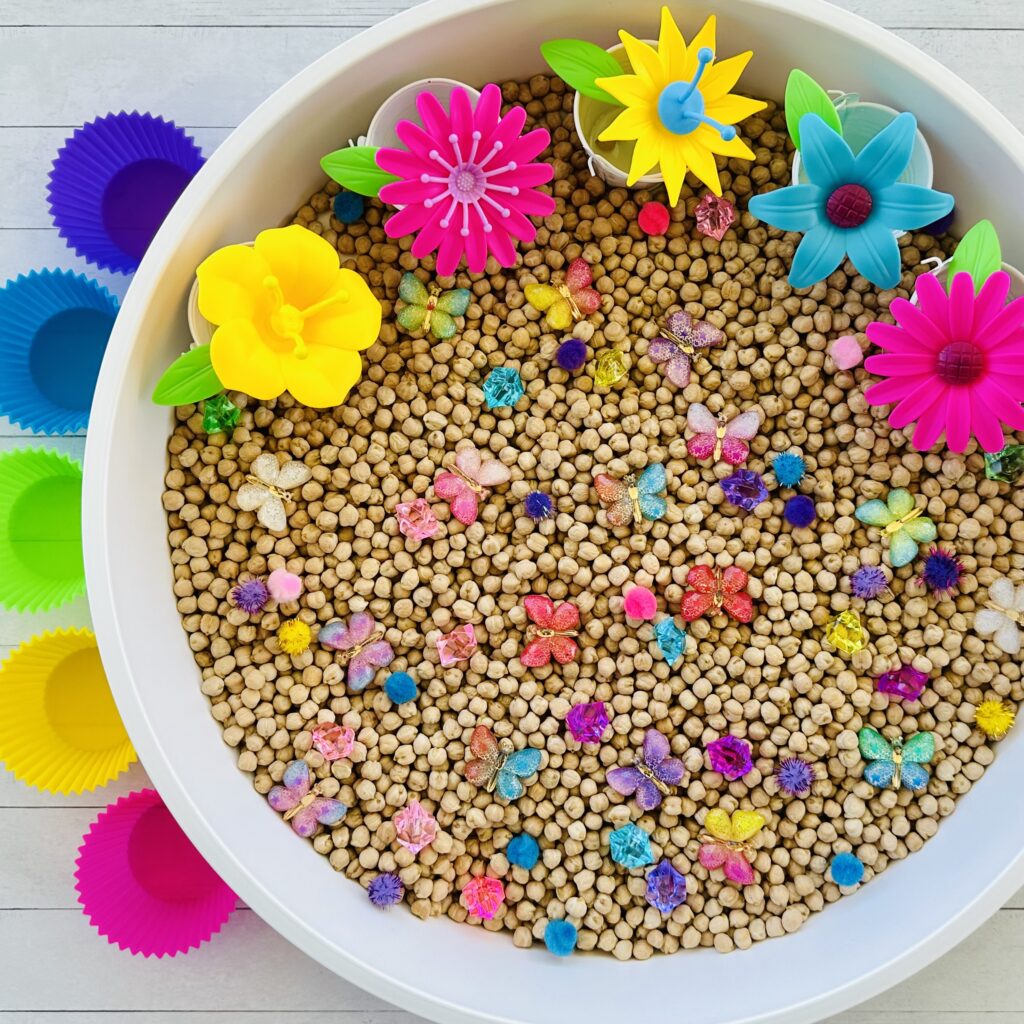
2. Add in the Faux Flowers
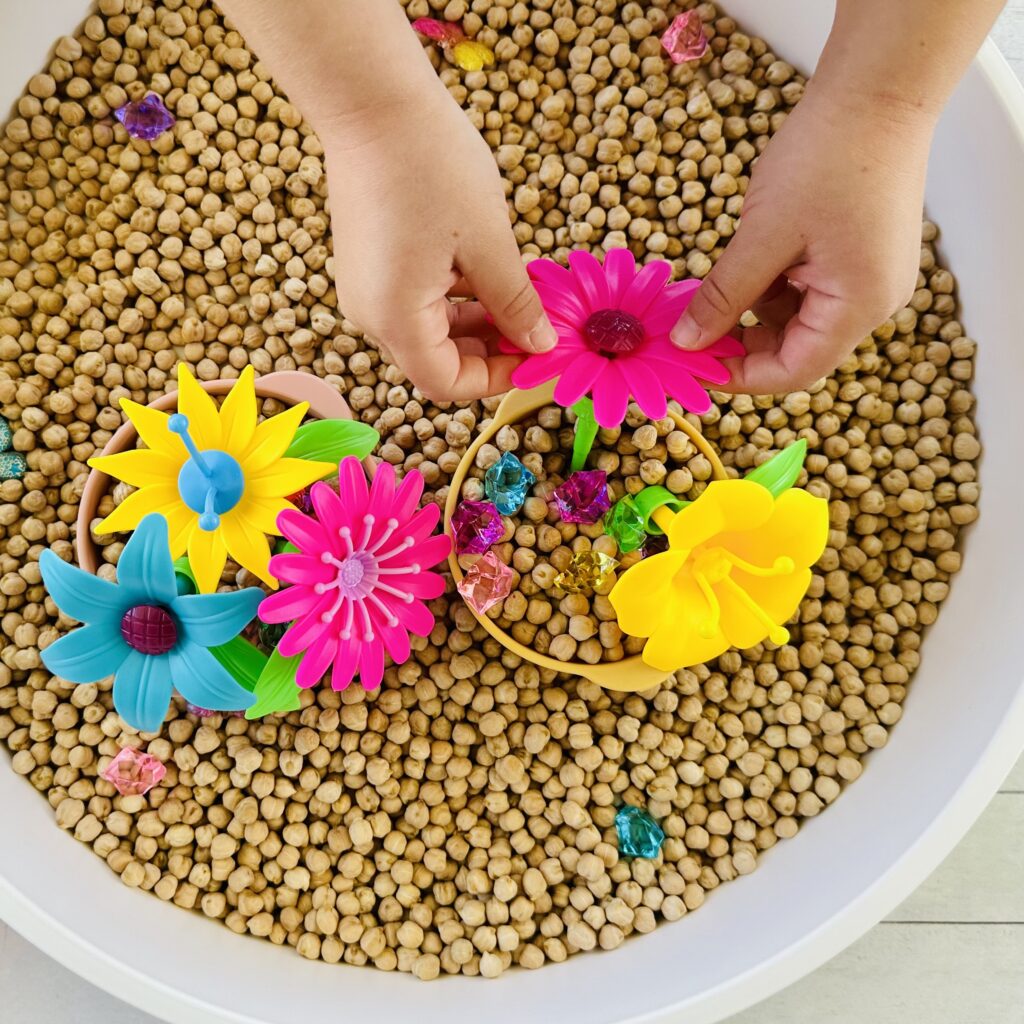
Place faux flowers, small watering cans, and bowls or pots around the sensory bin to set the garden scene.
3. Add in Trinkets, and Toys
Sprinkle in colorful gems, butterflys, small eggs or pom-pom balls, and other spring-themed items to make it extra exciting. Add scoops, funnels, tweezers, and small bowls (we used silicone cupcake liners) for scooping, pouring, and sorting. This adds an extra layer of fun and builds fine motor skills.
5. Time To Play
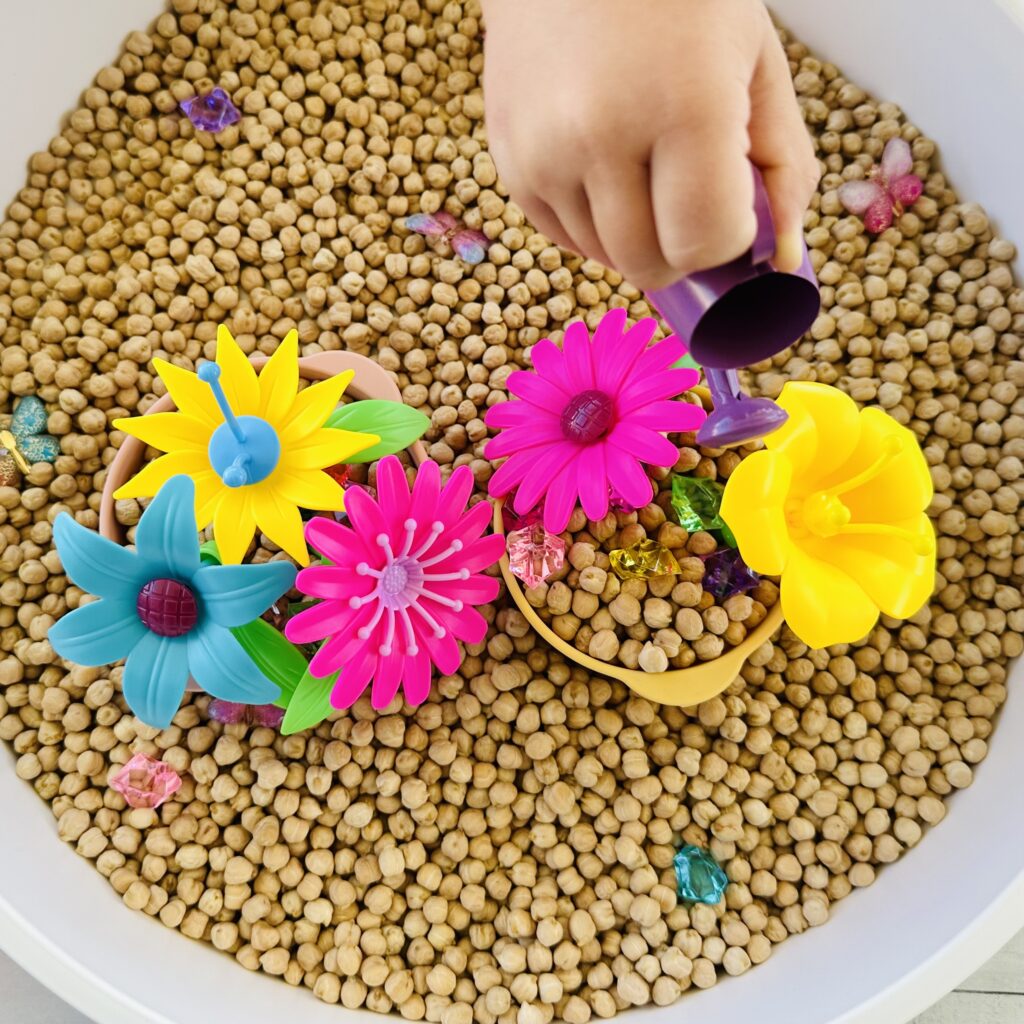
Let your little ones dig into their garden sensory bin and explore! My kids loved burying gem “seeds” in the chickpeas, planting the flowers in the pots, and watering their garden with the mini watering cans.
They also had a blast running their fingers through the chickpeas, scooping and pouring the beans, and sorting the butterflies, gems, and pom-poms.
Creative Play Ideas for Your Garden Sensory Bin
1. Planting a Garden
Use the scoops, tongs, or sensory tools to “plant” the faux flowers in the chickpeas. Kids can scoop and pour the chickpeas over the base of the flowers like real soil!
2. Easter Egg Hunt
Hide mini Easter eggs (or mini pom-poms) in the bin and let your child dig through the filler to find them. It’s a fun, hands-on treasure hunt!
3. Sorting and Counting
Encourage kids to sort the colorful gems, butterflys, and pom-poms into separate bowls or cupcake liners. This is a great way to practice early math skills while having fun.
4. Sensory Storytime
Pair your sensory bin play with a spring-themed book! Some great options include Planting a Rainbow by Lois Ehlert, The Tiny Seed by Eric Carle, or Up in the Garden and Down in the Dirt by Kate Messner.
Safety When Playing with Sensory Bins
Sensory bins are amazing, but it’s always good to keep a few safety tips in mind:
- Supervise younger kids. If you have toddlers or young children playing with the bin, always keep an eye on them to make sure they’re not putting any small objects in their mouths. Choking hazards are a real concern, so be mindful of the size of the objects you include.
- Watch out for sharp or fragile items. Avoid anything that could potentially break or shatter in the bin. Stick to soft or flexible items like plastic figures, pom-poms, and silicone or plastic scoops.
- Keep it clean. Sensory bins can get messy! Lay down a sheet or tablecloth underneath to catch any runaway beans or small pieces. This makes cleanup a breeze.
Why We Love This Spring Garden Sensory Bin
This garden sensory bin is the perfect way to channel spring or Easter excitement into something calm and creative. Whether your kiddos love flowers or just digging their hands into some sensory fun, this garden sensory bin is a must! It’s simple to put together, endlessly engaging, and full of springtime cheer.
So grab your supplies and get ready for some garden magic! Let me know how yours turns out in the comments.
Recommended
- Awesome Easter Sensory Activities For Kids Of All Ages
- 22 Sensory Easter Basket Stuffer Ideas
- How To Make A Colored Rice Easter Sensory Bin
- How To Make Glitter & Bunnies Easter Slime
- How To Make Edible Easter Moon Dough
- How To Make Edible Easter Playdough
- How To Make Easter Fluffy Slime (No Borax!)
- How To Make Taste-Safe Easter Peeps Slime
- How To Make Easter Chickpea Sensory Foam