How To Make The BEST Homemade Kinetic Sand
Create this easy, DIY, Kinetic Sand Recipe using only 3-ingredients: play sand, cornstarch, and vegetable oil! The perfect sensory play material for kids of all ages!
Always supervise children during sensory play. See full disclaimer here. This post may contain affiliate links, which means I may earn a small commission if you make a purchase through these links, at no extra cost to you. As an Amazon Associate, I earn from qualifying purchases. I only recommend products I personally use and love!You can read more about my disclosure policy here.
If you’ve ever found your little ones mesmerized by the magic of kinetic sand, you know how hard it is to pull them away from the stuff. But did you know that you can make this fascinating sand right at home?
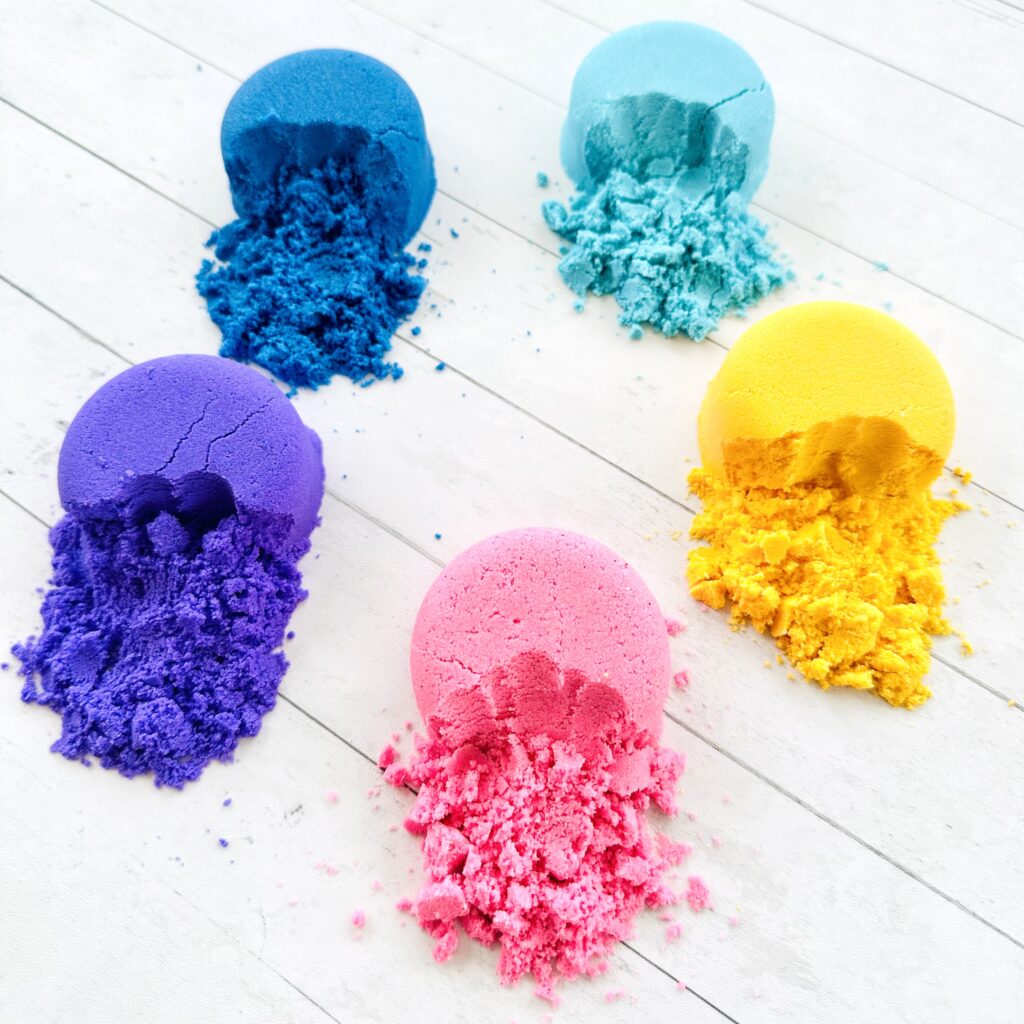
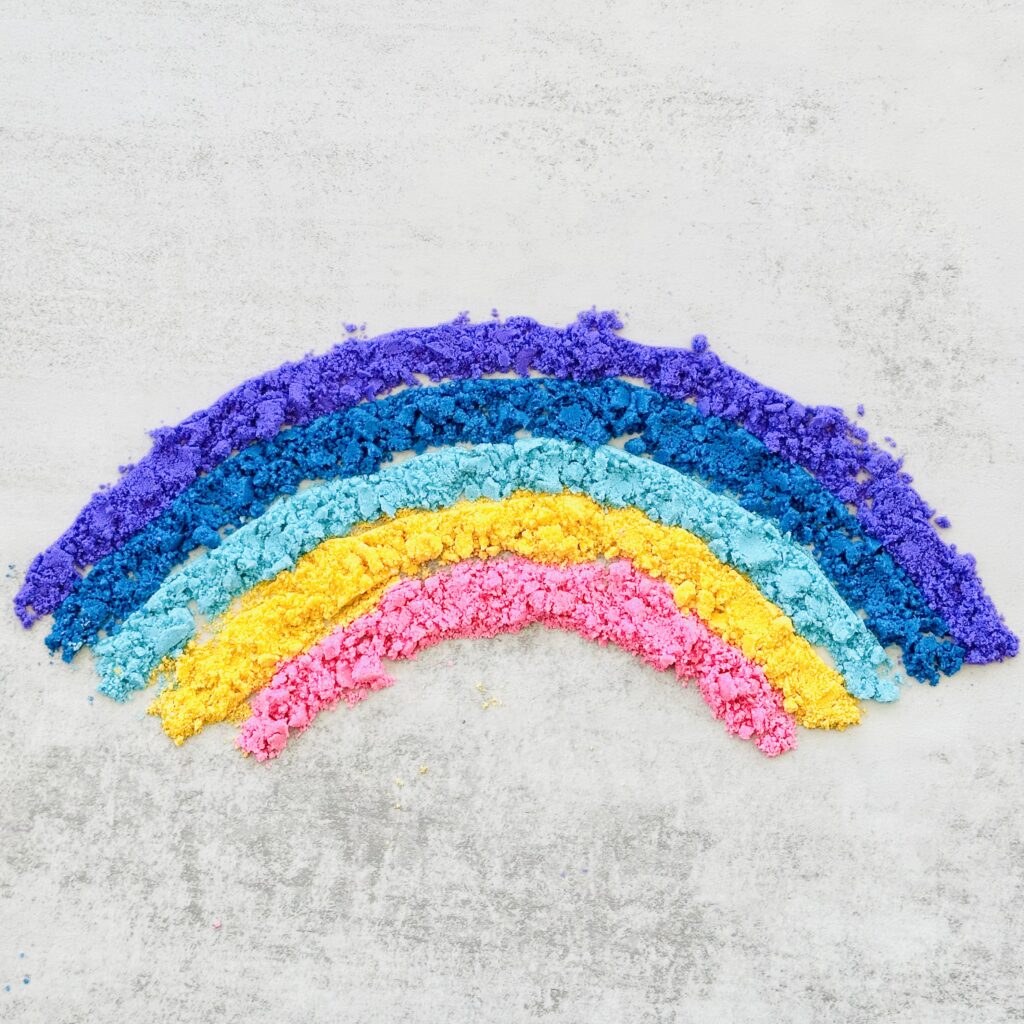
It’s surprisingly easy and a great project to get your kids involved in. Plus, it’s a fraction of the cost of store-bought kinetic sand, and you can customize it with colors and scents that your kiddos will love!
Why Make Homemade Kinetic Sand?
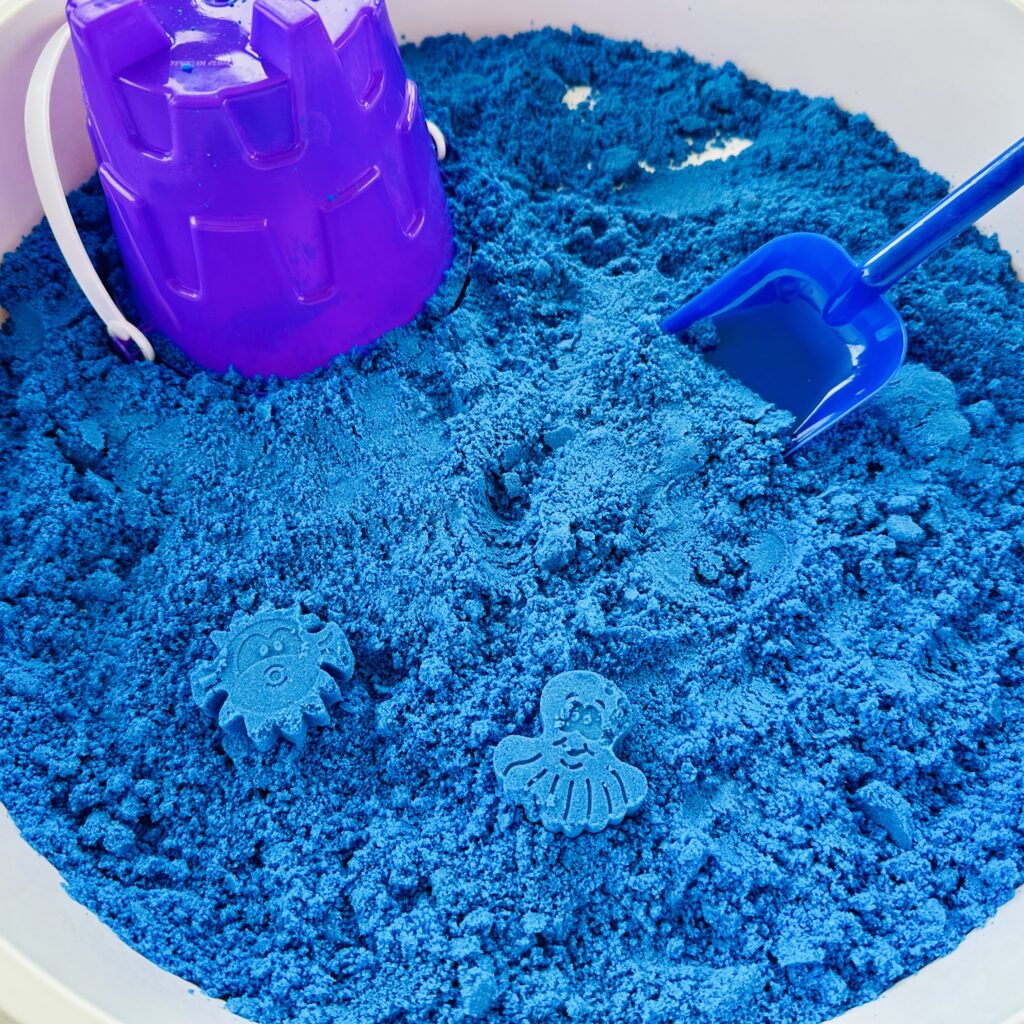
Kinetic sand is like regular sand, but it’s moldable, squeezable, and wonderfully squishy. Soft to the touch and easy to shape into anything your imagination can dream up, it offers endless possibilities for creative play.
Perfect as a sensory bin filler, kinetic sand is a favorite among kids and parents alike because it’s fun, easy to clean up, and super versatile. You can buy kinetic sand kits at the store, but making your own at home is simple and fun! Plus, you can whip up a big batch for a fraction of the price.
One of the best parts about homemade kinetic sand is that you know exactly what’s in it. No hidden chemicals, no questionable ingredients, just safe, everyday materials. That peace of mind is especially important for families with young kids, sensitive skin, or a preference for non-toxic play options.
Plus, homemade kinetic sand tends to have a softer texture, which makes it easier for little hands to squish, mold, and explore. It’s gentle, safe, and a great way to support fine motor development while keeping playtime screen-free and full of sensory fun.
Is Kinetic Sand Edible?
Here’s the big question every parent wants to know: Is kinetic sand edible? The short answer is no, it’s not edible.
The ingredients are generally non-toxic, but if your little one takes a bite, it’s not going to be a pleasant experience (hello, sand in the mouth!).
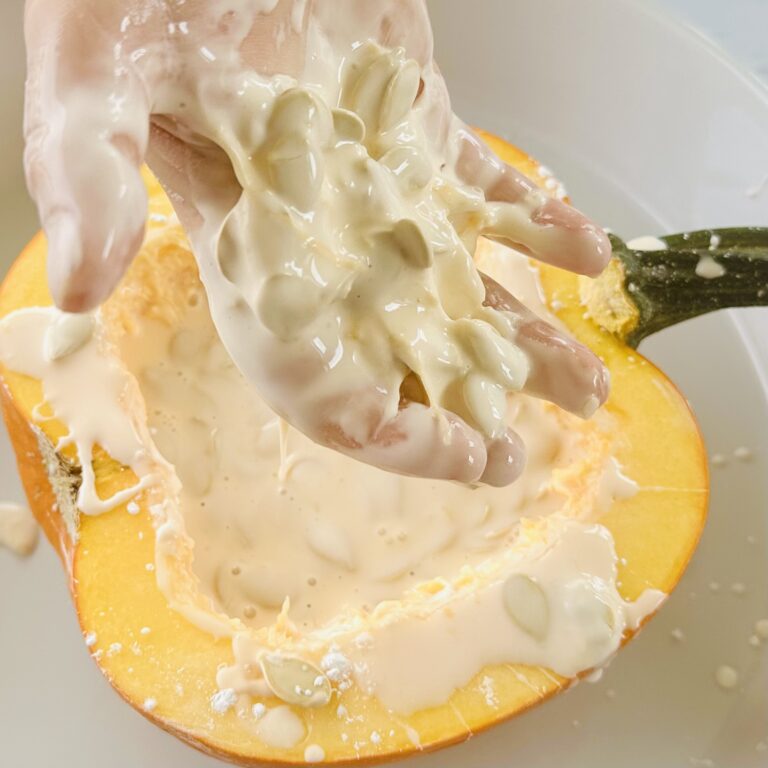
If you’re worried about younger kids putting it in their mouths, you might want to try making our Taste-Safe Kinetic Sand version using all food-grade ingredients.
The Best Homemade Kinetic Sand Recipe
You’ll need just a few simple ingredients to whip up your own batch at home:
Ingredients
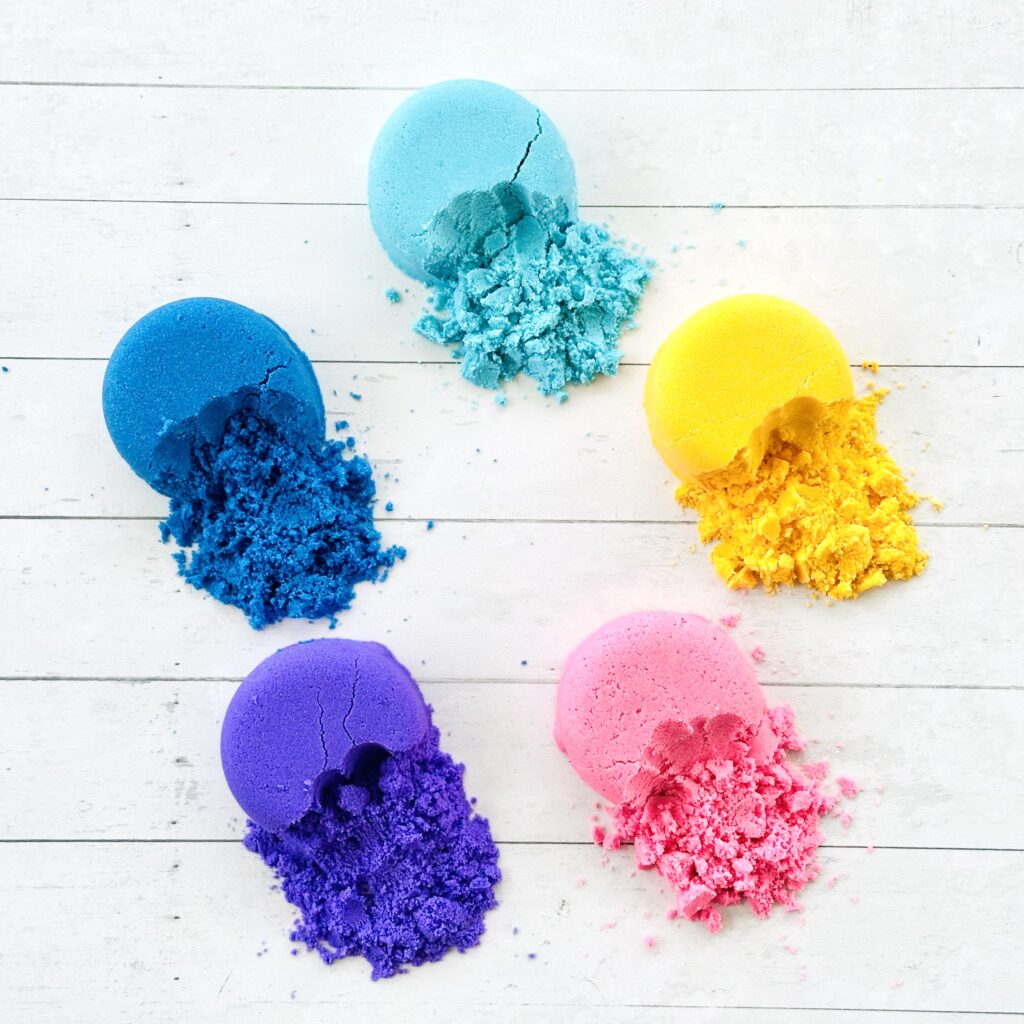
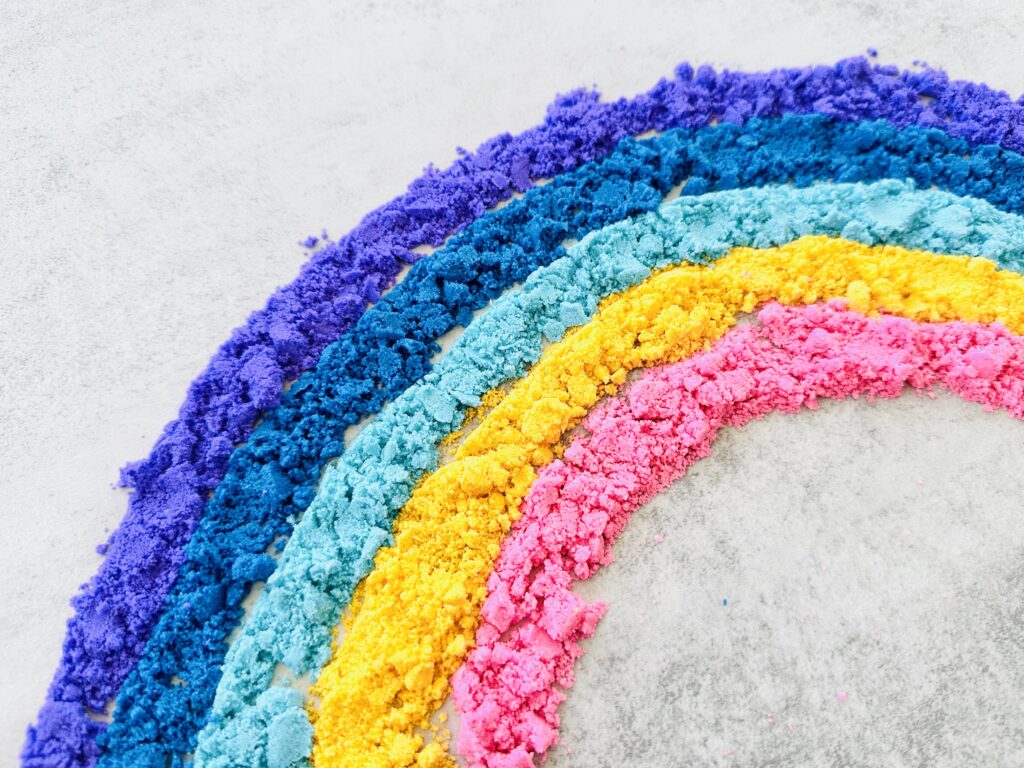
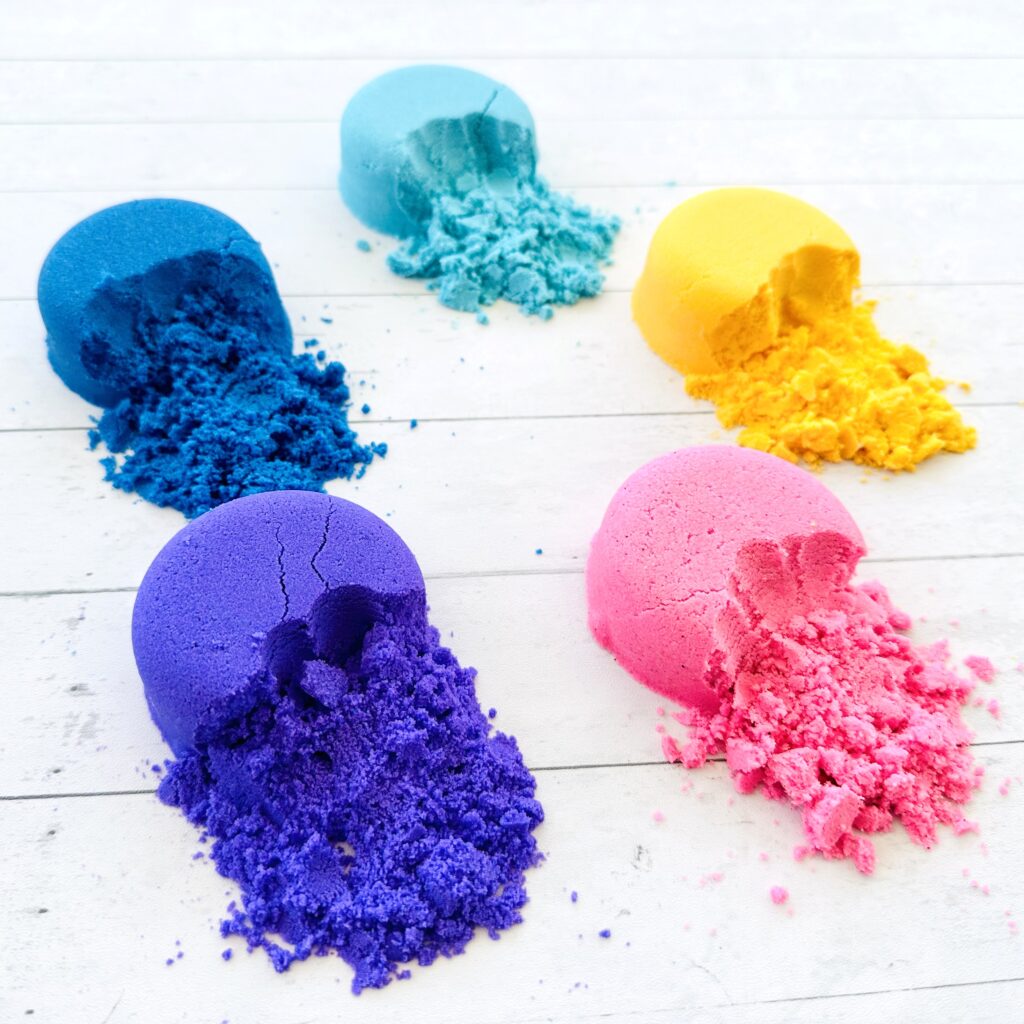
- 2 1/2 cups Play Sand (try colored sand in different colors)
- 1 1/2 cups Cornstarch
- 1/2 cup Vegetable Oil (Baby Oil can be used as a substitute)
- Optional: Glitter (for extra sparkle!)
- Optional: Essential Oils (for a fun scent!)
Instructions
Ready to get started? Here’s how you can make kinetic sand in just a few simple steps:
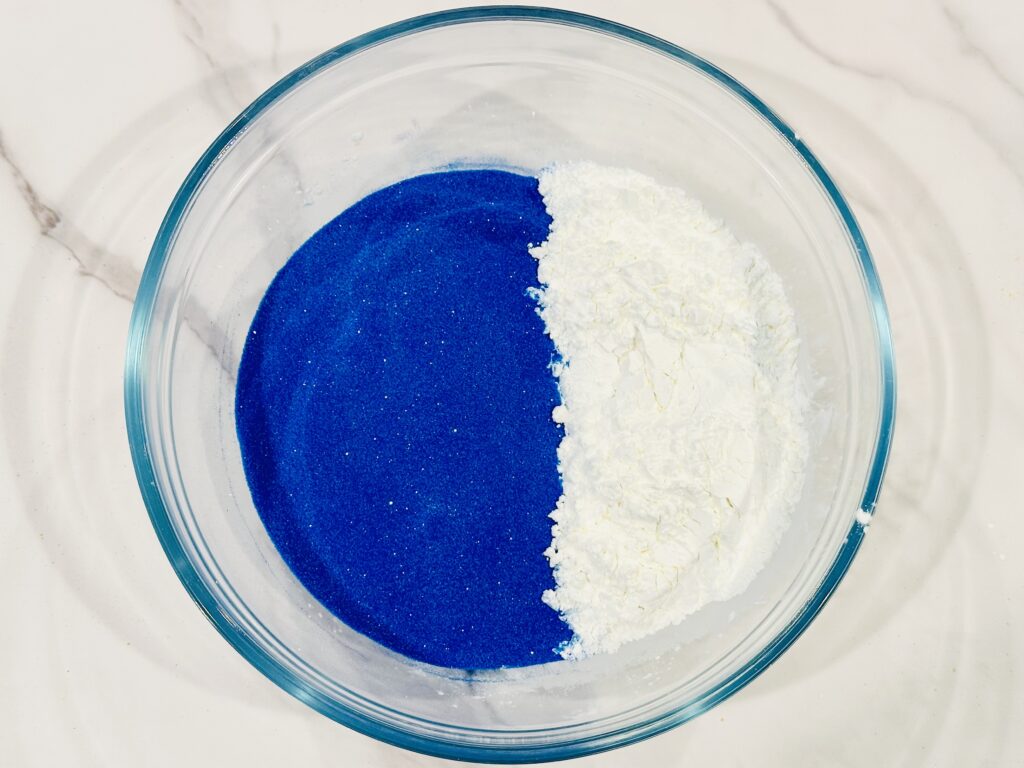
1. Mix Dry Indredients
Add 2.5 cups of fine play sand and 1.5 cups of cornstarch into a mixing bowl. Stir well to evenly distribute everything.
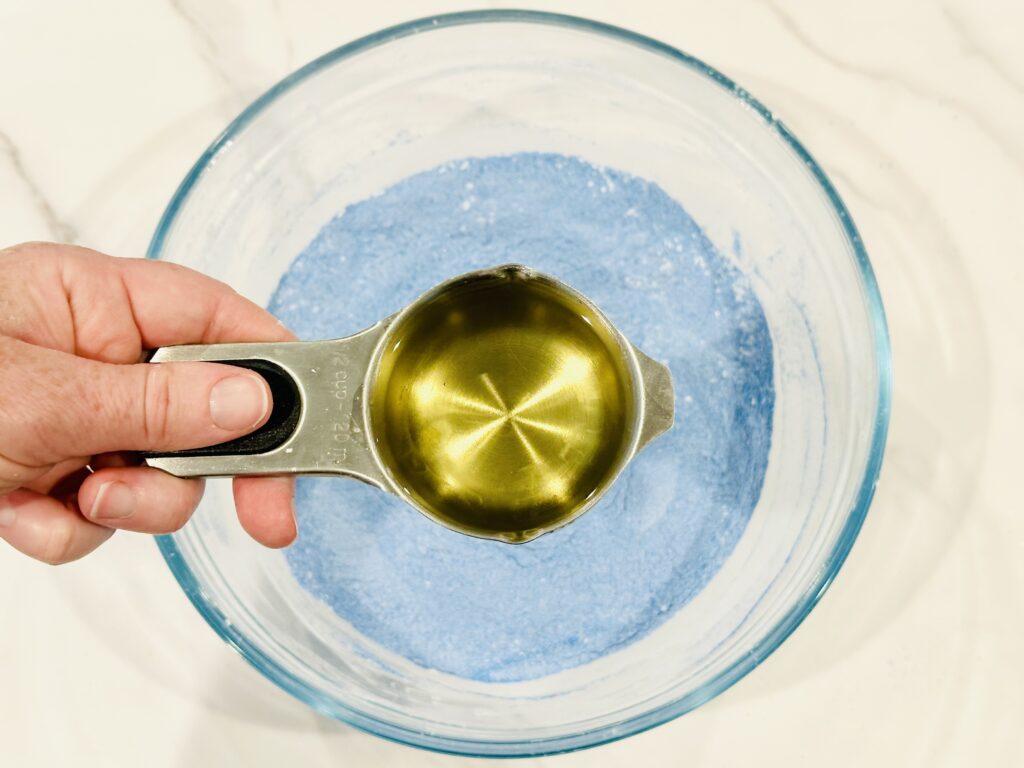
3. Add Oil
Slowly mix in the 1/2 cup oil.
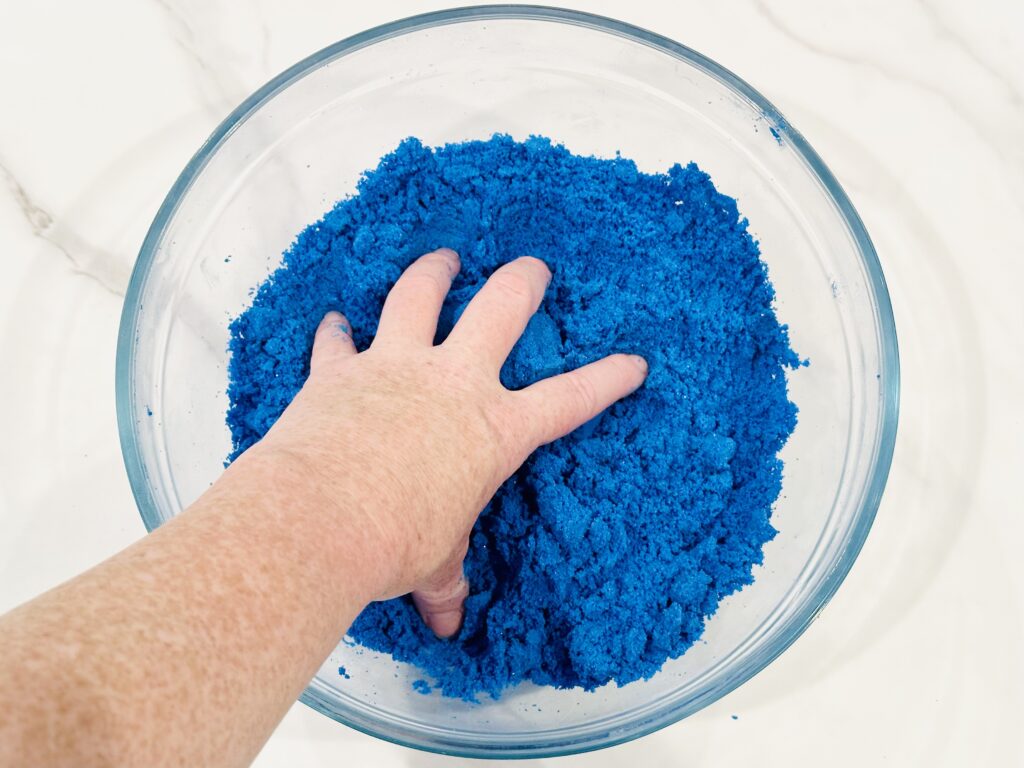
3. Mix It All Together
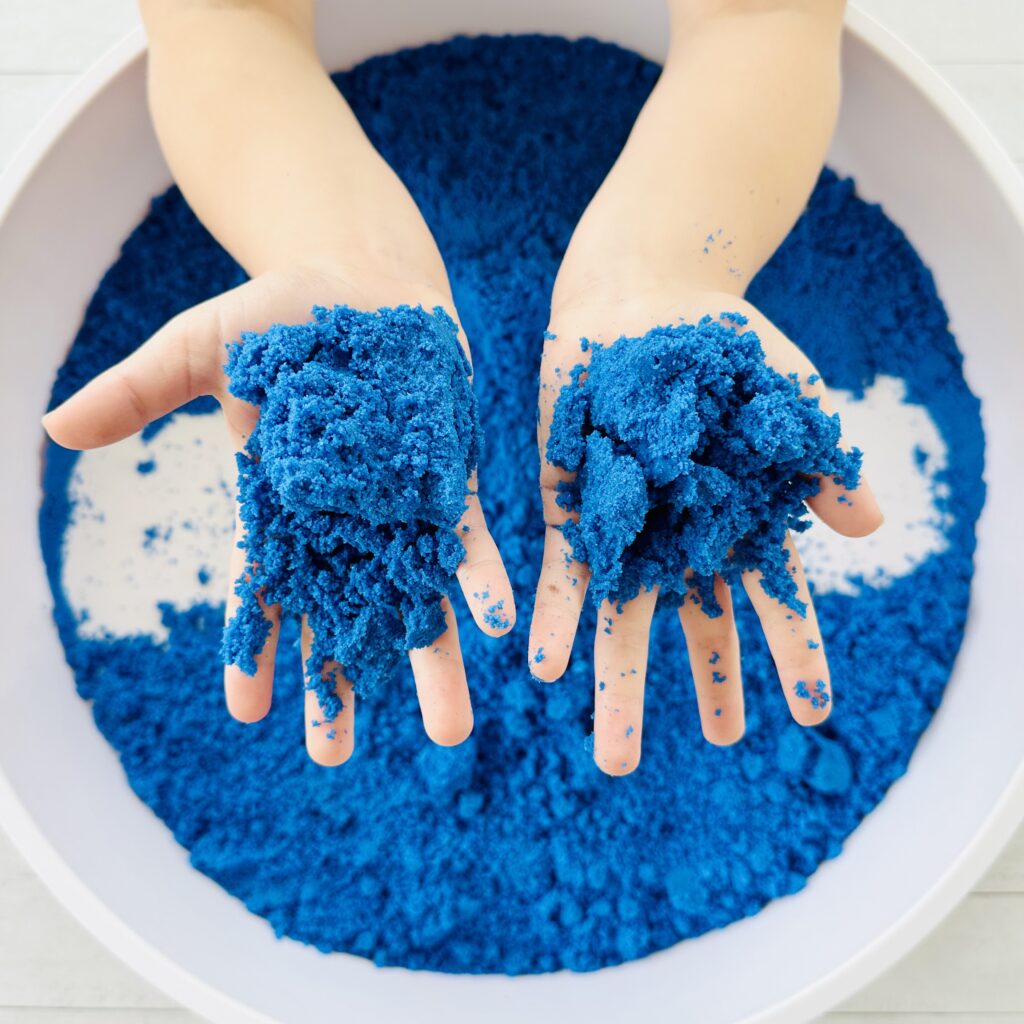
Use your hands to knead the mixture until it’s fully combined and has a soft, moldable texture. If it’s too dry, add a tiny bit more oil. If it’s too wet, sprinkle in a little more cornstarch.
4. Optional Extras
If you’re feeling fancy, now’s the time to add a few drops of essential oils for a lovely scent or a sprinkle of glitter for some sparkle.
How to Store Kinetic Sand
You’ll still want to store your kinetic sand properly to keep it clean and fresh. Just pop it into an airtight container or ziplock bag when the kids are done playing. It should last for several weeks (or even months!) if stored properly.
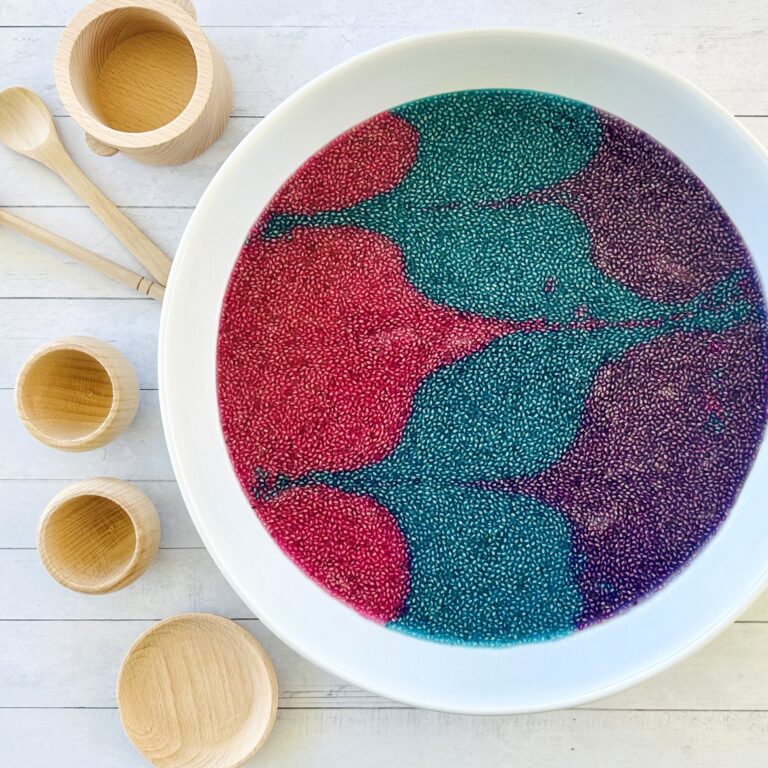
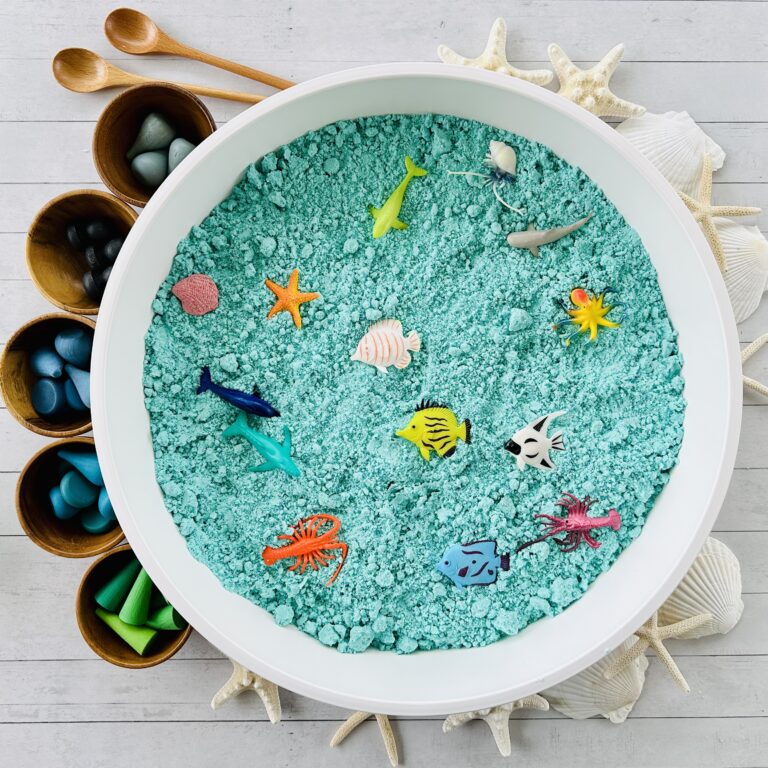
Kinetic Sand Sensory Bin Ideas
Now that your kinetic sand is ready, it’s time to set up some fun sensory bins to make playtime even more exciting! Sensory bins not only keep the kinetic sand contained (less mess!) but also spark imaginative play. Here are some simple and creative ideas:
- Construction Site: Add toy trucks, pebbles, popsicle sticks, and wood blocks to the sand. Let your child drive trucks through their very own construction zone.
- Dinosaur Dig: Place small plastic dinosaurs, pebbles, and foliage in the bin, and your child can create a prehistoric landscape, complete with hills and dino caves.
- Ice Cream Shop: Use scoops, cups, and pop-pom balls, and pretend food items to let your child create their own “ice cream cones.”
Tips for Making the Most of Your Kinetic Sand
Why Sensory Play Matters
Sensory play is an essential part of your child’s development. From the moment they’re born, babies use their senses to explore the world. By engaging their senses through touch, sight, smell, sound, and taste, they build crucial connections in the brain that help with learning and cognitive development.
Sensory play is especially important because it:
- Builds Nerve Connections: Playing with different textures and materials helps children create pathways in their brain, leading to better problem-solving and fine motor skills.
- Encourages Motor Skills Development: Squishing and molding kinetic sand strengthens both fine motor skills (those small muscle movements like pinching) and gross motor skills (bigger movements like scooping or digging).
- Boosts Language Development: When children describe what they feel or create stories about their play, they strengthen their vocabulary and storytelling skills.
- Promotes Calm and Focus: For many children, especially those with sensory processing needs, sensory play can be calming and help them focus better.
You’ll Love This Kinetic Sand Recipe
Making kinetic sand at home is an easy and affordable way to keep your kids entertained while boosting their development.
So grab your ingredients, whip up a batch, and let the sensory play begin! Let me know how yours turns out in the comments.

Kinetic Sand Recipe
Equipment
- 1 Mixing Bowl
- 1 Mixing Spoon
- Measuring Cups
Ingredients
- 2 ½ cups fine play sand (any color works!)
- 1 ½ cups cornstarch
- ½ cup vegetable oil
Instructions
- Add 2 ½ cups of play sand and 1 ½ cups of cornstarch into a mixing bowl. Stir well to evenly distribute everything.
- Slowly mix in the ½ cup oil.
- Use your hands to knead the mixture until it’s fully combined and has a soft, moldable texture. If it’s too dry, add a tiny bit more oil. If it’s too wet, sprinkle in a little more cornstarch.
- Let the sensory play begin!
Recommended
- How To Make The Best Taste-Safe Kinetic Sand
- How To Make A Kinetic Sand Construction Sensory Bin
- How to Create an Awesome Dinosaur Sensory Bin
- 18 Recipes: The Best DIY Sensory Bin Fillers
- 4 Recipes: How To Make Taste-Safe Sensory Mud And Dirt
- 8 Of The Best Ocean Sensory Activities For Kids
- 9 Of The Best Taste-Safe Sensory Play Ideas