Fall Sensory Bin Using DIY Kinetic Sand
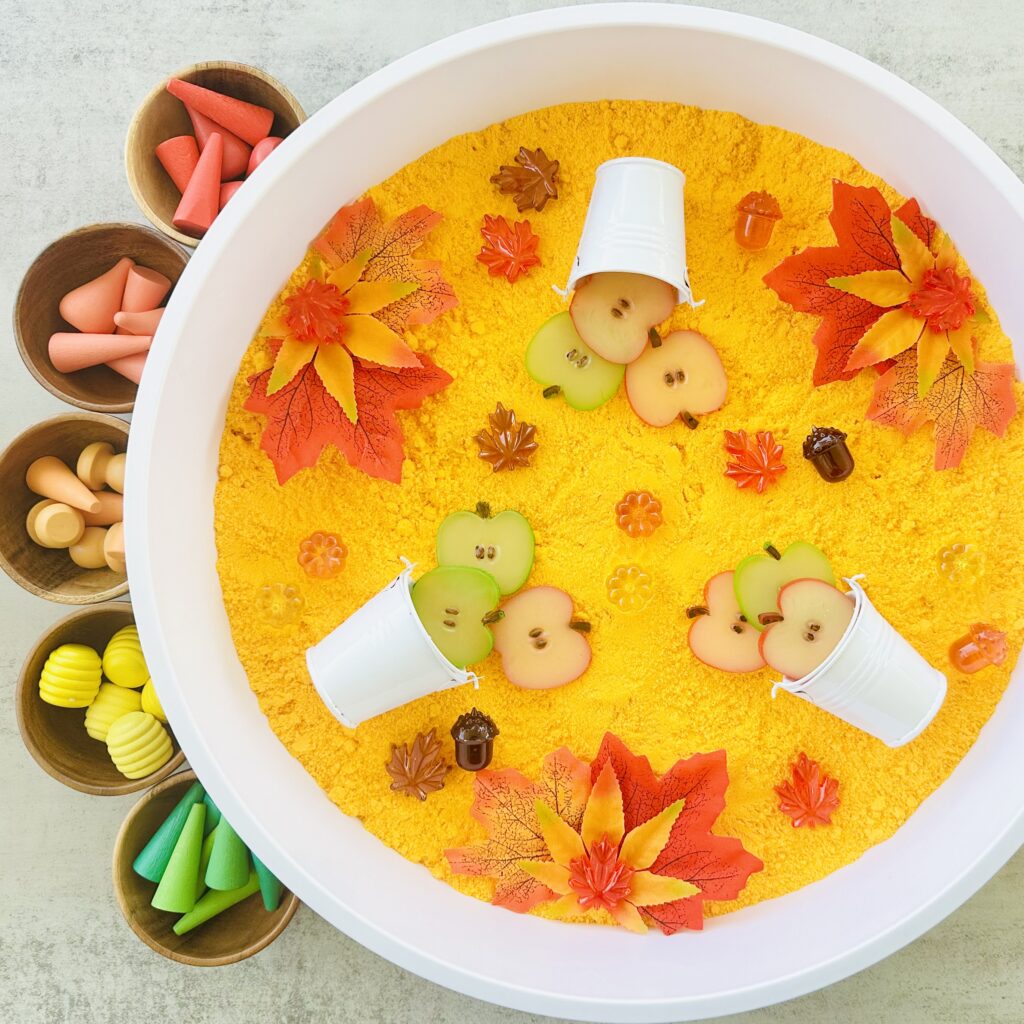
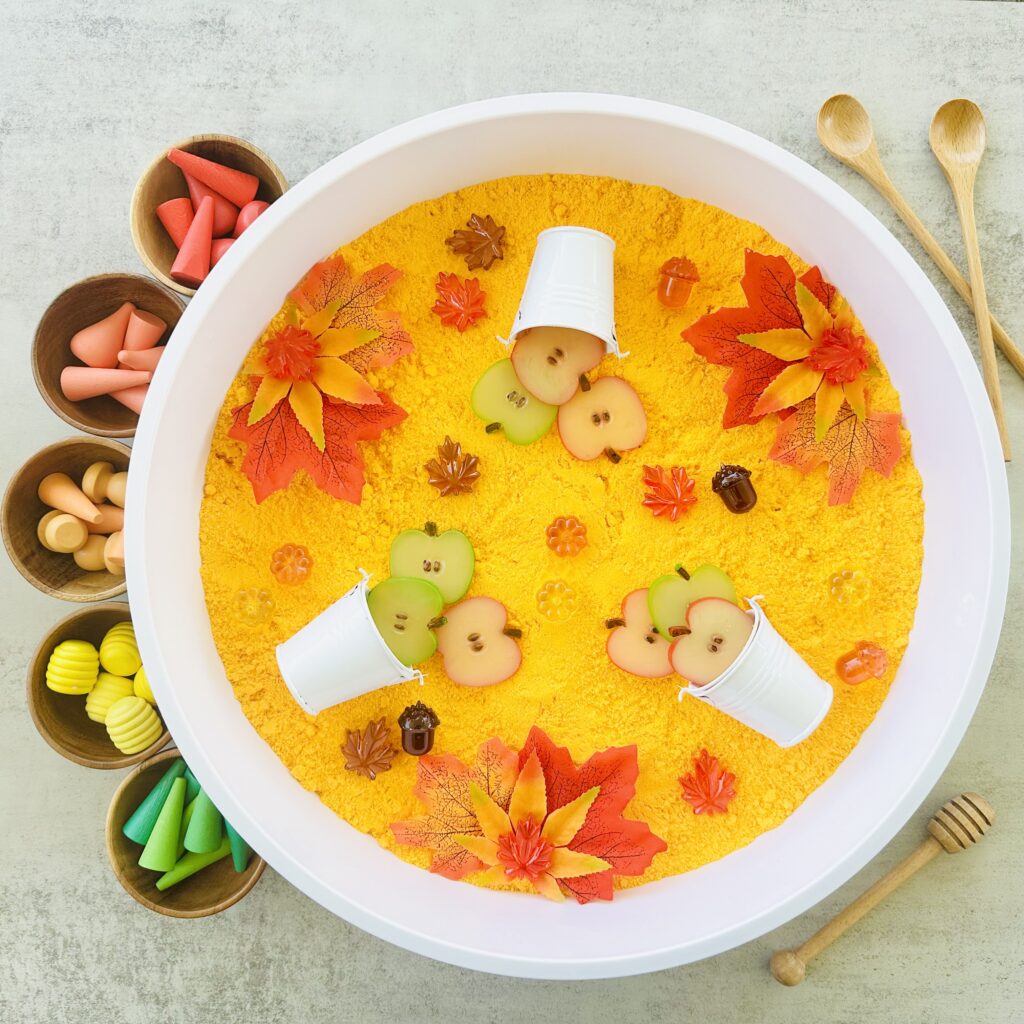
Create this Fall Sensory Bin using homemade kinetic sand, faux leaves, and fall-themed treasures! It’s the perfect small world sensory play activity for kids who love to explore, scoop, and dive into cozy autumn adventures!
Always supervise children during sensory play. See full disclaimer here. This post may contain affiliate links, which means I may earn a small commission if you make a purchase through these links, at no extra cost to you. As an Amazon Associate, I earn from qualifying purchases. I only recommend products I personally use and love! You can read more about my disclosure policy here.
If you’re looking for a hands-on sensory adventure that brings the magic of fall to life, this DIY Kinetic Sand Fall Sensory Bin is just what you need! It’s a fun and engaging activity for toddlers, preschoolers, and even older kids who love autumn leaves, crisp fall colors, and cozy seasonal play.
We use homemade yellow kinetic sand as the base and fall-themed items like leaf gems, faux apple slices, and cookie cutters to create an exciting small world sensory play setup that sparks curiosity and imaginative play!
Why This Fall Sensory Bin Is A Must-Try
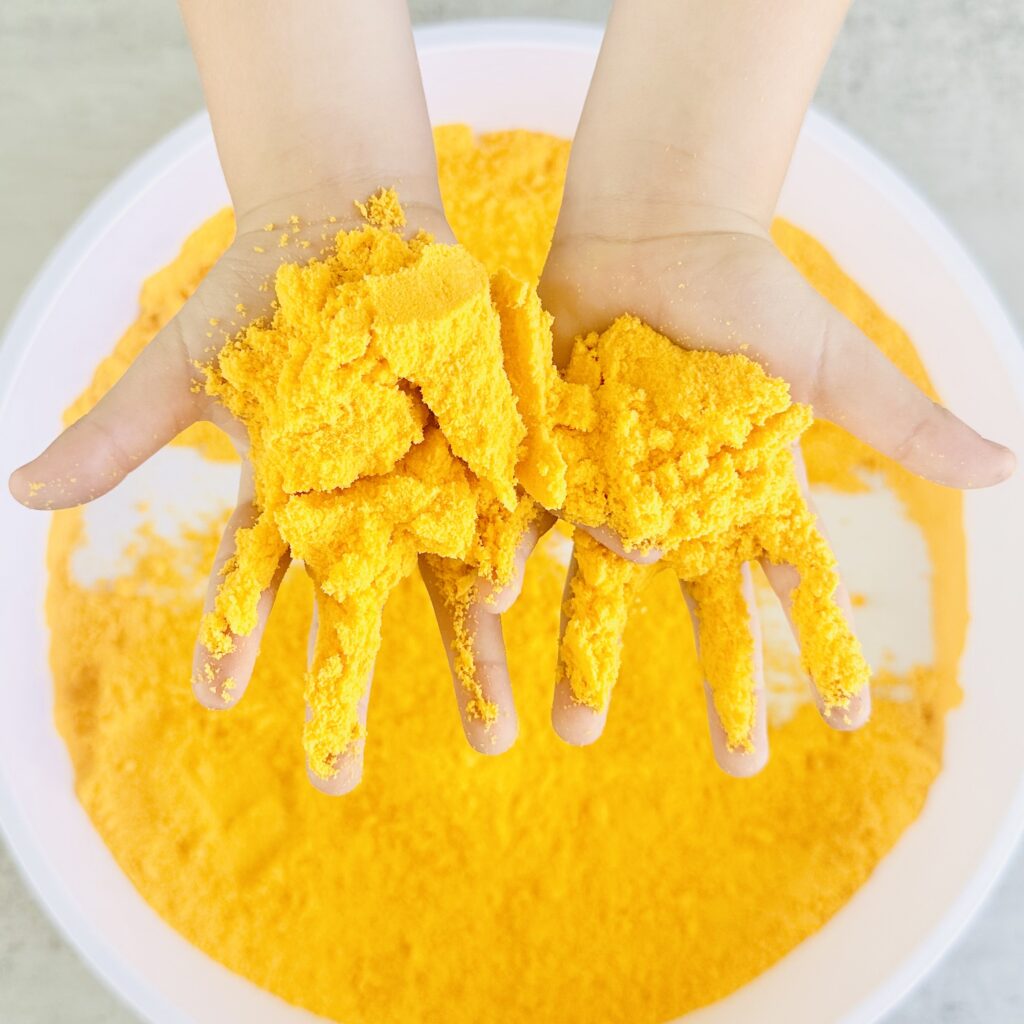
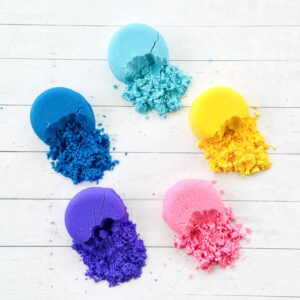
If you’ve never made kinetic sand before, you’re in for a treat! It’s soft, fluffy, and silky to the touch, but still holds its shape when pressed. It’s perfect for little hands to dig, scoop, and mold into cozy fall scenes.
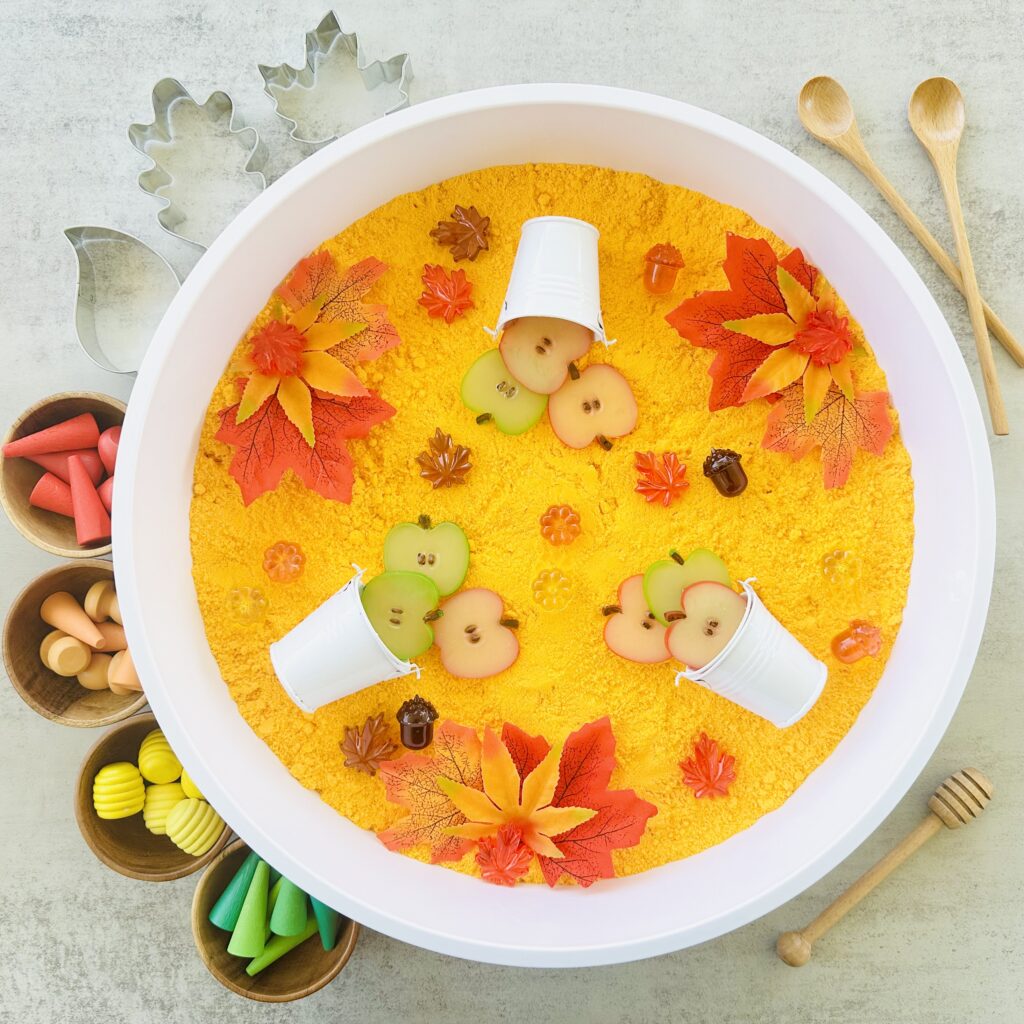
To make the fall sensory bin feel magical, we used yellow kinetic sand and added fall colored leaf gems, faux apple slices, mini buckets, and cookie cutters in leaf shapes. These materials encourage your child to create their own little autumn world full of adventure, discovery, and pretend play.
Kids will love burying leaf gems, scooping sand into cookie cutters, and diving into their own magical fall sensory zone!
Fall sensory activities like this one are a wonderful way to spark creativity, build fine motor skills, and keep kids engaged in hands-on seasonal fun.
How To Create A Fall Sensory Bin
What You’ll Need
You could buy Kinetic Sand or make your own (it’s so easy!). If you’re worried about younger kids putting it in their mouths, you might want to try making our Taste-Safe Kinetic Sand Recipe which uses food-grade ingredients. Here’s everything you’ll need to make a batch of Kinetic Sand:
- 2 cups Play Sand (we used yellow play sand but any color works!)
- 1 1/2 cups Cornstarch
- 1/2 cup Vegetable Oil
Extras for the fall sensory bin:
- Leaf Cookie Cutters
- Mini Buckets
- Fall Themed Gems, Wooden Loose Parts, or other fall-themed trinkets
- Silicone Cupcake Liners or Small Bowls
- Scoops and Funnel, Tongs and Tweezers, Spoons, or cookie cutters
- Sensory Bin (or any container big enough for your child to play in).
Kinetic Sand Instructions
1. Mix Dry Indredients
Add 2.5 cups of fine play sand and 1.5 cups of cornstarch into a mixing bowl. Stir well to evenly distribute everything.
3. Add Oil
Slowly mix in the 1/2 cup oil.
3. Mix It All Together
Use your hands to knead the mixture until it’s fully combined and has a soft, moldable texture. If it’s too dry, add a tiny bit more oil. If it’s too wet, sprinkle in a little more cornstarch.
4. Optional Extras
If you’re feeling fancy, now’s the time to add a few drops of essential oils for a lovely scent or a sprinkle of glitter for some sparkle. Just make sure it’s safe for kids and won’t irritate sensitive skin.
How to Set Up Your Fall Sensory Bin
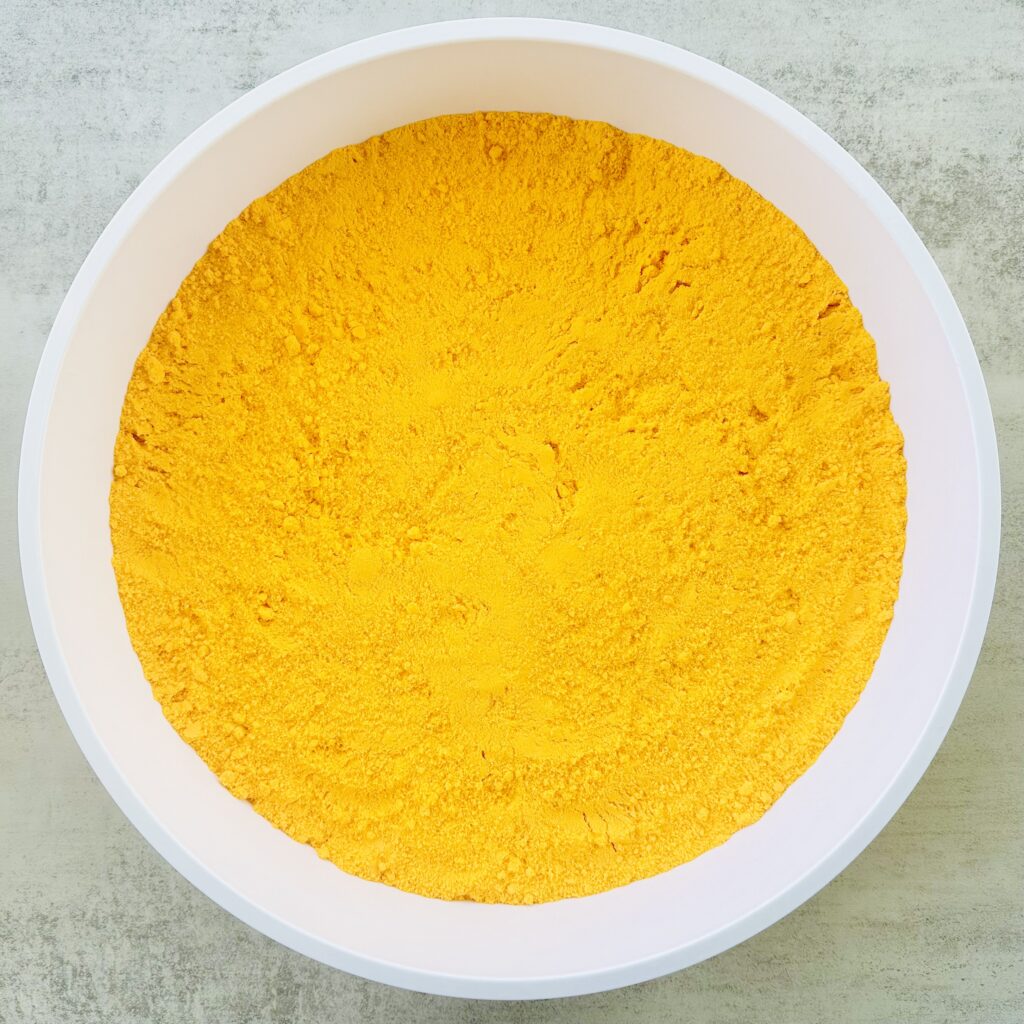
1. Fill the Bin
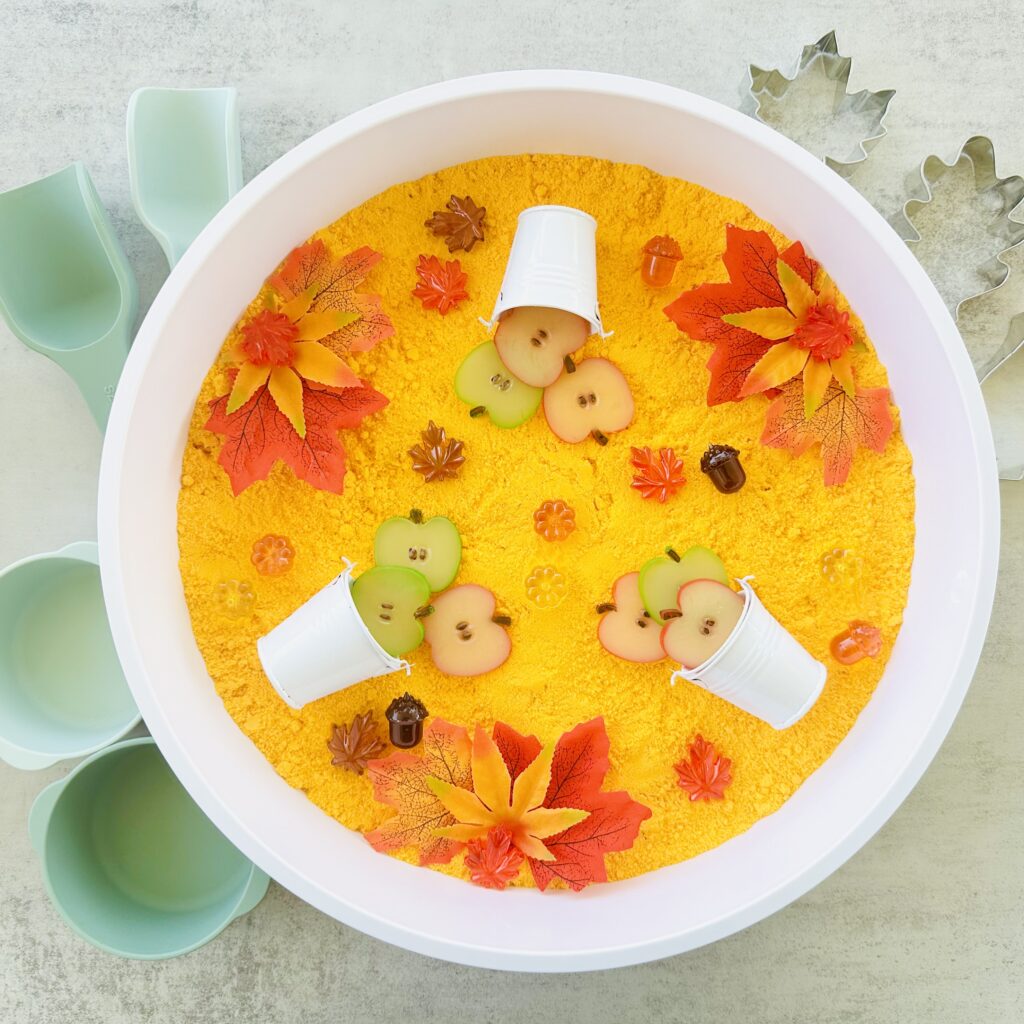
Start by adding your homemade kinetic sand to your large container or sensory bin. Spread it out evenly across the base. This is your child’s autumn base, ready to be explored!
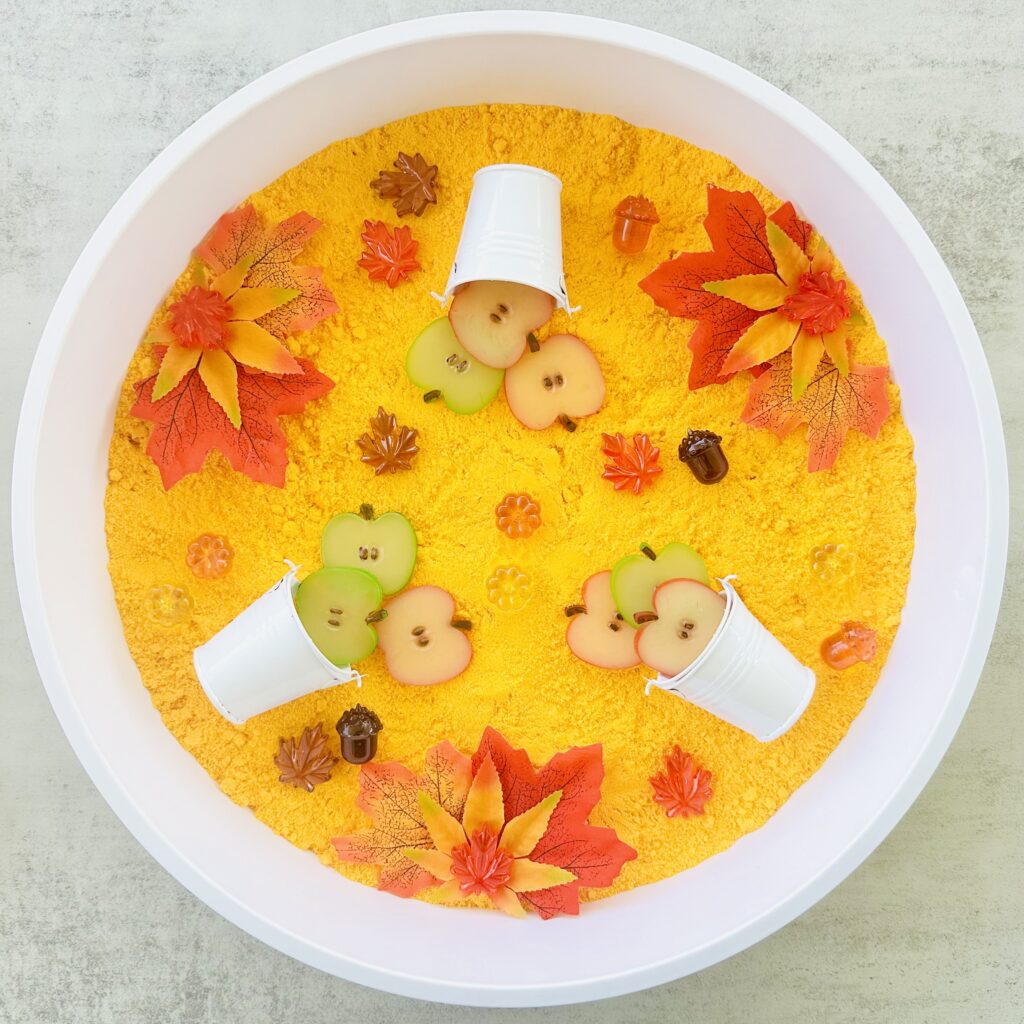
2. Add Fall Items
Next, place your fall-themed treasures into the sand. Add fall faux leaves, colored fall gems, apple slices, and mini buckets. These items add fun textures and cozy fall vibes.
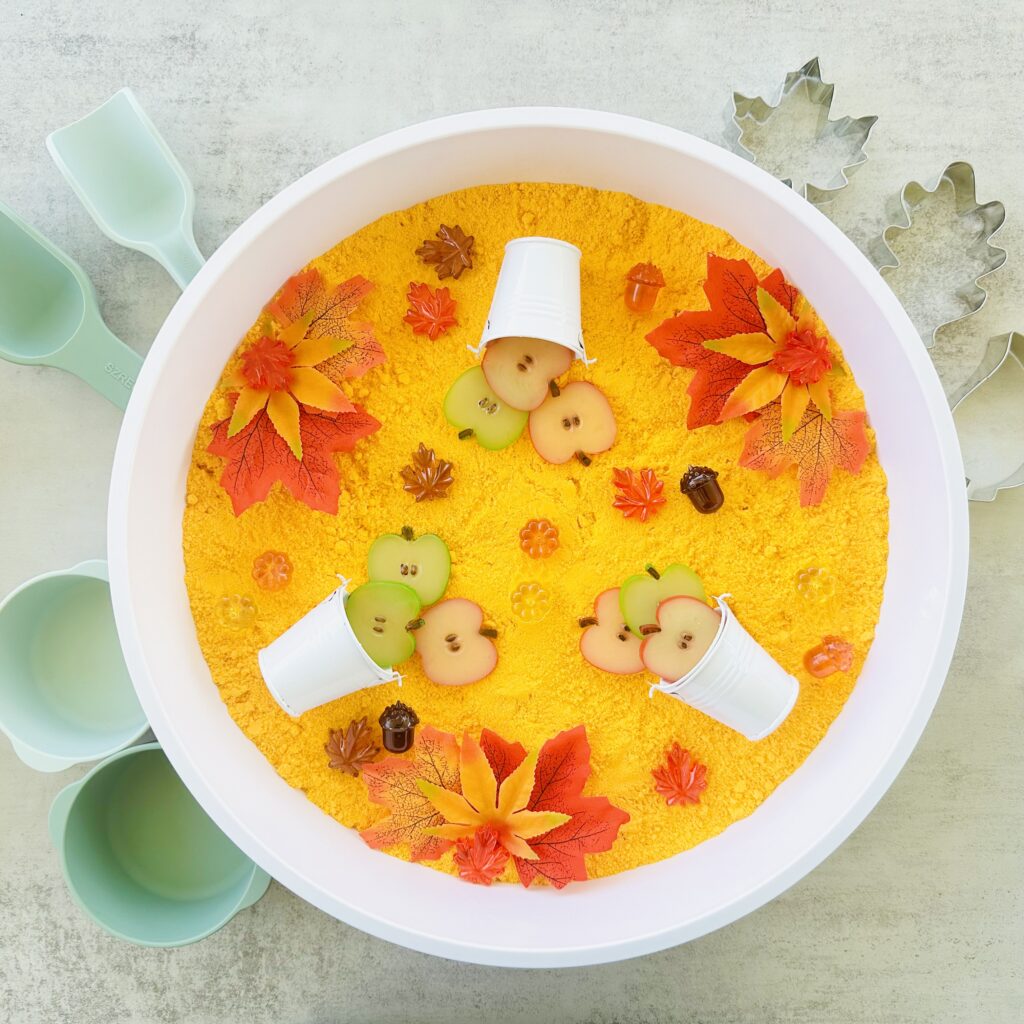
3. Add Scoops and Tongs
To make the bin even more interactive, toss in some scoops, tongs, and cookie cutters to give your child even more ways to interact with the bin. These tools promote fine motor development as kids scoop, dig, cut out shapes, and collect autumn treasures.
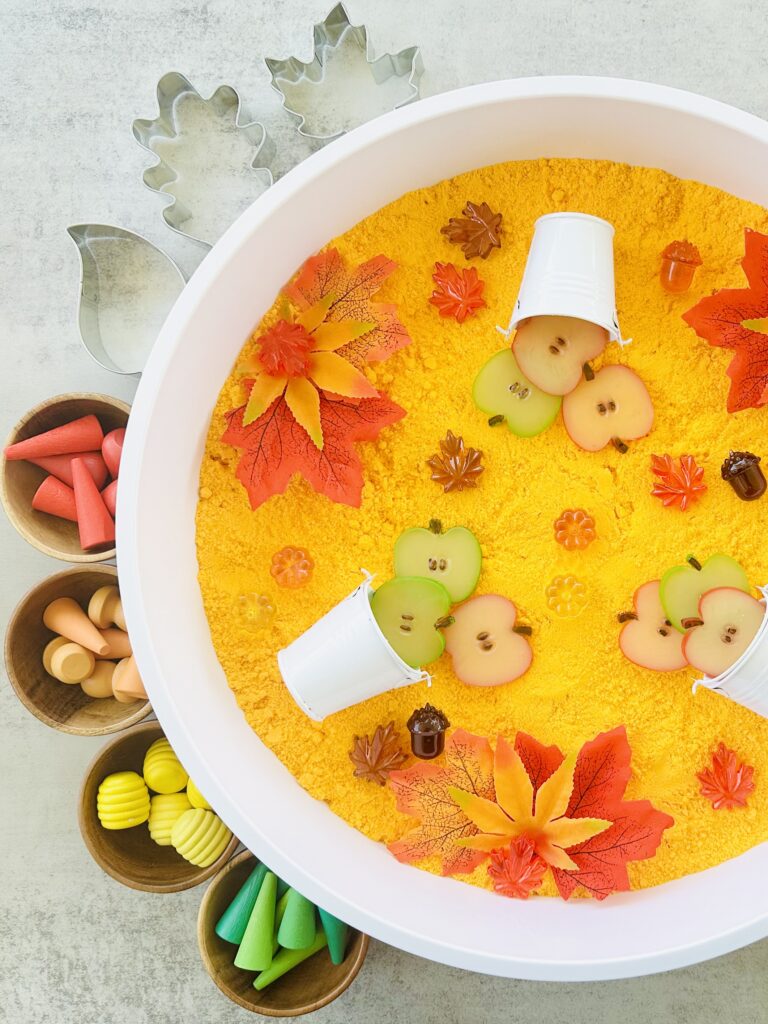
4. Let Them Play
Now that your fall world is set up, let the fun begin! Watch as your child explores the fall forest floor, collects apples, buries leaf gems, and creates their own cozy autumn stories.
Creative Play Ideas For Your Fall Sensory Bin
You’ll be amazed by how long your child stays engaged with this fall sensory adventure. Don’t be surprised if your little one spends a solid 20 minutes just running their fingers through the sand. It’s that satisfying! Want to take it up a notch? Here are a few ideas:
1. Fall Storytime
Pair the bin with a book like Leaf Man, Apple Trouble, or Red Leaf, Yellow Leaf. After reading, encourage your child to act out scenes or create new autumn tales using the bin.
2. Leaf Treasure Hunt
Hide leaf gems or small fall trinkets in the sand and challenge your child to find them using scoops or tweezers. It’s a fun surprise element that keeps them engaged!
3. Free Play
Sometimes the best moments come from unstructured exploration. Let the imagination flow! Ask open-ended questions like “What’s happening in the fall forest today?” or “Where are the apples going?” to spark conversation and creative storytelling.
Tips for Making the Most of Your Kinetic Sand
Safety When Playing with Sensory Bins
Sensory bins are amazing, but it’s always good to keep a few safety tips in mind:
- Supervise younger kids. If you have toddlers or babies playing with the bin, always keep an eye on them to make sure they’re not putting any small objects in their mouths. Choking hazards are a real concern, so be mindful of the size of the objects you include.
- Watch out for sharp or fragile items. Avoid anything that could potentially break or shatter in the bin. Stick to soft or flexible items like plastic figures, pom-poms, and silicone or plastic scoops.
- Keep it clean. Sensory bins can get messy! Lay down a sheet or tablecloth underneath to catch any runaway sand or small pieces. This makes cleanup a breeze.
Why We Love This Fall Sensory Bin
This kinetic sand fall sensory bin is a hit for kids of all ages. It’s easy to make and endlessly versatile for creative play. Plus, it’s an affordable way to bring a little extra fun to your fall sensory activities.
So grab your ingredients, mix up a batch of kinetic sand, and dive into some magical autumn sensory play! Don’t forget to share your fall sensory bin creations in the comments. I’d love to see them!!
Kinetic Sand Recipe
Equipment
- 1 Mixing Bowl
- 1 Mixing Spoon
- Measuring Cups
Ingredients
- 2 ½ cups fine play sand (any color works!)
- 1 ½ cups cornstarch
- ½ cup vegetable oil
Instructions
- Add 2 ½ cups of play sand and 1 ½ cups of cornstarch into a mixing bowl. Stir well to evenly distribute everything.
- Slowly mix in the ½ cup oil.
- Use your hands to knead the mixture until it’s fully combined and has a soft, moldable texture. If it’s too dry, add a tiny bit more oil. If it’s too wet, sprinkle in a little more cornstarch.
- Let the sensory play begin!
Recommended
- 16 Of The Best Fall Sensory Activities For Kids
- How To Make DIY Fall Sensory Bottles
- Apple Pie Sensory Bin Using Taste-Safe Chickpea Foam
- Fall-Themed Sensory Bin using DIY Colored Rice
- How To Make An Apple Moon Sand Sensory Bin
- How To Make Halloween Fluffy Pumpkin Slime
- How To Make Glittery Pumpkin Slime (No Borax!)
- How To Make An Erupting Pumpkin Volcano
- How To Make Pumpkin Oobleck For Sensory Play
- How to Make Taste Safe Halloween Peeps Slime
- 18 Exciting Halloween Sensory Activities For Kids Of All Ages



One Comment
Comments are closed.