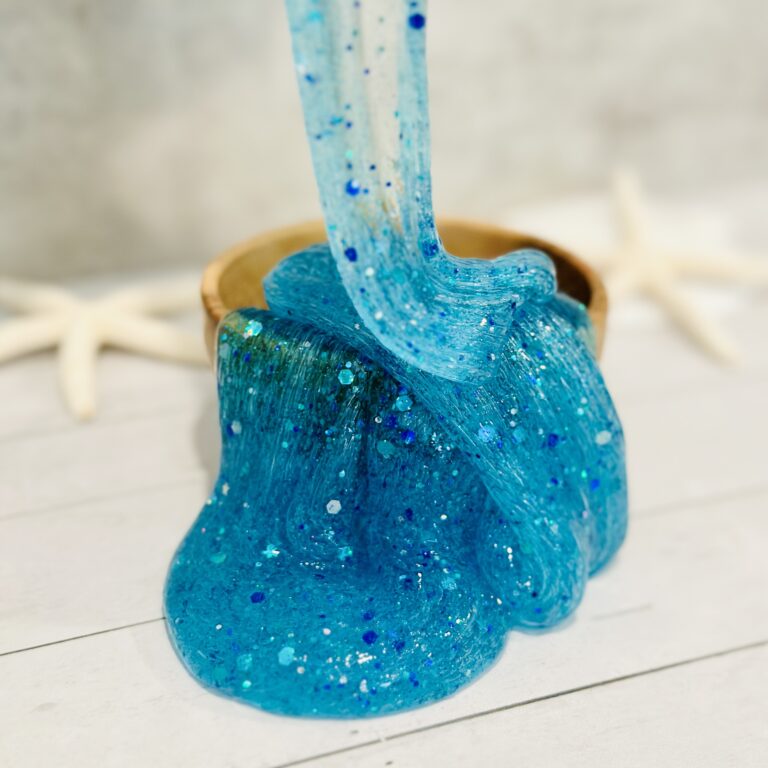
How To Make Sparkly Witches’ Brew Halloween Slime (No Borax!)
Create this magical Sparkly Witches’ Brew Halloween Slime! Easy 3-ingredient recipe using clear glue, baking soda, and contact solution for spooky, glittery fun kids will love.
Always supervise children during sensory play. See full disclaimer here. This post may contain affiliate links, which means I may earn a small commission if you make a purchase through these links, at no extra cost to you. As an Amazon Associate, I earn from qualifying purchases. I only recommend products I personally use and love! You can read more about my disclosure policy here.
Halloween is the perfect time to get a little spooky and a lot creative, and what better way to entertain the kiddos (and yourself) than by making some Sparkly Witches’ Brew Halloween Slime?
It’s easy, inexpensive, and a super fun sensory play activity. Plus, it’s the perfect way to get into the Halloween spirit without too much fuss or mess.
Why Make Sparkly Witches’ Brew Halloween Slime?
There’s something truly magical about DIY slime like this Sparkly Witches’ Brew Halloween Slime. First, you control all the ingredients, no hidden chemicals or mysterious additives. Second, it’s a fantastic hands-on sensory play activity that combines fun and learning.
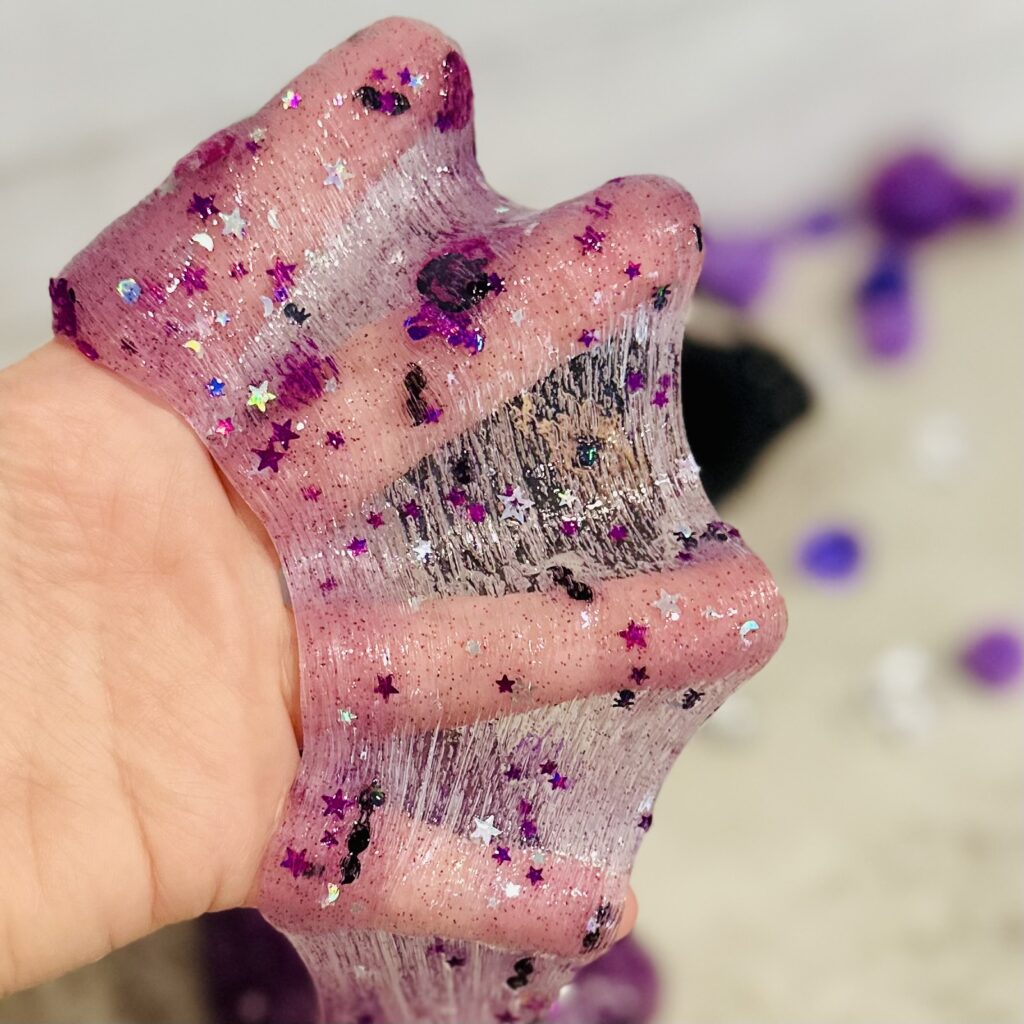
But the best part? DIY Halloween slime is endlessly customizable! You can go with shimmery purple and silver glitter, spooky black confetti, or even toss in some tiny witch hats or spider trinkets for that creepy-cute Halloween vibe. Your imagination is the only limit.
Why Seasonal Activities Are Awesome
Seasonal activities are a fantastic way to mark the changing seasons and get kids excited about upcoming holidays. They create lasting memories, and it’s something the whole family can look forward to each year.
Whether you’re hosting a Halloween party, having a witchy-themed playdate, or just looking for an afternoon project, Halloween Sensory Activities like this Sparkly Witches’ Brew Halloween Slime always adds a little extra fun to the mix.
The Best Sparkly Witches’ Brew Halloween Slime Recipe
Ingredients
To make this Sparkly Witches’ Brew Halloween Slime recipe, we used our classic Clear Slime Recipe. You’ll need the following:
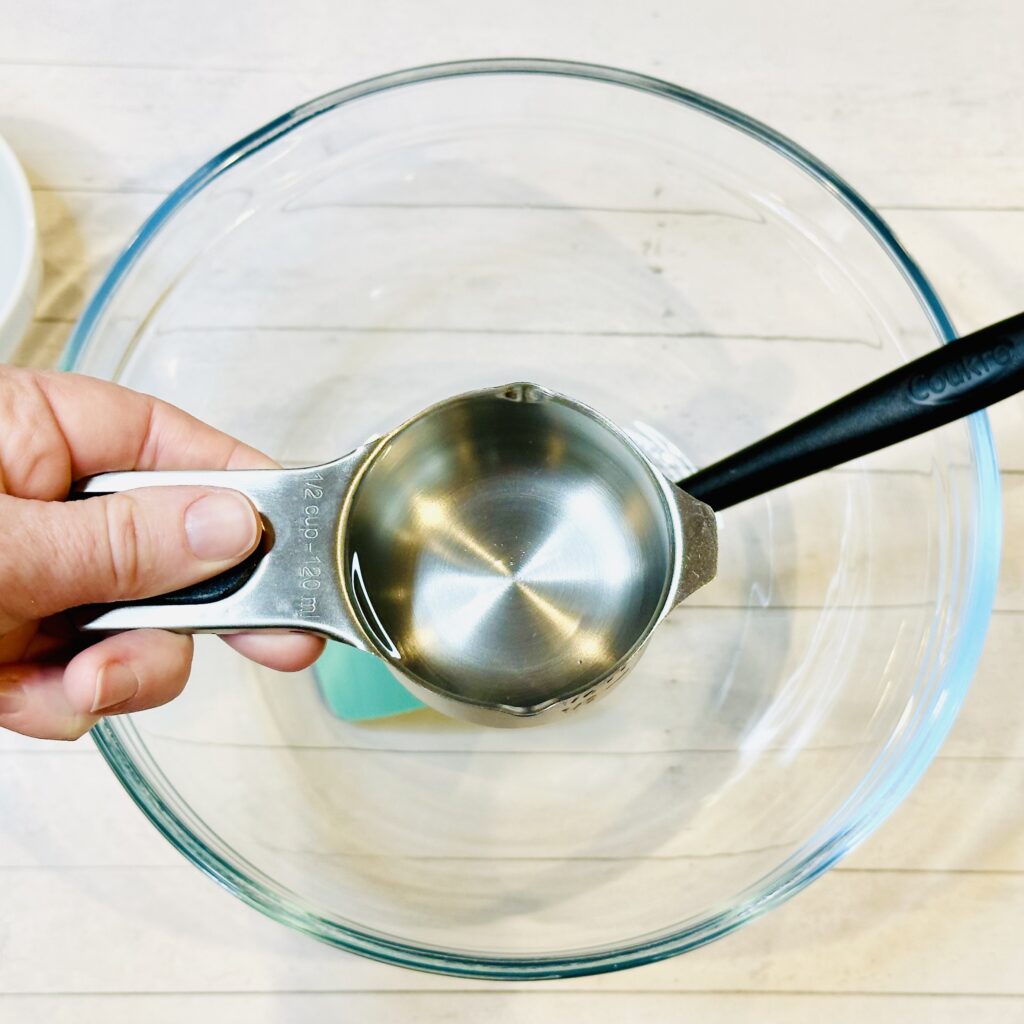
- 1/2 cup Elmer’s Clear Glue
- 1/2 cup Warm Water
- 1/2 teaspoon Baking Soda
- 1-2 tablespoons Contact Lens Solution (make sure it contains boric acid or sodium borate): We used Bauch+Lomb Renu.
- Optional: Food coloring, Glitter, Halloween confetti or sequins to add extra spooky sparkle!
Instructions
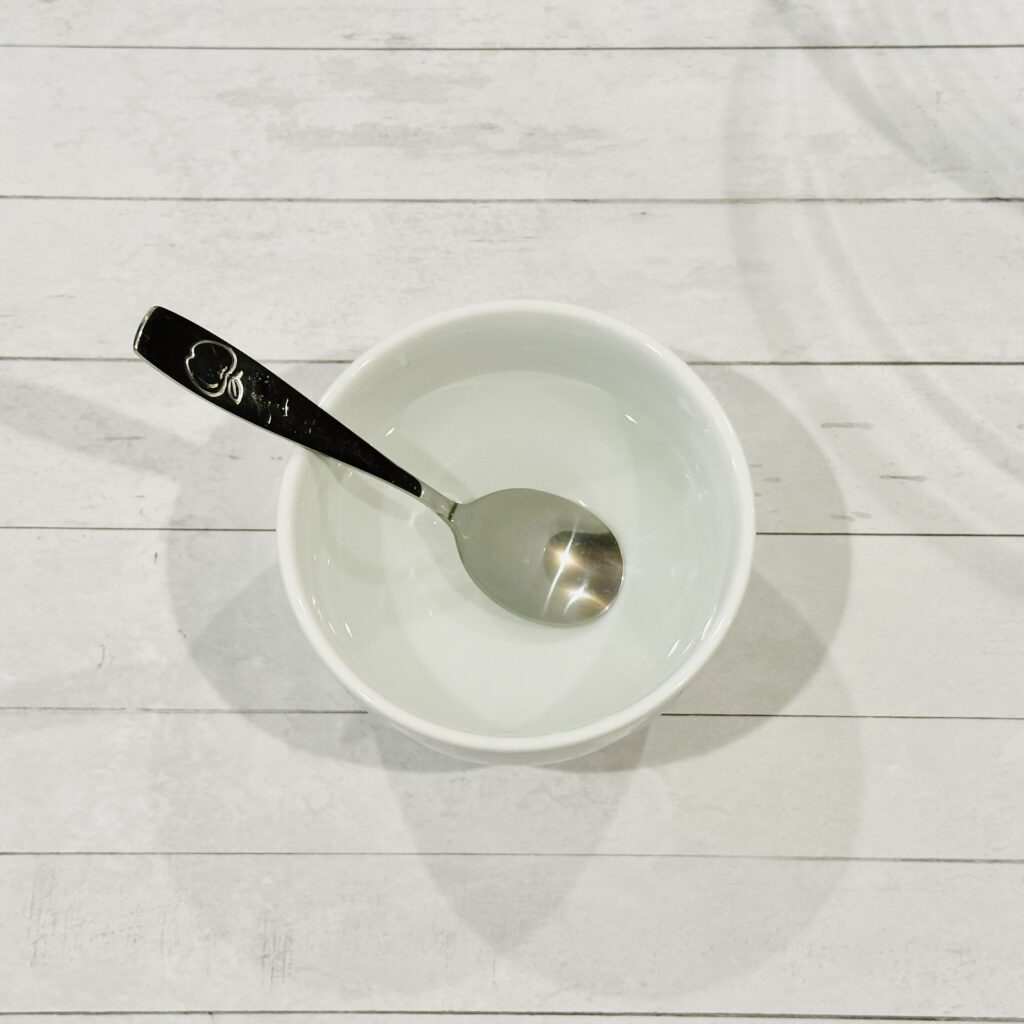
1. Mix Your Baking Soda and Water
In a separate small bowl, dissolve 1/2 tsp baking soda into 1/2 cup warm water. Be sure the baking soda dissolves completely and then let the mixture cool slightly. This ensures you won’t get a sticky or runny slime later on.
2. Add Glue
Add 1/2 cup clear glue to a mixing bowl.
3. Combine Glue and Water Mixture
Slowly add the water and baking soda mixture to the clear glue in the mixing bowl. It’s important to stir gently so that you don’t create too many bubbles. Fewer bubbles in this step means clearer slime in the end! If you’re really trying to get that perfect crystal-clear look, slow and steady wins the race.

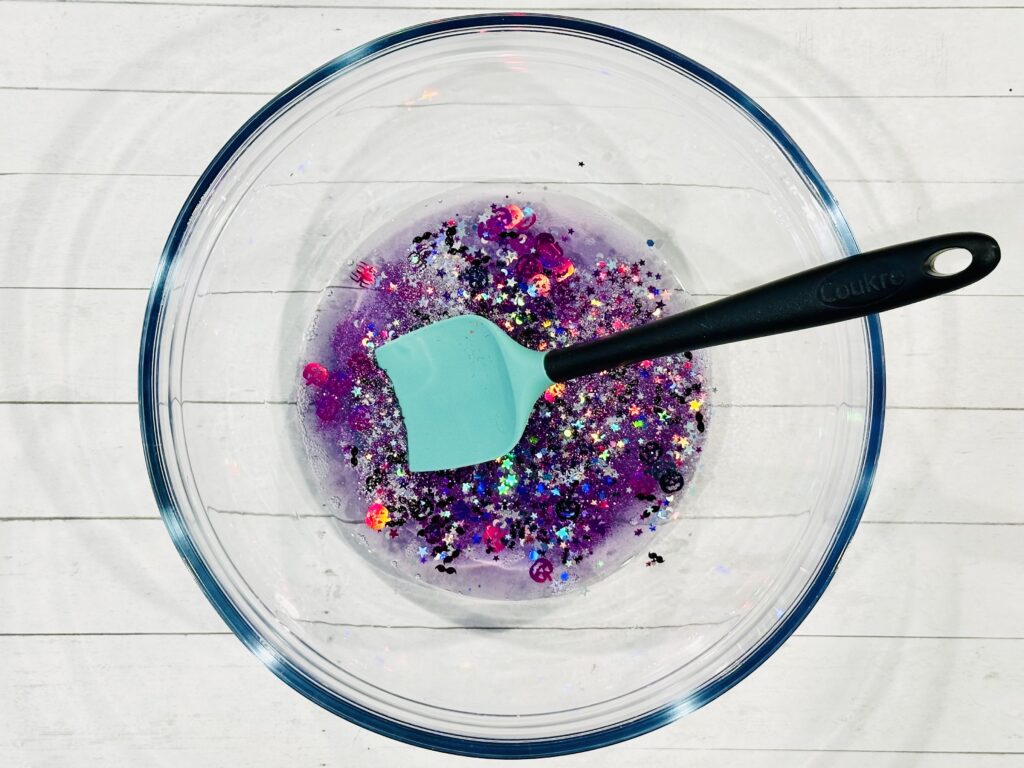
4. Add sparkles!
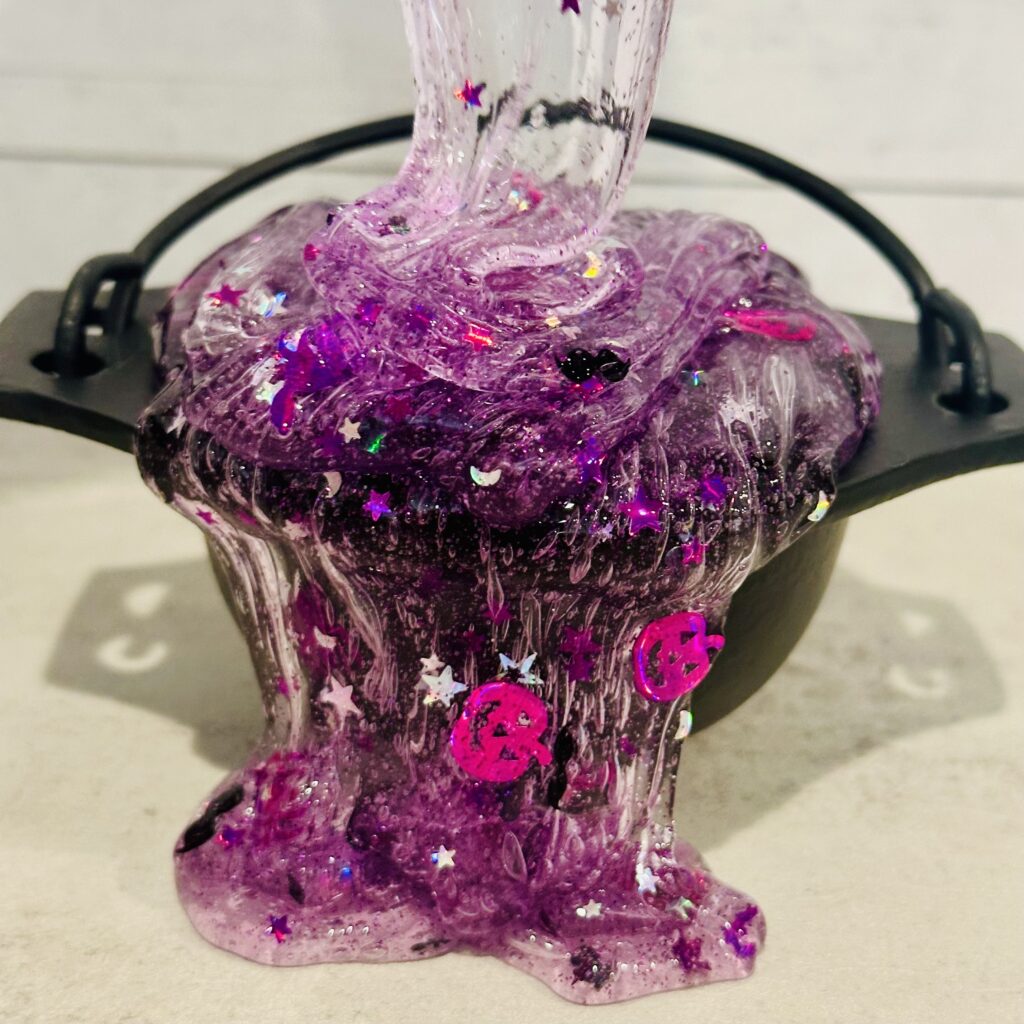
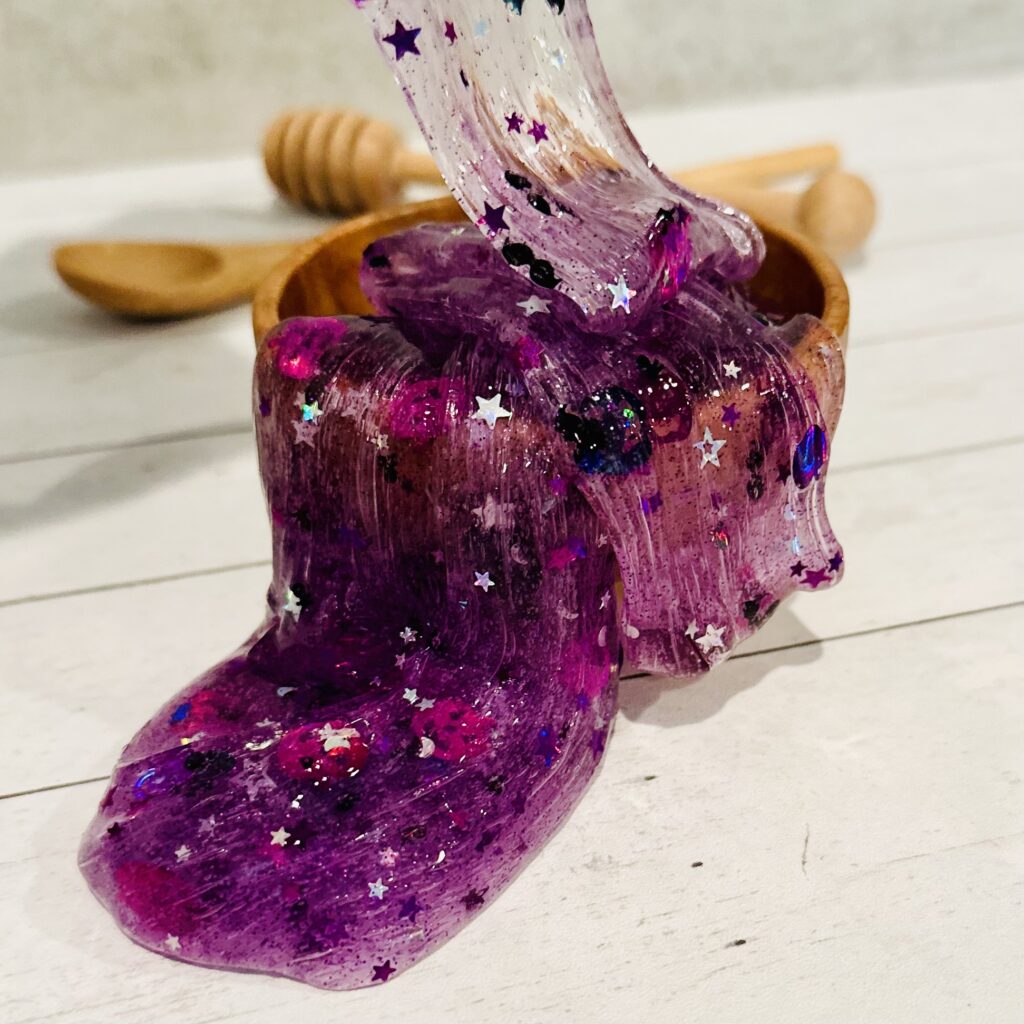
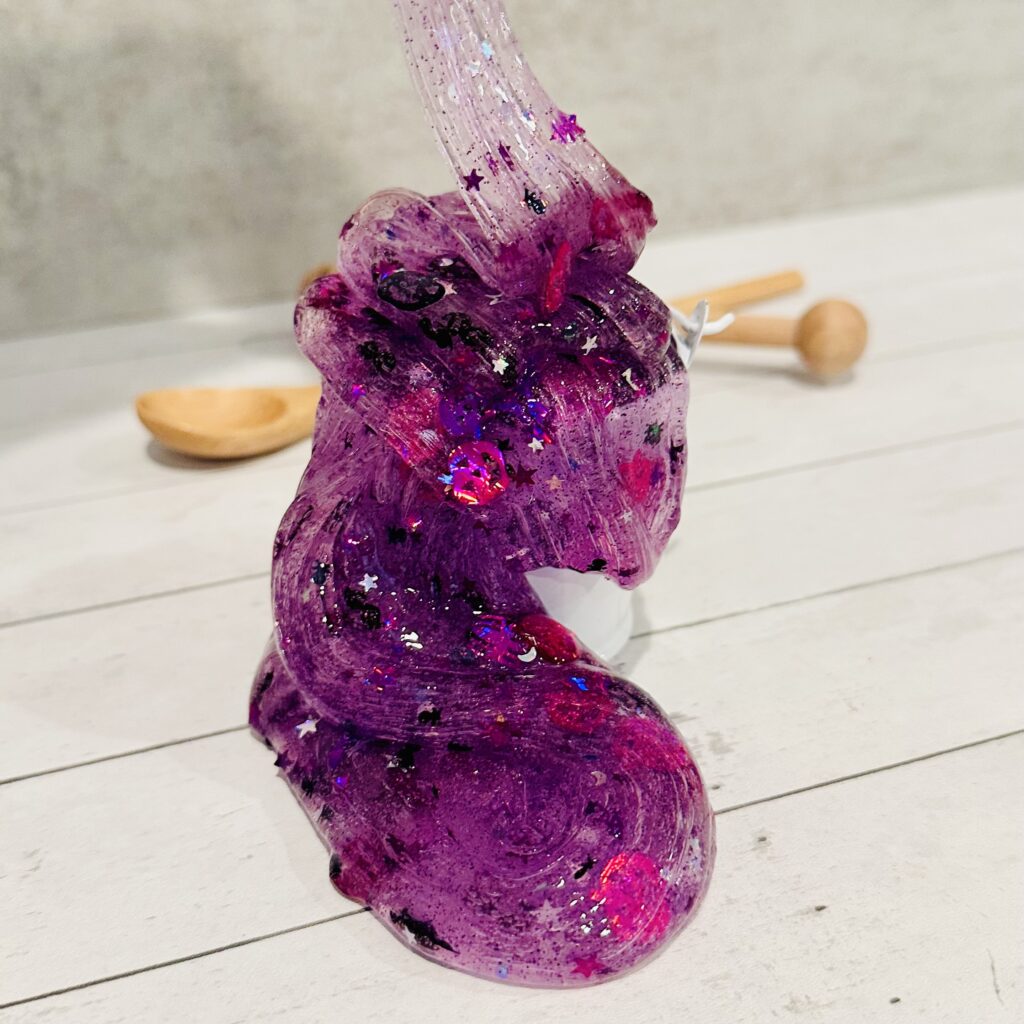
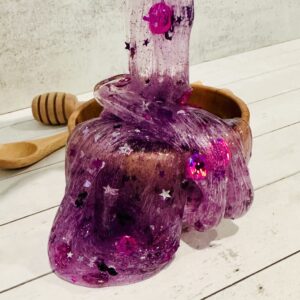
Now’s the time to make your Sparkly Witches’ Brew Halloween Slime truly magical (and a little creepy!). We mixed in Halloween confetti (pumpkins, spiders, jack o’ lanterns, stars, and more) and a mix of fine and chuncky purple glitter for a sparkly touch. I added a couple drops of purple food coloring to give it a witchy potion vibe.
Pro Tip: The more you mix in, the cloudier your slime might get. If keeping it clear is your goal, stick to glitter or very small items.
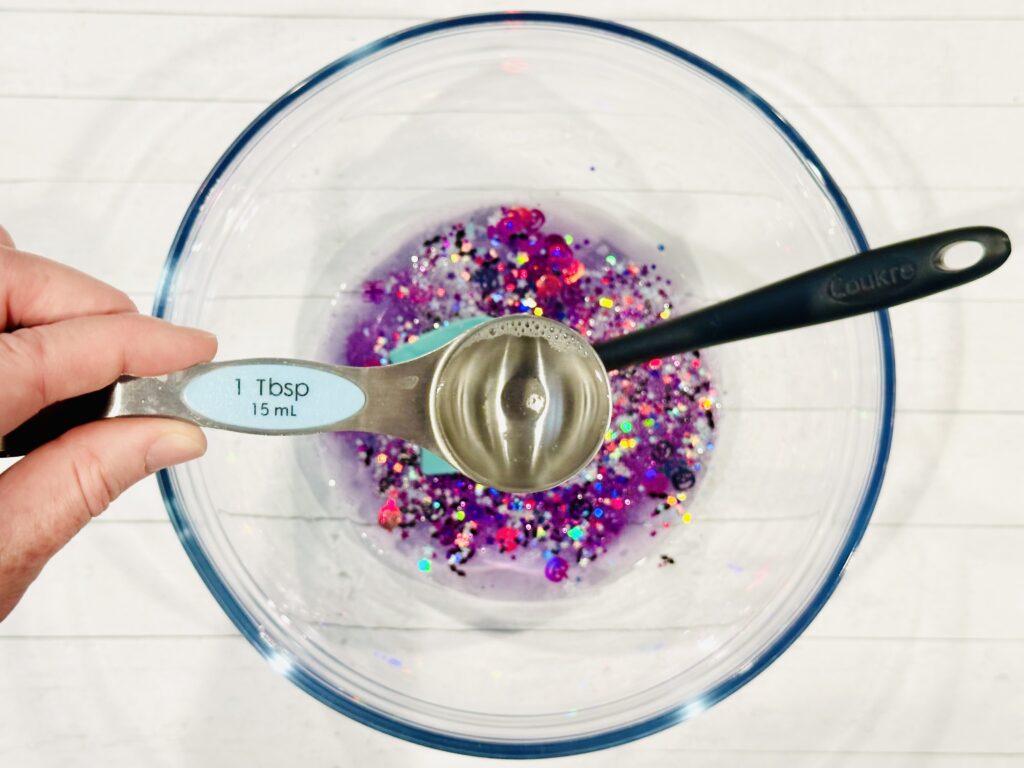
5. Add Contact Solution
Slowly stir in your contact lens solution (start with about 1 tablespoon). Keep stirring for a few minutes until you notice the mixture starts to firm up and pull away from the sides of the bowl.
If it’s still too sticky and not pulling away from the edges of the bowl after mixing, just add a little more contact lens solution, a little bit at a time. Be careful not to overdo it though, or you might end up with rubbery slime instead of that smooth, stretchy texture you’re aiming for.
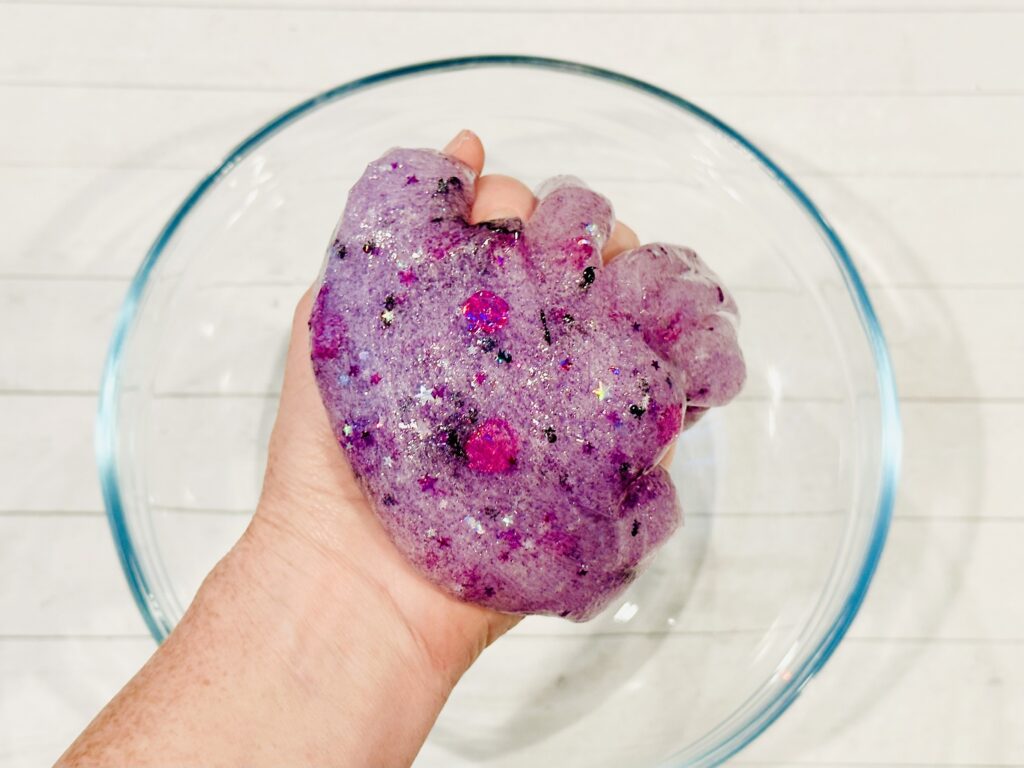
6. Knead the Slime
Time to get hands-on! Add a couple of drops of contact solution to your hands and knead the slime in your hands for a few minutes. Kneading helps the slime become less sticky and gives it that perfect stretchiness.
If it’s still a little too sticky, just keep adding tiny amounts of contact solution until it reaches the right consistency.
Tips and Tricks For The Best Sparkly Witches’ Brew Halloween Slime
Too Sticky?
If your slime is sticking to everything, add just a few drops of contact lens solution and keep kneading. Be cautious not to add too much at once. Clear glue slime is naturally firmer than white glue slime, so it’s all about finding that perfect balance.
Cloudy Slime?
It’s completely normal for your slime to look cloudy right after mixing. If you mixed it too quickly or squished it too much while playing, that introduces more bubbles into the slime. No worries! Just let the slime sit in an airtight container for a few days and the bubbles will work their way out. For an extra-clear result, stir gently during each step.
Choose the Right Contact Lens Solution
Check the label of your contact lens solution to ensure it contains boric acid or sodium borate. This is the key ingredient that activates the slime. We used Bauch+Lomb Renu and it worked really well, but the amount of boric acid can vary between brands. If your slime isn’t coming together as expected, try adjusting the amount of contact solution.
How to Store Your Sparkly Witches’ Brew Halloween Slime
Once you’ve perfected your Sparkly Witches’ Brew Halloween Slime recipe, it’s important to store it properly so it lasts as long as possible. Keep your slime in an airtight container when you’re not playing with it. This will prevent it from drying out. This Halloween slime recipe can last for several weeks depending on how much you play with it.
If the slime starts to feel too firm after a while, you can knead in a tiny bit of water to soften it up again.
Get Ready for Spooky Fun!
Now that you’ve got the ultimate Sparkly Witches’ Brew Halloween Slime recipe, it’s time to make this Halloween extra magical and spooky! Whether you’re crafting with your kids, hosting a Halloween party, or just looking for a fun DIY, this homemade slime is a surefire hit.
Ready to make your own Sparkly Witches’ Brew Halloween Slime? Let me know how it turns out in the comments!
Witches’ Brew Halloween Slime Recipe
Equipment
- 1 Mixing Bowl
- 1 Mixing Spoon
- Measuring Cups
- Measuring Spoons
Ingredients
- ½ cup Elmer's clear glue
- ½ cup warm water
- ½ tsp baking soda
- 1-2 tbsp contact lens solution
- Food coloring optional
- Glitter optional
Instructions
- Mix ½ tsp baking soda into ½ cup warm water. Stir until fully dissolved, then let cool slightly.
- Pour ½ cup of clear glue into a mixing bowl.
- Slowly stir the baking soda and water mixture into the glue.
- Add a few drops of food coloring (optional) and mix well. Now’s the time to add some glitter, confetti, beads, or any other trinkets of you want the slime.
- Slowly stir in your contact lens solution (start with about 1 tablespoon). You’ll notice the mixture firm up and pull away from the sides of the bowl.
- Knead the slime with hands until stretchy. If it’s too sticky, keep adding tiny amounts of contact solution until it reaches the desired consistency.
Notes
Recommended
- 14 Exciting Halloween Sensory Activities For Kids Of All Ages
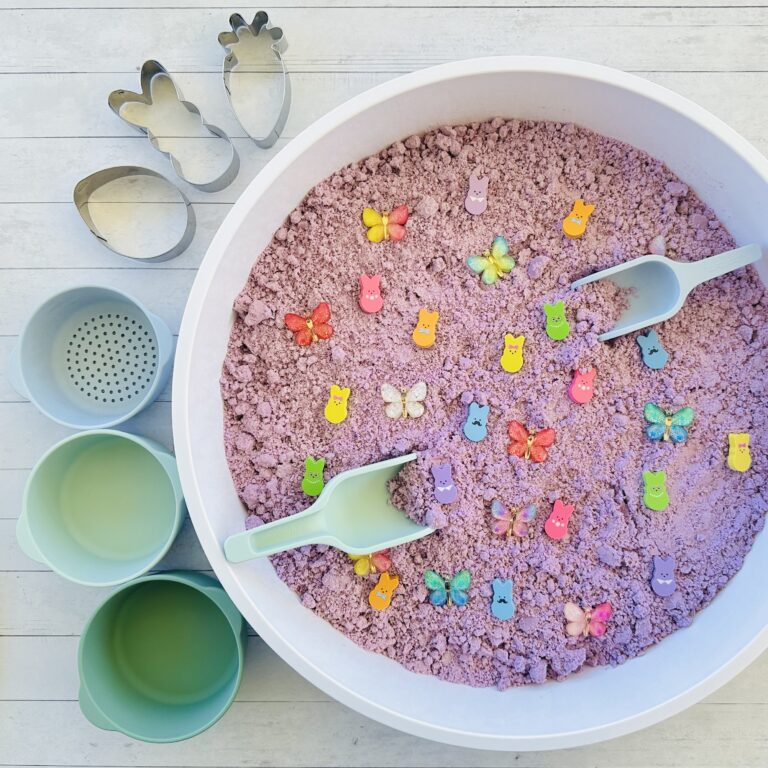
- How to Make Taste Safe Halloween Peeps Slime
- How To Make Halloween Witches’ Brew Fluffy Slime (No Borax!)
- How To Make Spooky Halloween Monster Slime (No Borax!)
- The Best Halloween Fluffy Monster Slime Recipe (No Borax!)
- How To Make Glittery Pumpkin Slime (No Borax!)
- How To Make Halloween Fluffy Pumpkin Slime
- How to Make The Best DIY Traditional Halloween Slime