How to Make Snow Dough for Sensory Play
Make soft, fluffy snow dough for holiday-themed sensory play with just 2 simple ingredients—cornstarch and conditioner! No cooking required!
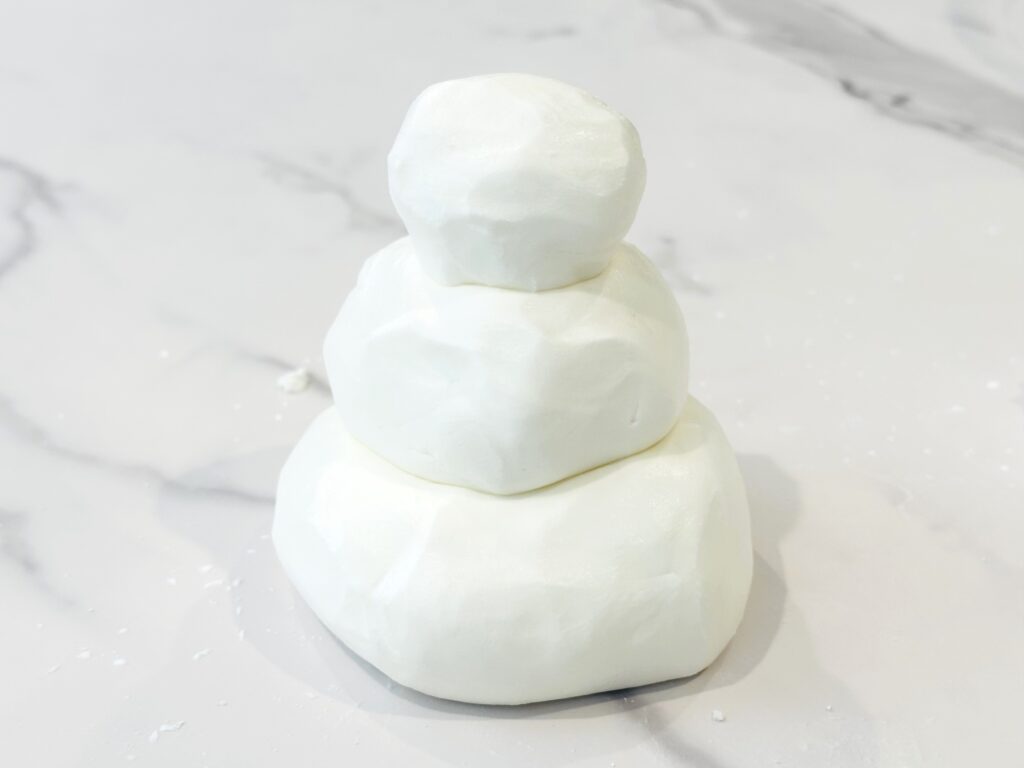
Always supervise children during sensory play. See full disclaimer here. This post may contain affiliate links, which means I may earn a small commission if you make a purchase through these links, at no extra cost to you. As an Amazon Associate, I earn from qualifying purchases. I only recommend products I personally use and love! You can read more about my disclosure policy here.
Snow dough is soft, squishy, and irresistible. But what makes it so special? Unlike traditional play dough, snow dough’s texture is light, fluffy, and perfect for sensory play.
The best part? You likely already have everything you need in your pantry and bathroom. No fancy ingredients or complicated recipes. Just two household items, a little mixing, and you’re ready to go!
Why Holiday-Themed Activities Rock for Kids
There’s just something magical about Holiday-themed activities, isn’t there? They’re a chance to slow down, enjoy the moment, and create memories your kids will remember (and probably ask to recreate every year).
Snow dough is a soft, moldable play dough that is incredibly versatile! You can mold it, squish it, and shape it, and it’s perfect for sensory play because of its soft, pliable texture.
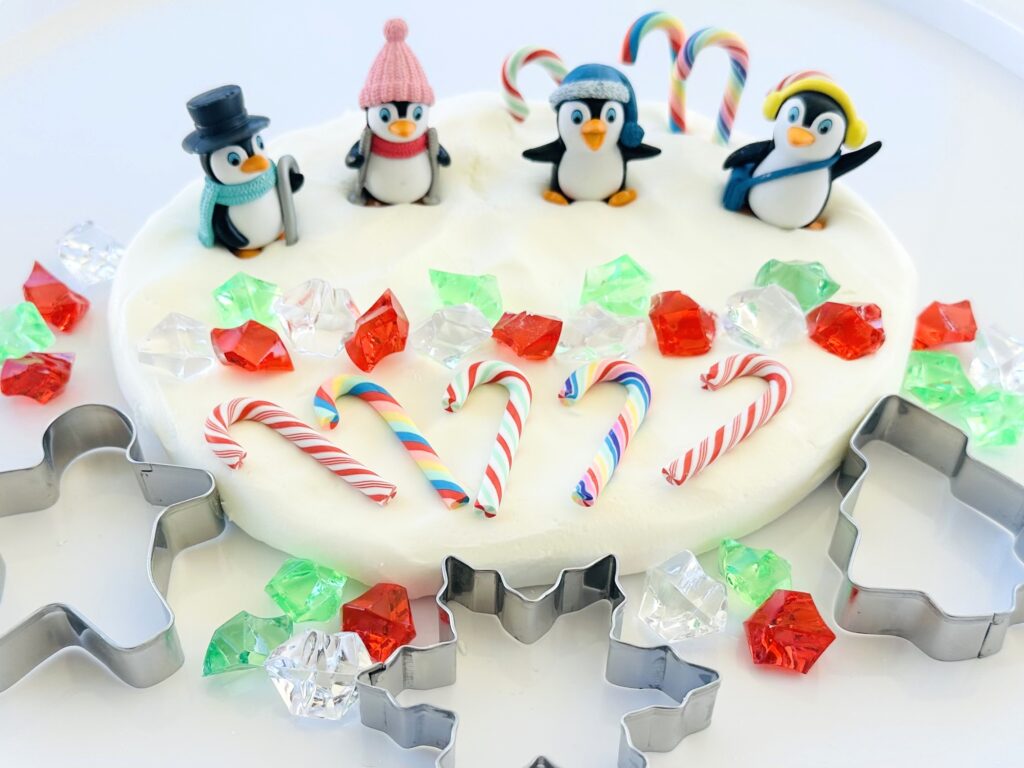
Plus, holiday-themed sensory play is perfect for sparking creativity. Your kids can roll it into balls to make snowmen, cut shapes with cookie cutters, or create a winter wonderland with holiday-themed trinkets or toys.
And when the weather outside is too cold for outdoor adventures, snow dough is the ultimate indoor activity to keep little hands busy and happy.
How to Make Snow Dough
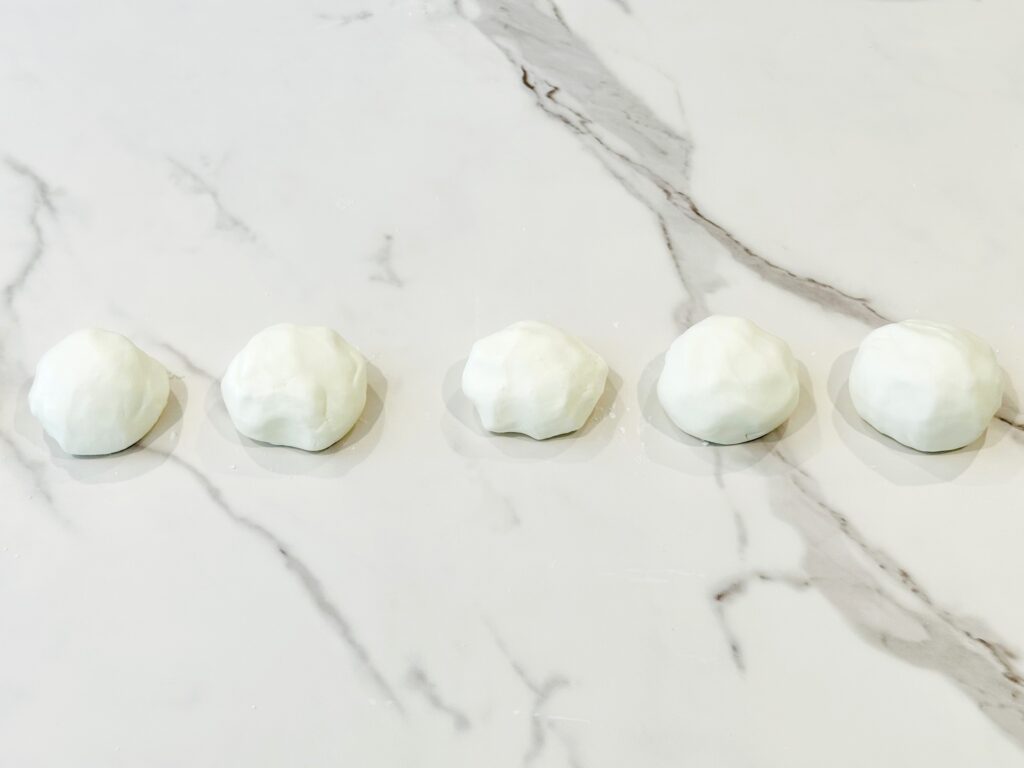
Ingredients
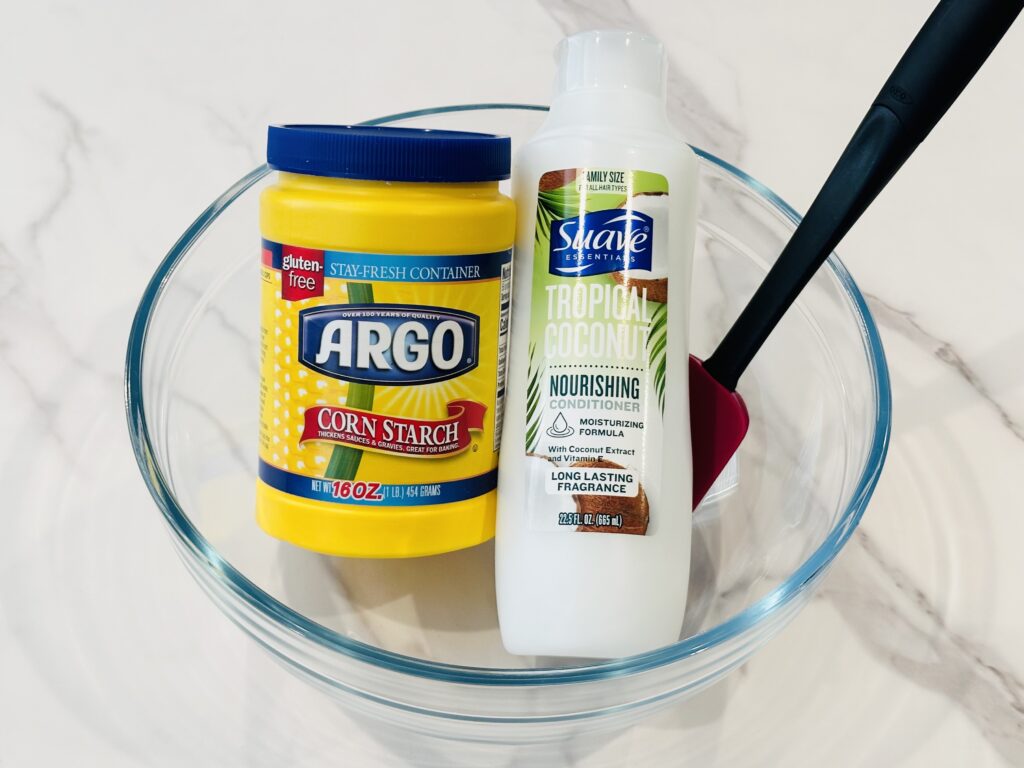
You only need two basic ingredients to whip up snow dough:
- 2 cups Cornstarch: This is the main ingredient that gives snow dough its soft and fluffy texture.
- 1 cup Hair Conditioner: Any inexpensive conditioner will do! Make sure to use a white conditioner for snowy white snow dough.
- Optional Food Coloring: Add a few drops of red or green food coloring if you want a festive colored dough.
Instructions
Making snow dough is super easy. There’s no cooking involved, so even younger kids can help mix it together. Here’s how you do it:
1. Measure and Mix
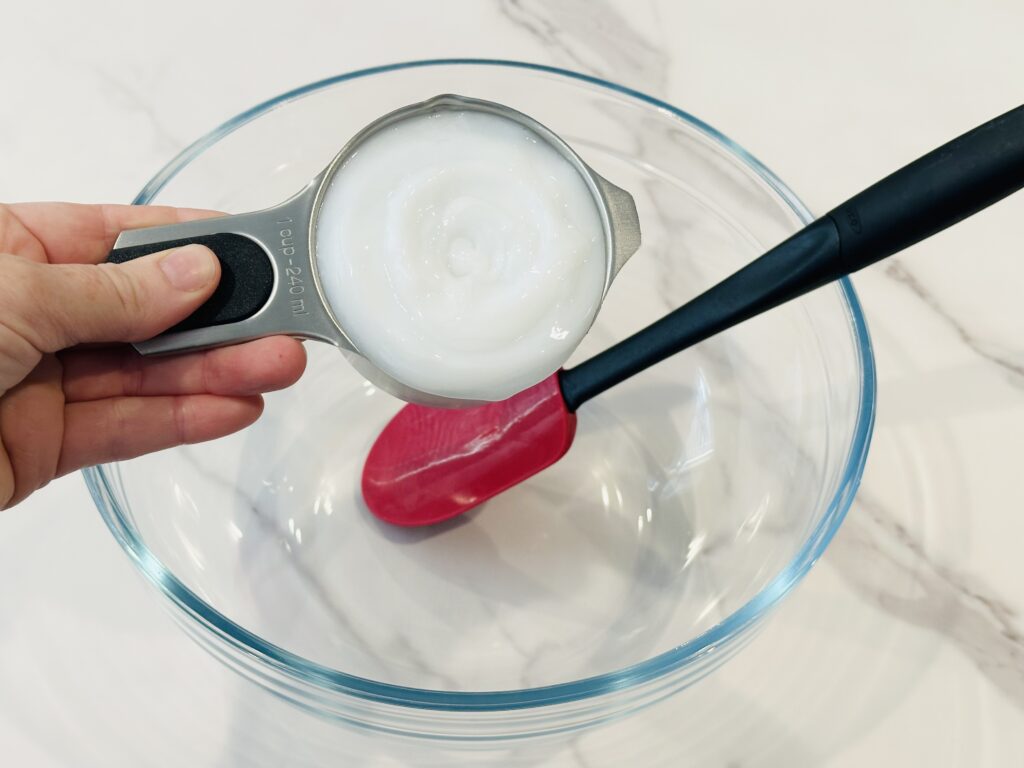
Start by measuring out 1 cup of hair conditioner and add it to the bowl. IfIf you want to add food coloring, mix the conditioner and food coloring together before adding it to the cornstarch. This helps the color distribute evenly.
Next, measure out 2 cups of cornstarch and place it into a large mixing bowl.
Pro tip: Use a bigger bowl than you think you’ll need because the cornstarch can puff up when you stir it.)
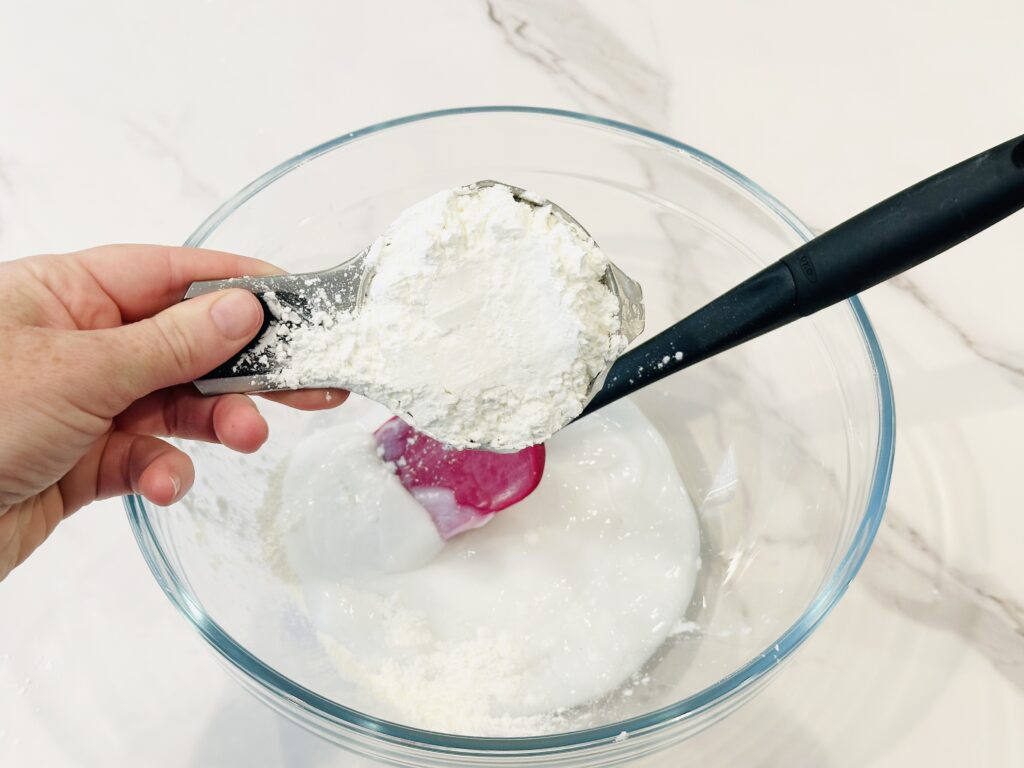
2. Stir it Together
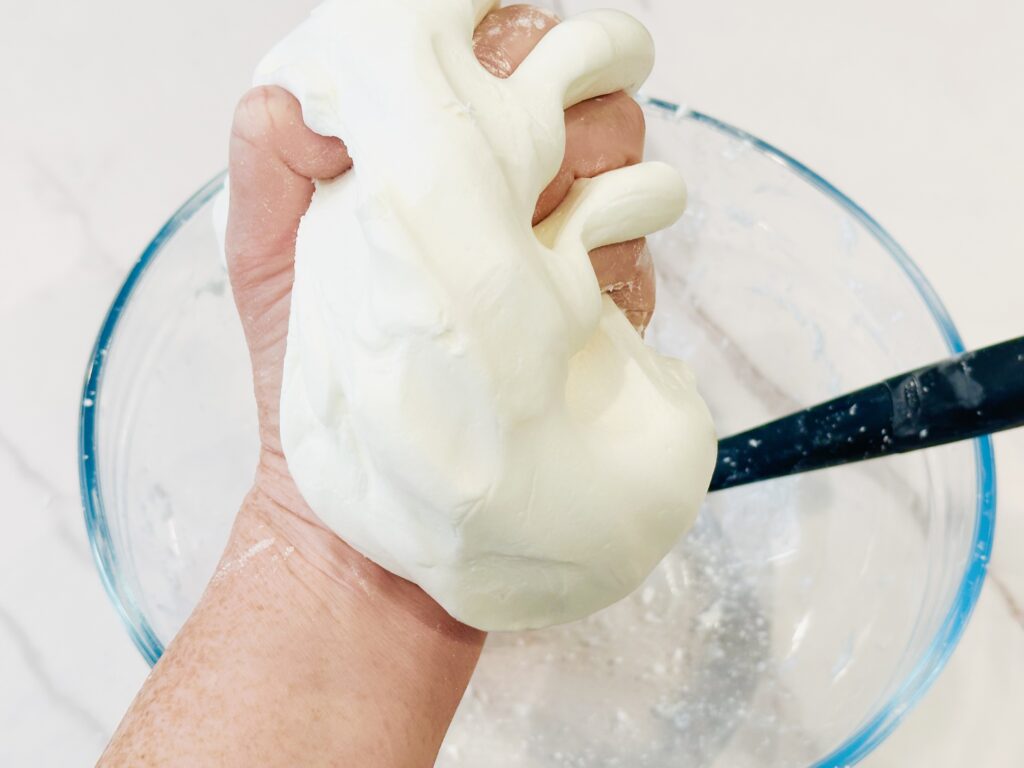
Stir the ingredients together with a spoon until the mixture becomes too hard to mix. At this point, you’ll want to ditch the spoon and knead the dough with your hands until it forms a smooth, fluffy ball. If the dough feels too sticky, add a little more cornstarch, a tablespoon at a time. If it’s too dry, add a little more conditioner.
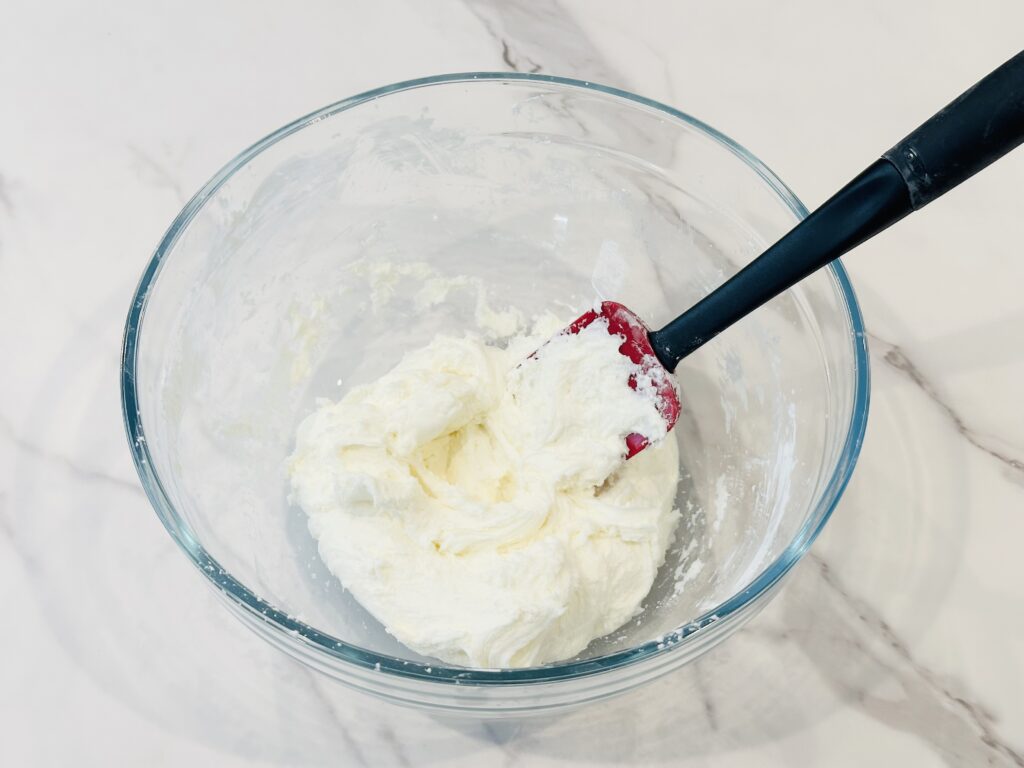
3. Knead and Play
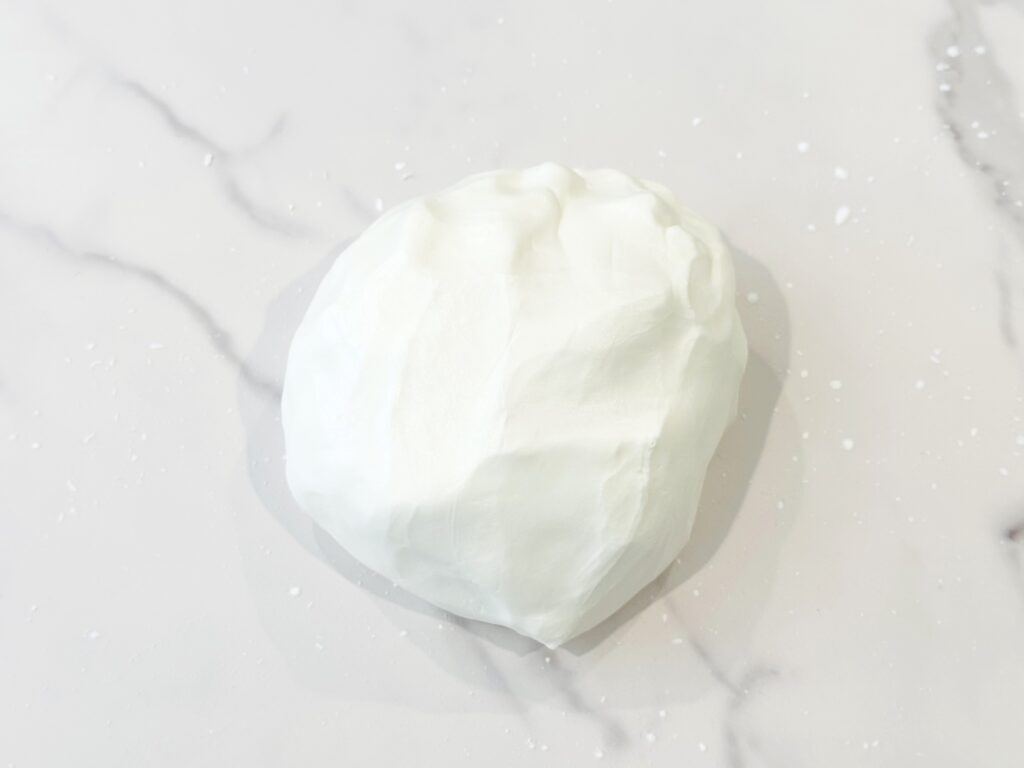
Keep kneading the dough until it’s soft and fluffy! It take a little bit of time kneading to get that perfect consistency. The kids will love squishing it between their fingers and shaping it into whatever their imagination can come up with.
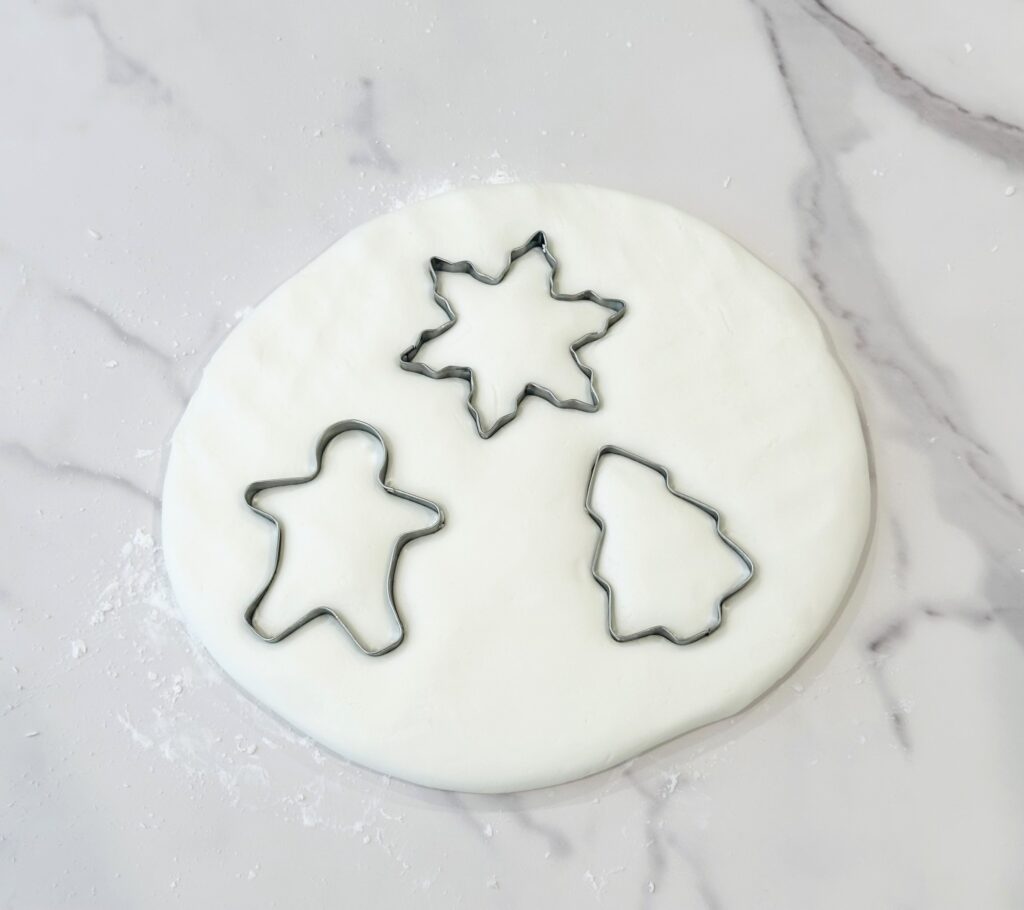

Fun Variations
Homemade snow dough is amazing on its own, but you can easily customize it to keep things exciting for your kids. Here are some ideas:
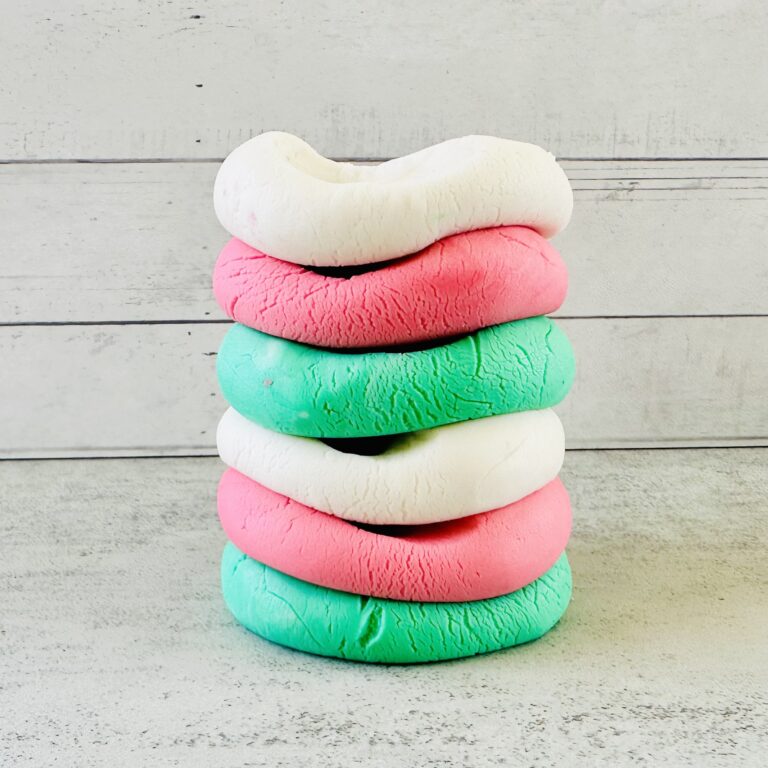
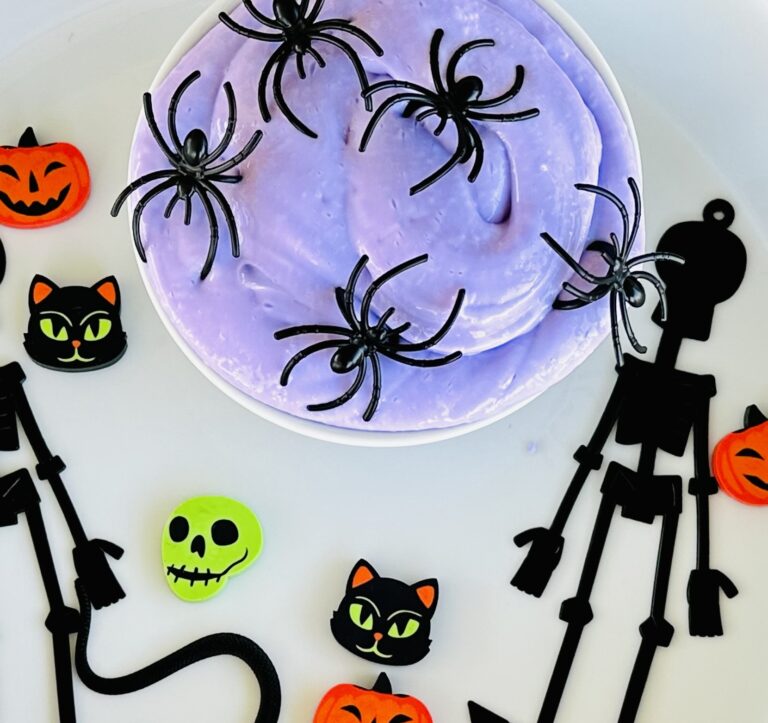
- Colored or Glittered Snow Dough: Divide your dough into sections and add different food coloring or glitter to each one. Knead the color in until it’s evenly distributed. Your kids will love playing with the bright, colorful dough!
- Scented Snow Dough: Use scented hair conditioner or add a few drops of essential oils for a more engaging sensory experience. Vanilla or peppermint are popular holiday options that kids enjoy.
- Edible Snow Dough Alternatives: While regular snow dough isn’t edible, you can make taste-safe versions by swapping out ingredients like conditioner for food-grade alternatives. Try our 2 ingredient Edible Snow Dough recipe for a fun, safe alternative. For younger children, this might be a good idea, especially if they tend to put things in their mouths.
Storage Tips
Homemade snow dough can last for several weeks if stored properly. To keep it soft and pliable, follow these storage tips:
- Keep It Covered: Always cover the dough when it’s not in use to keep it soft for future play. You can use a zip-top bag or an airtight container for the best results.
- Reviving Dry Dough: If your dough starts to dry out, don’t worry! Just knead in a little more conditioner, and it’ll be back to its original softness in no time.
- Airtight Containers: Store your dough in an airtight container, like a mason jar or sealable plastic tub, to prevent it from drying out. You can also wrap the dough in plastic wrap before putting it into the container for extra protection.
Why We Love Snow Dough
Snow dough is a holiday hit! It’s easy, inexpensive, and so much fun for kids (and let’s be real, adults too). With just two ingredients—cornstarch and conditioner—you can create a winter wonderland right in your living room.
Customize it with glitter, scents, or colors to make it extra special. And the best part? It’s quick to make and endlessly entertaining.
Give it a try and let me know how your creations turned out in the comments.
Recommended
- Exciting Sensory Christmas Activities For Kids Of All Ages
- How To Make 2-Ingredient Edible Snow Dough
- How To Make Hot Chocolate Cloud Dough
- The BEST Jello Christmas Grinch Sensory Bin
- How To Make A Hot Chocolate Sensory Bin
- How to Create a Christmas Grinch Sensory Bin
- How To Make Snowflake Slime
- How To Make Candy Cane Fluffy Christmas Slime
- How To Make Fluffy Snow Slime



One Comment
Comments are closed.