How To Make A DIY Kinetic Sand Ice Cream Sensory Bin
Create an Ice Cream Sensory Bin using DIY kinetic sand, pom-poms, and playful toppings! Perfect for sensory play and sparking imagination!
Always supervise children during sensory play. See full disclaimer here. This post may contain affiliate links, which means I may earn a small commission if you make a purchase through these links, at no extra cost to you. As an Amazon Associate, I earn from qualifying purchases. I only recommend products I personally use and love! You can read more about my disclosure policy here.
My kids absolutely love pretend play, especially when it involves ice cream! So, when we set up an ice cream sensory bin, their excitement was off the charts. They couldn’t wait to scoop and serve their “ice cream” creations. It turned into a full-on ice cream shop experience!
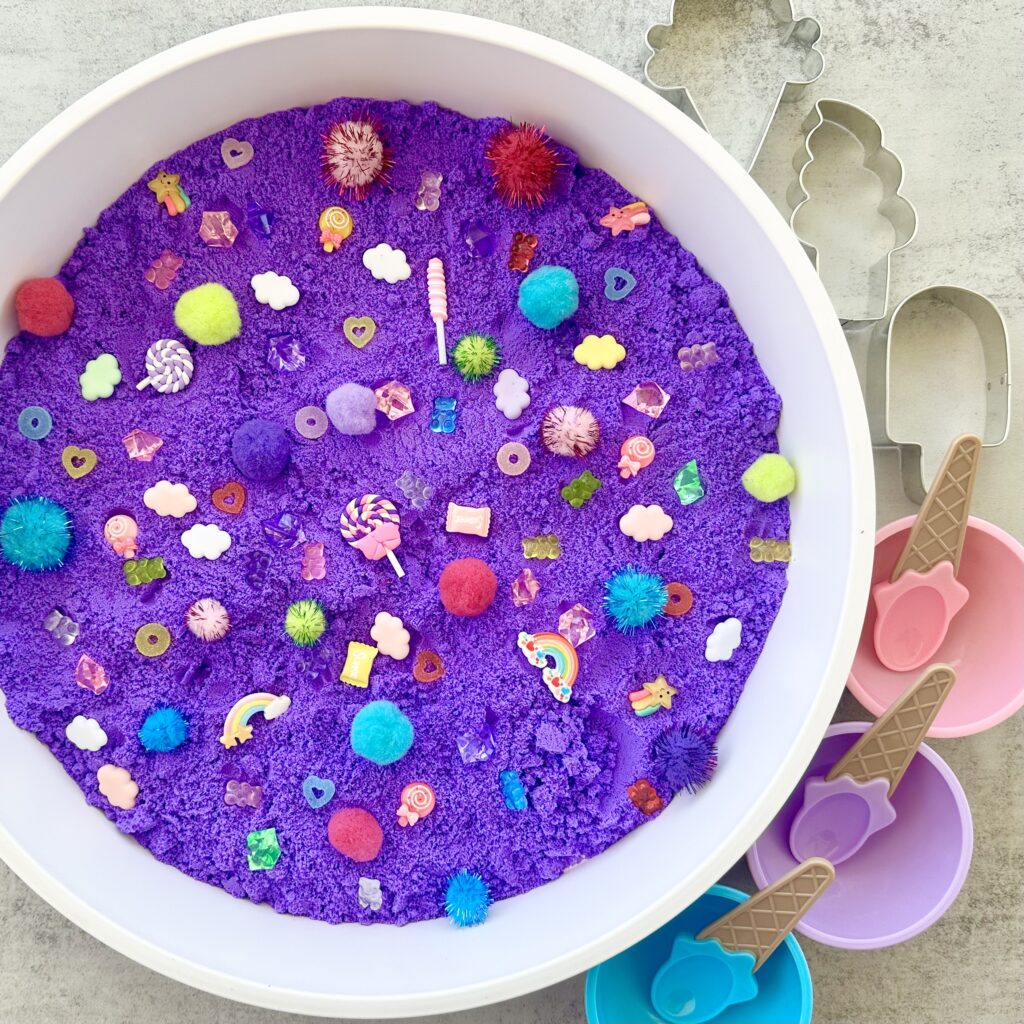
This Ice Cream Sensory Bin is a fun sensory play activity that will keep your kids entertained! With a DIY kinetic sand “ice cream base,” scoops, pom-poms, gems, and pretend cones, you can create a sensory play experience that’s bursting with imagination (and zero sugar rush).
It’s simple to set up, engaging for toddlers, preschoolers, and older kids, and perfect for pretend play, fine motor skills, and just plain fun.
Why Ice Cream Sensory Bins Are a Hit
Summer sensory activities like this ice cream sensory bin are one of my favorite ways to encourage creative play. They’re hands-on, screen-free, and loaded with opportunities to explore textures, colors, and shapes.
With this ice cream-themed sensory bin, kids can scoop, sprinkle, and “serve” to their heart’s content. The squishy, moldable kinetic sand mimics real ice cream (without the melting), while the colorful pom-poms, gems and cones make for an irresistible pretend play experience.
Plus, it sneaks in a little learning like fine motor skills, sensory exploration, and even sorting and counting activities.
And let’s be real, it’s super cute!
How to Make an Ice Cream Sensory Bin
What You’ll Need
You could buy Kinetic Sand or make your own (it’s so easy!). If you’re worried about younger kids putting it in their mouths, you might want to try making our Taste-Safe Kinetic Sand Recipe which uses food-grade ingredients. Here’s everything you’ll need to make a batch of Kinetic Sand:
- 2 ½ cups Play Sand (any color works great for that “ice cream” vibe!)
- 1 ½ cups Cornstarch
- ½ cup Vegetable Oil
Extras for the sensory bin:
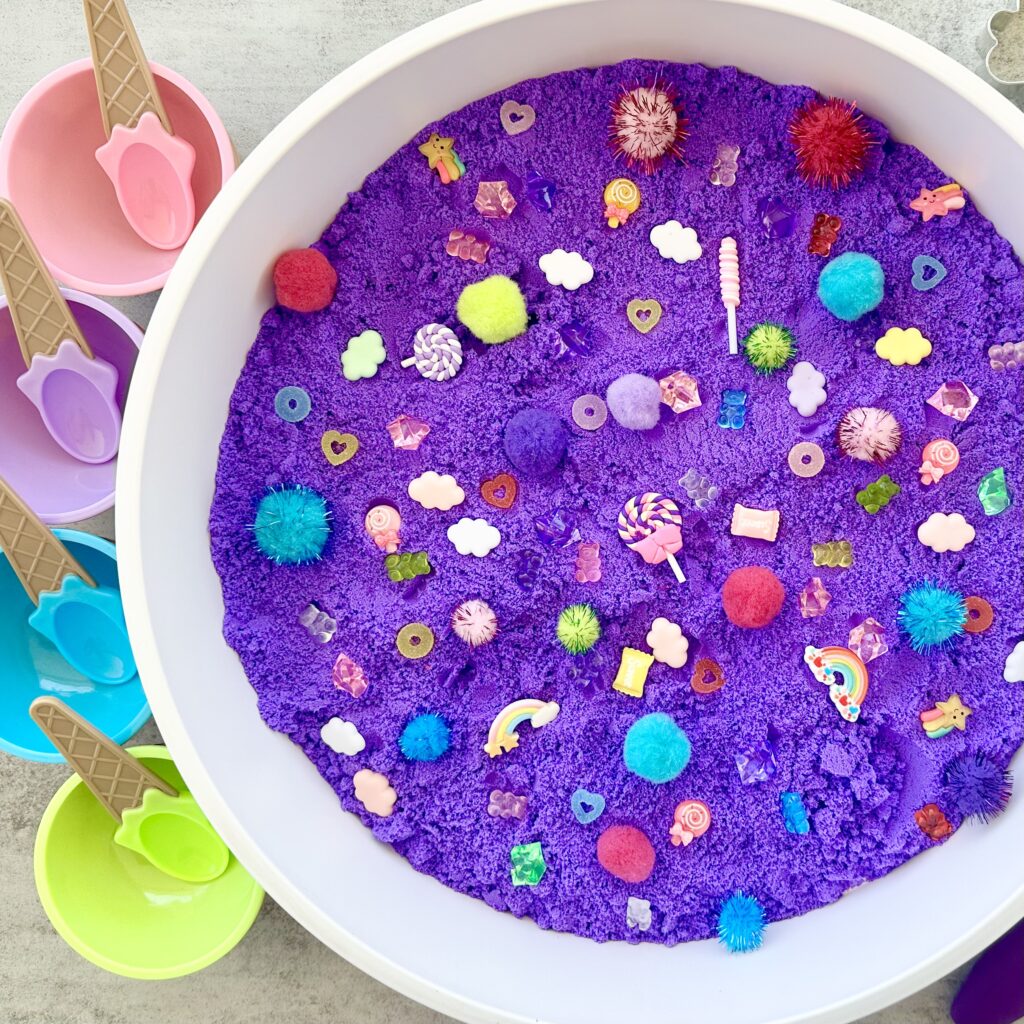
- Pom-poms (to act as sprinkles or “toppings”)
- Candy Charms or Plastic Gems (think candy bits or cherries)
- Ice Cream Cups
- Ice Cream Scoop
- Silicone Cupcake Liners or Small Bowls
- Scoops and Funnel or Tongs and Tweezers
- Sensory Bin (or any container big enough for your child to play in)
Pro Tip: This sensory bin uses kinetic sand as the filler. But if you want to switch it up, other fillers like taste-safe kinetic sand, moon sand, dyed rice, dyed chickpeas, cloud dough or edible play dough work great too! You can buy these materials, or if you’re feeling crafty, you can make your own.
Be sure to check out our blog post about essential sensory bin supplies to have on hand, making it easy to set-up multiple different sensory bins in seconds!
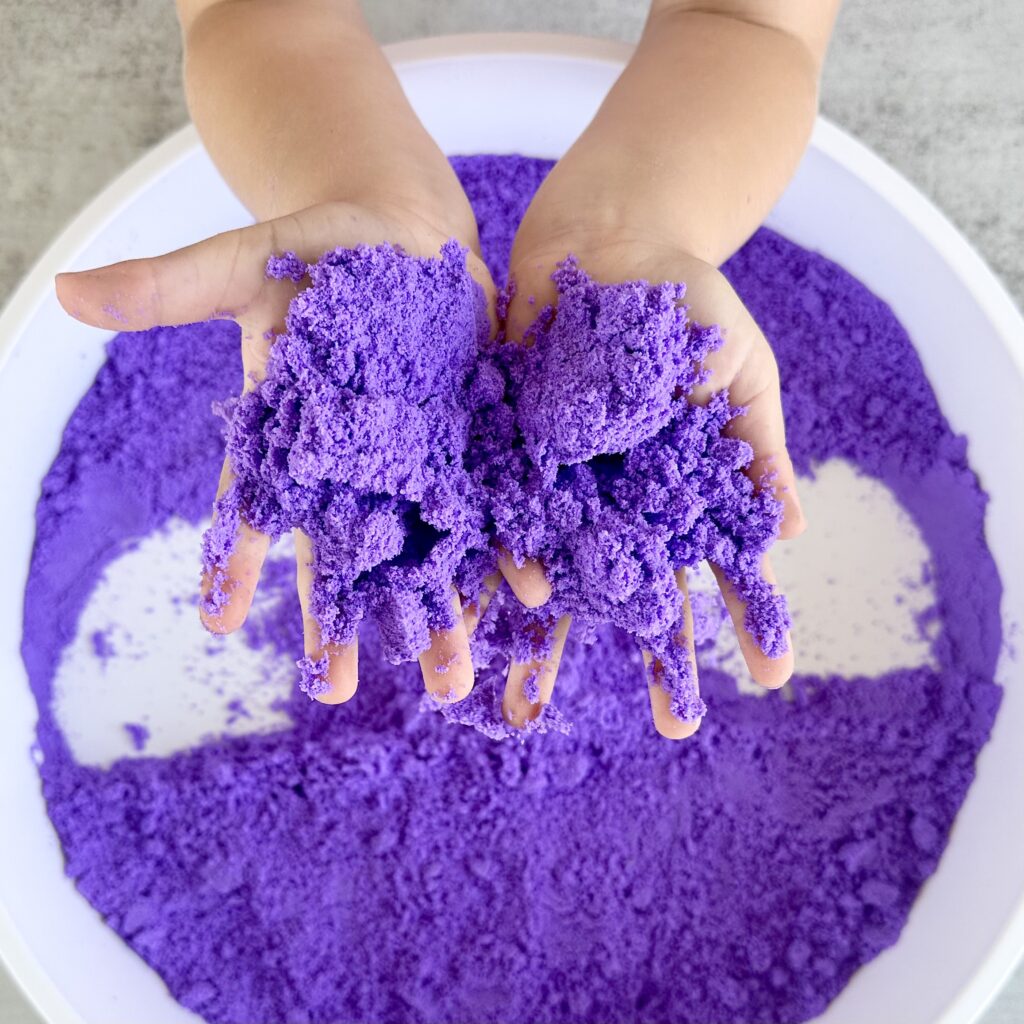
Kinetic Sand Instructions
1. Mix Dry Indredients
Add 2 ½ cups of fine play sand and 1 ½ cups of cornstarch into a mixing bowl. Stir well to evenly distribute everything.
3. Add Oil
Slowly mix in the ½ cup oil.
3. Mix It All Together
Use your hands to knead the mixture until it’s fully combined and has a soft, moldable texture. If it’s too dry, add a tiny bit more oil. If it’s too wet, sprinkle in a little more cornstarch.
4. Optional Extras
If you’re feeling fancy, now’s the time to add a few drops of essential oils for a lovely scent or a sprinkle of glitter for some sparkle.
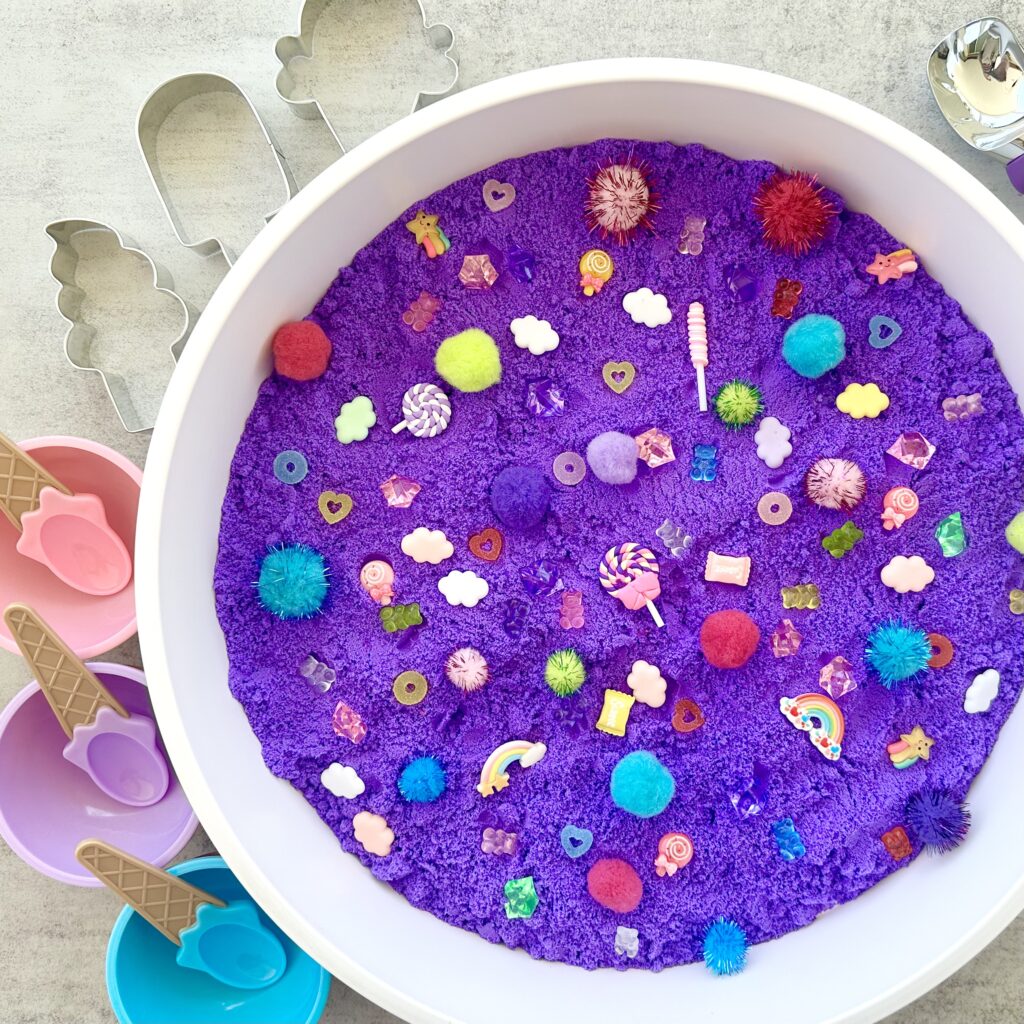
Ice Cream Sensory Bin Instructions
1. Spread the Kinetic Sand
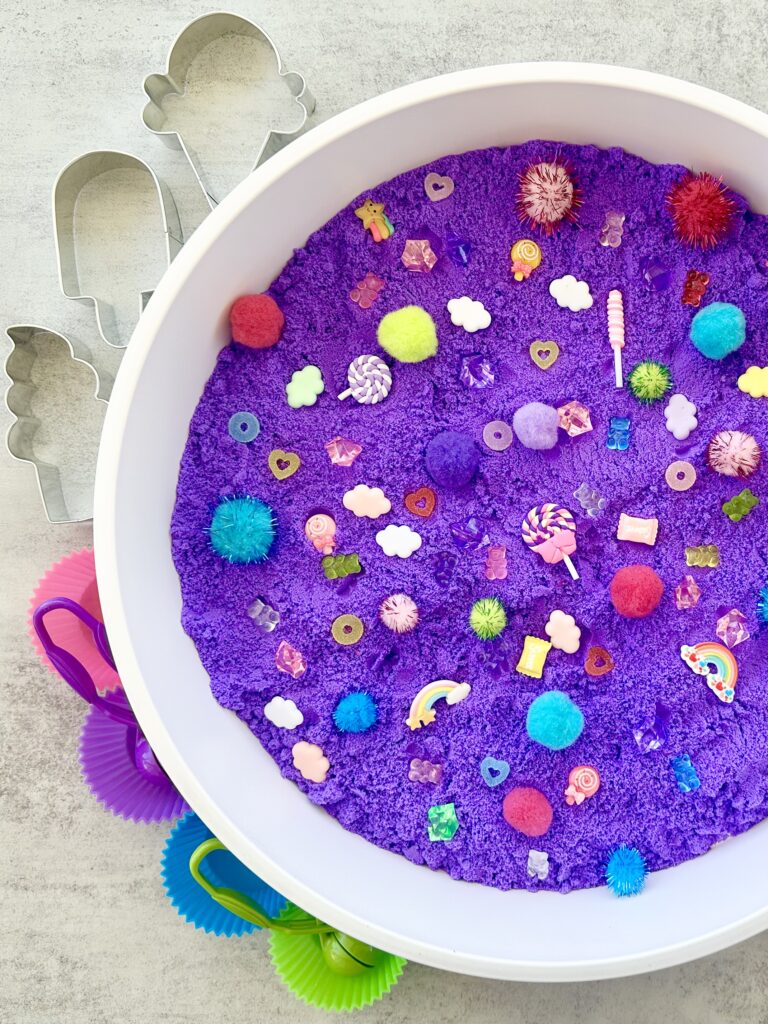
Start by spreading a layer of kinetic sand across the bottom of your sensory bin. This is your “ice cream” base!
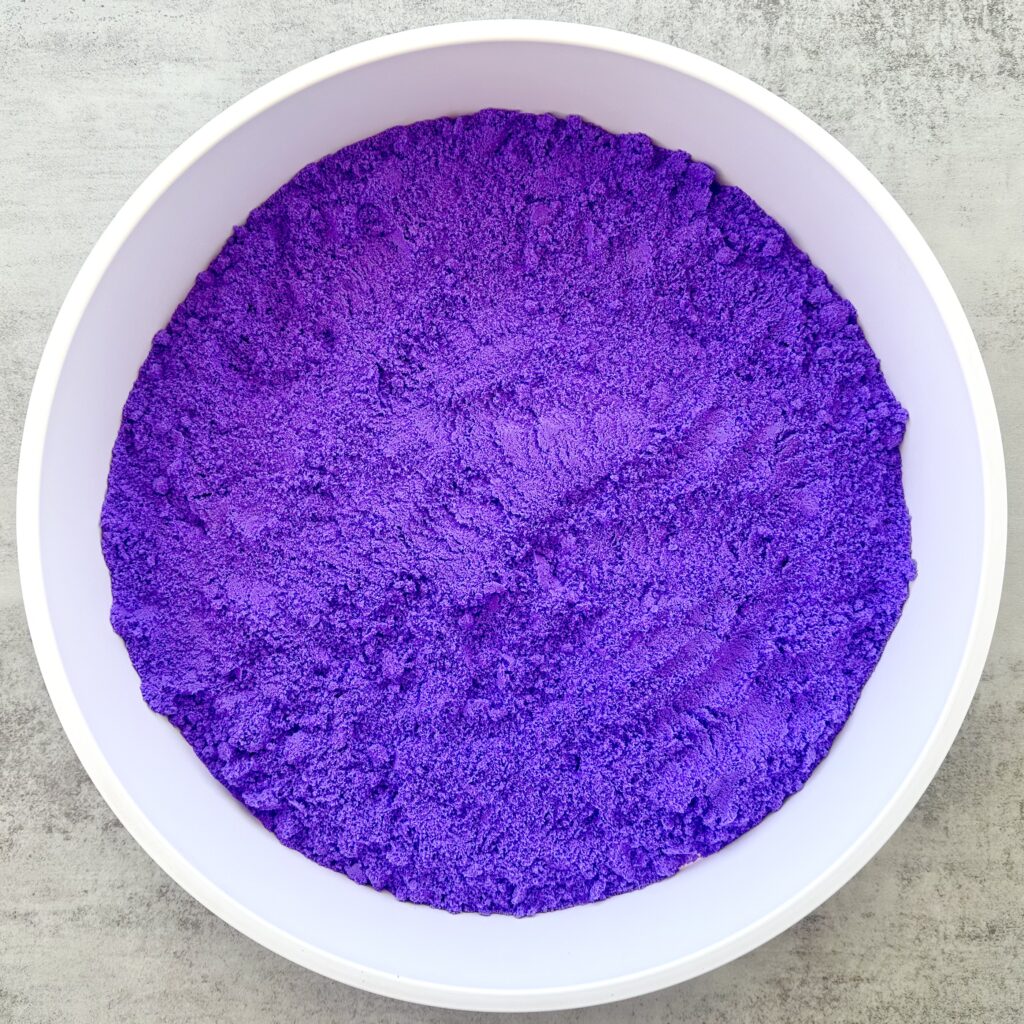
2. Add the Toppings
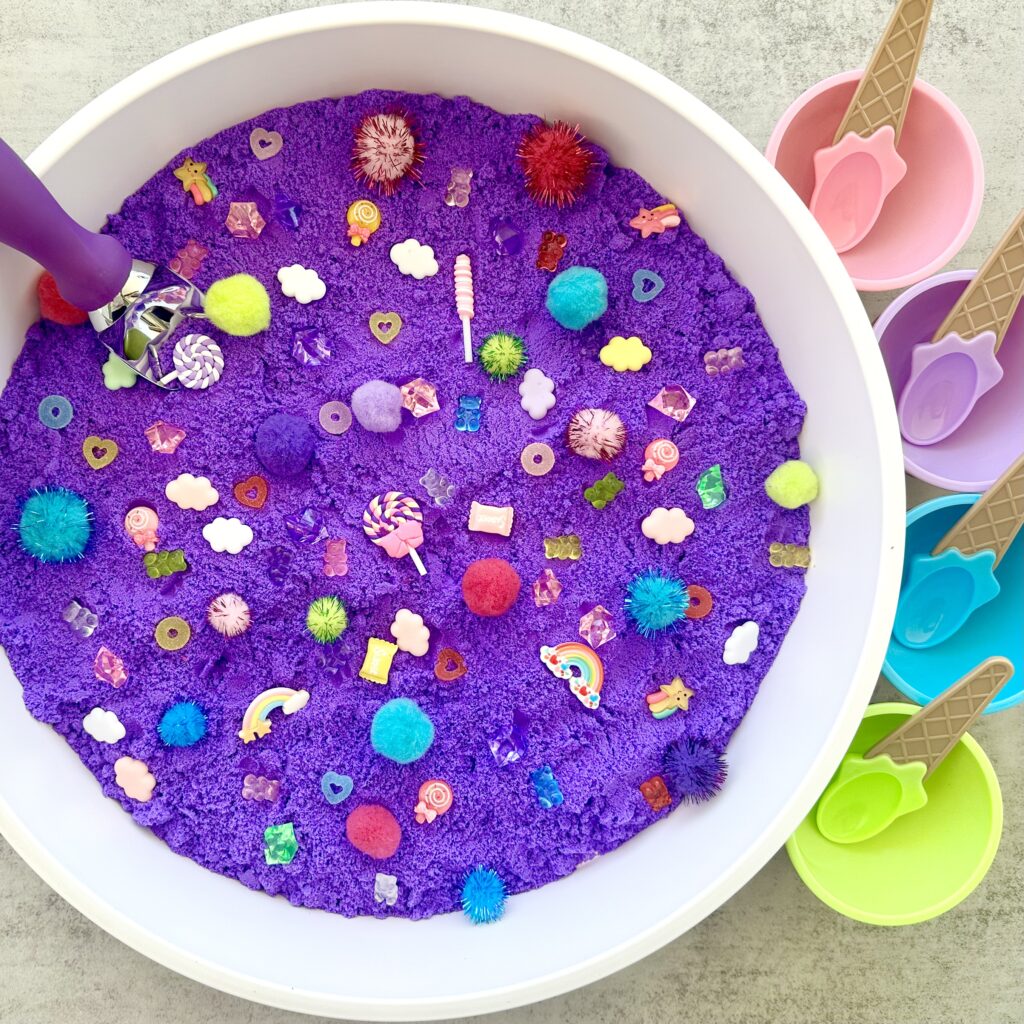
Sprinkle pom-poms, candy charms, or gems on top of the kinetic sand. These are your pretend sprinkles, candy pieces, and cherries. Let your child sprinkle and arrange them however they’d like—it’s all part of the fun!
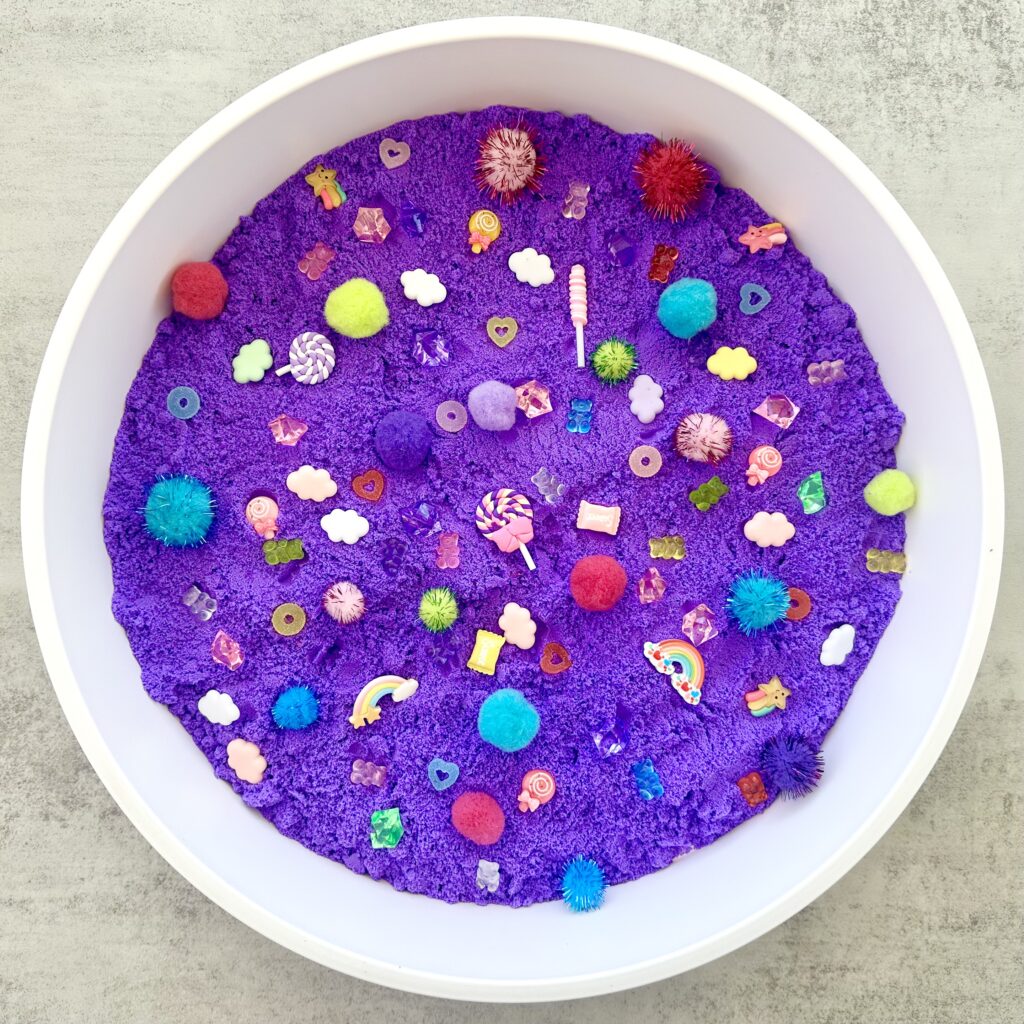
3. Set Up the Serving Station
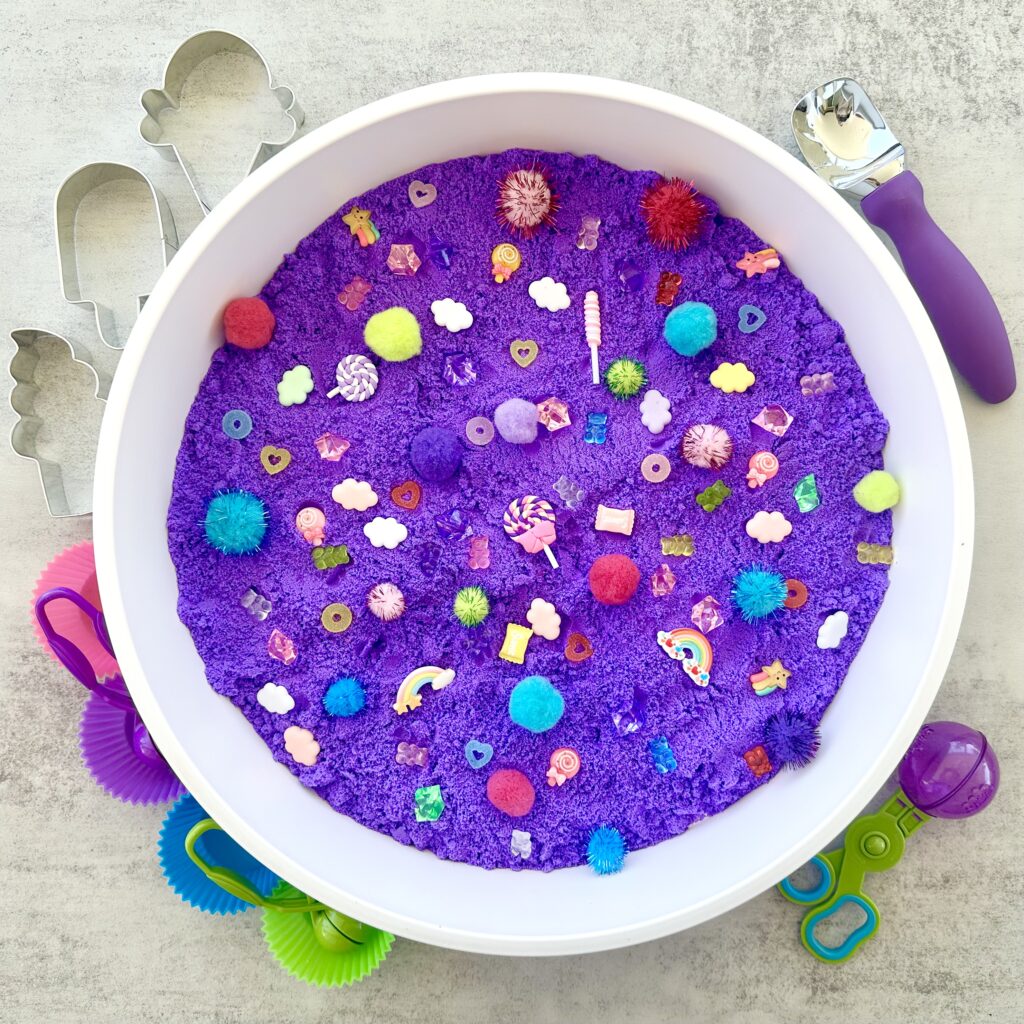
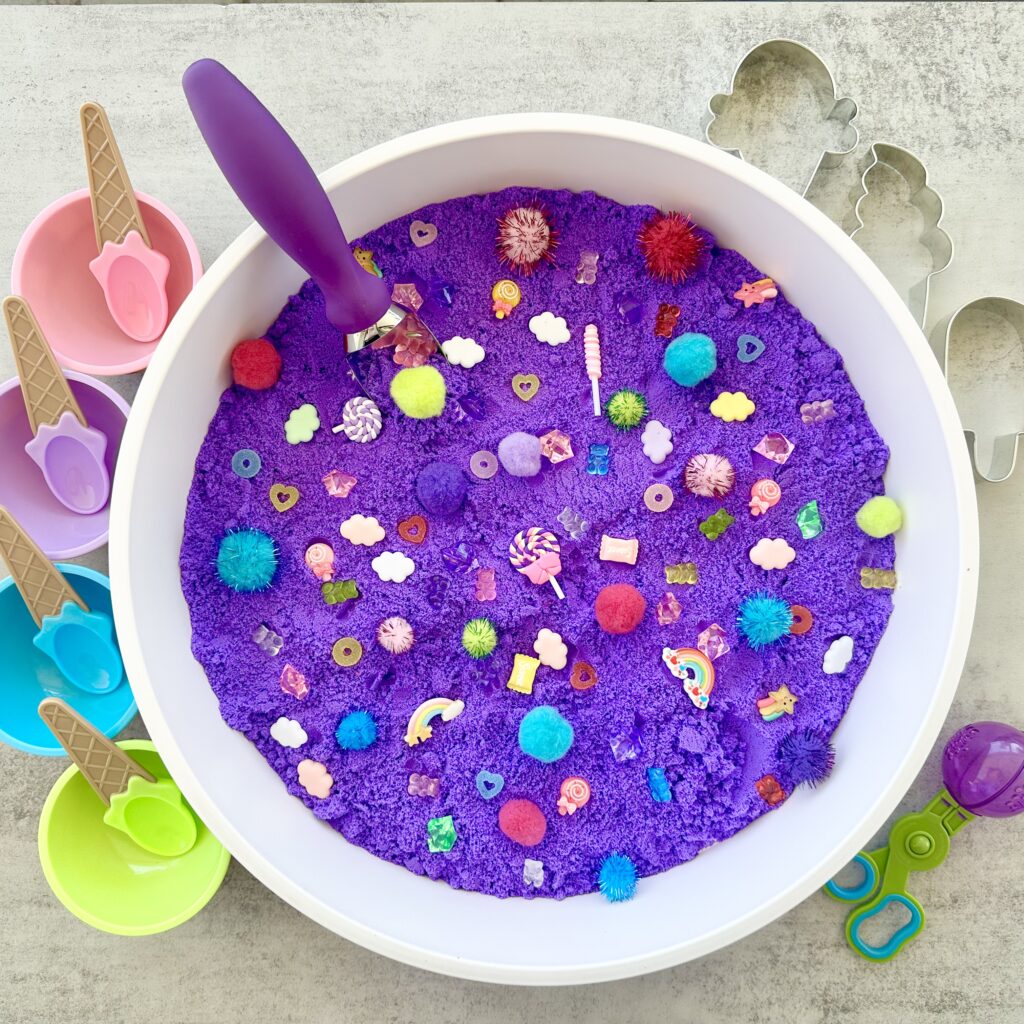
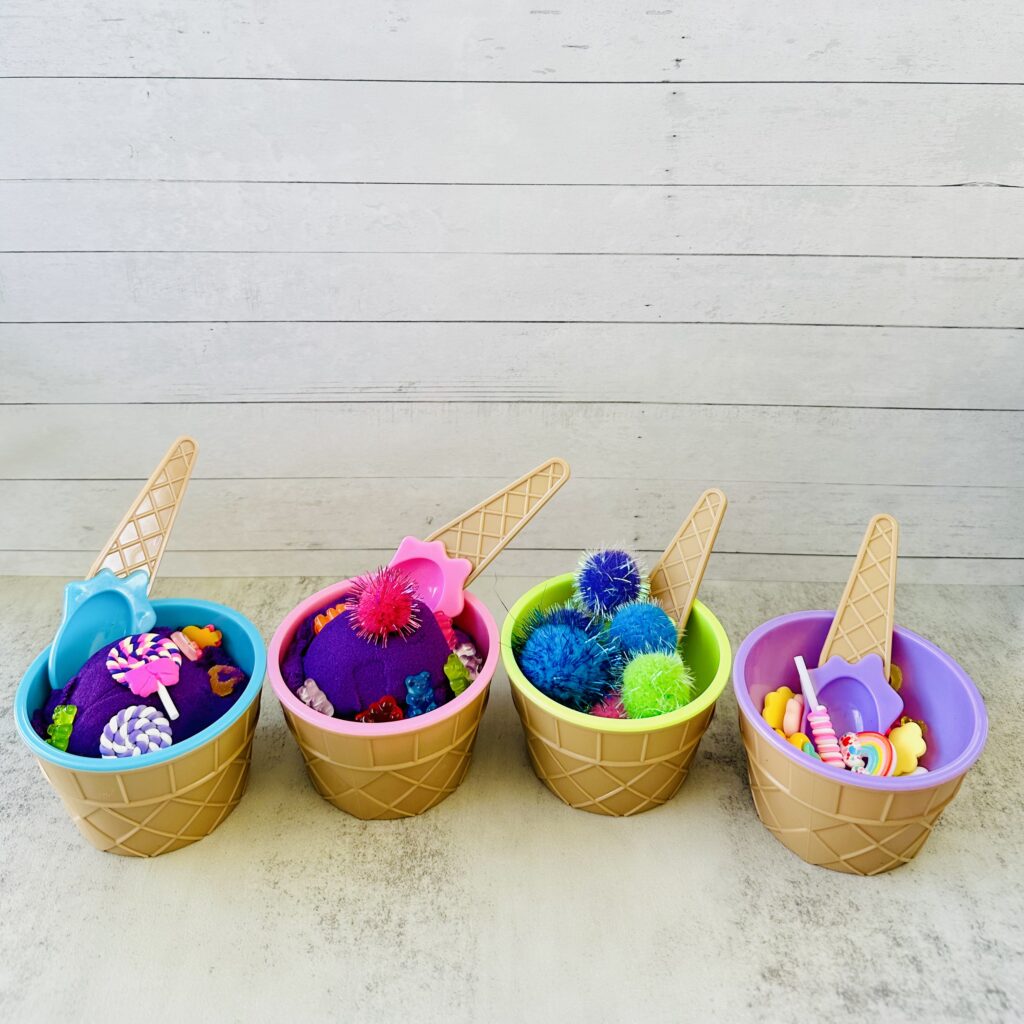
Add the silicone cupcake liners, play cones, or cups to one side of the bin. These will act as the “serving station” where your little one can scoop and create their masterpieces.
4. Add Scoops and Tools
Toss in scoops, tongs, tweezers, and spoons. They can use these to scoop sand, pick up pom-poms, and layer their “ice cream” creations. We added an ice cream scoop, and our kids were thrilled to get their hands on a “real tool” for their creations!
5. Play Time!
That’s it. Your ice cream sensory bin is ready! Watch as your child gets to work creating, serving, and maybe even taking pretend orders.
Play Ideas for Your Ice Cream Sensory Bin
This ice cream sensory bin isn’t just pretty, it’s packed with opportunities for fun, learning, and creativity. Here are some ideas to spark your child’s imagination and help them make the most of their playtime:
1. Ice Cream Shop
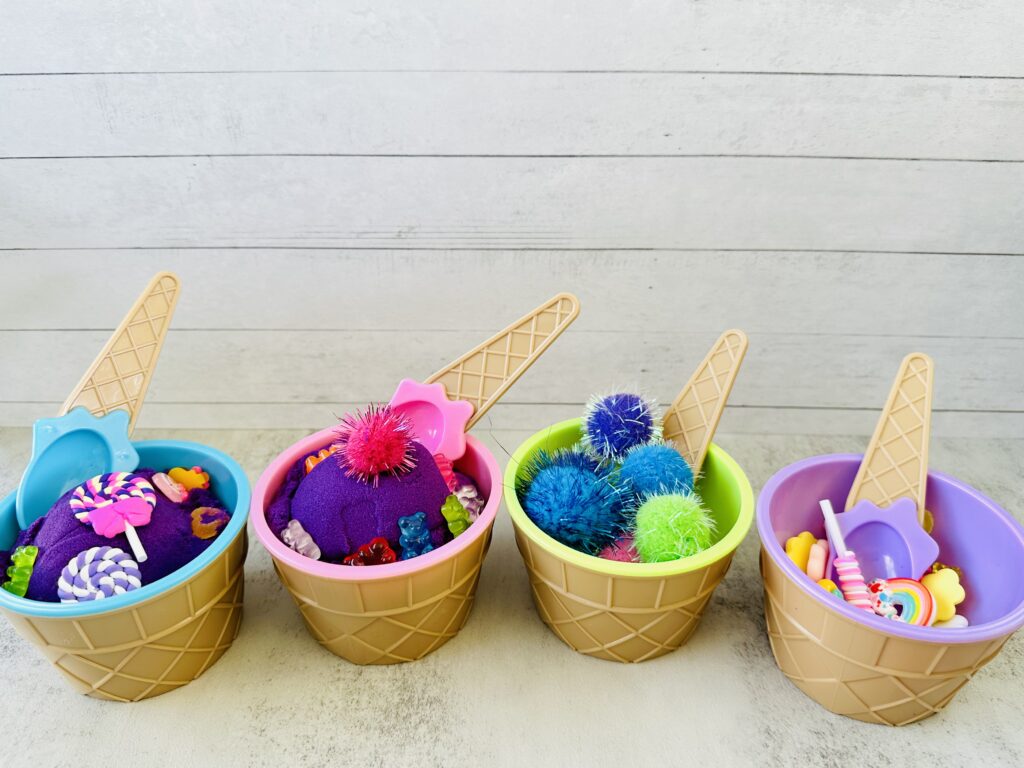
Set up an “Ice Cream Shop” and let your child take the lead! Your little one can take orders from family members or stuffed animals, scoop up “ice cream,” and serve up their delicious creations. You can take it up a notch by adding play money and letting them set prices for their ice cream creations!
2. Sorting and Matching
Turn the ice cream sensory bin into a mini sorting station! Ask your child to group the pom-poms by color, size, or texture into cupcake liners or bowls. For a challenge, have them count out a specific number of “sprinkles” to top each scoop of sand.
3. Creative Sundae Creations
Challenge your child to design the most outrageous ice cream sundae they can imagine! They can add scoops of kinetic sand, pile on pom-poms and beads for toppings, and serve it all in cones or bowls.
4. Treasure Hunt Game
Hide candy charms, gems, or other small treasures within the kinetic sand and let your child dig them out using their scoop or tongs. They can pretend they’re searching for hidden candy bits to decorate their ice cream!
5. Storytime Connection
Pair the ice cream sensory bin with a favorite ice cream-themed book! Read Should I Share My Ice Cream? or Groovy Joe: Ice Cream and Dinosaurs. Then, invite your child to recreate scenes from the story using the bin materials.
Safety When Playing with Sensory Bins
Sensory bins are amazing, but it’s always good to keep a few safety tips in mind:
- Supervise younger kids. If you have toddlers or young children playing with the bin, always keep an eye on them to make sure they’re not putting any small objects in their mouths. Choking hazards are a real concern, so be mindful of the size of the objects you include.
- Watch out for sharp or fragile items. Avoid anything that could potentially break or shatter in the bin. Stick to soft or flexible items like plastic figures, pom-poms, and silicone or plastic scoops.
- Keep it clean. Sensory bins can get messy! Lay down a sheet or tablecloth underneath to catch any runaway sand or small pieces. This makes cleanup a breeze.
Why We Love This Ice Cream Sensory Bin
This ice cream sensory bin is not just a fun summer sensory activity, but also educational. Your kids are developing fine motor skills, strengthening hand-eye coordination, and exploring new textures, all while giggling over their pretend play creations.
Plus, it’s easy to set up and keeps little ones busy, which might just buy you a few minutes of peace. Win-win!
Are you ready to make your own ice cream sensory bin? Let me know how it turns out in the comments.
Kinetic Sand Recipe
Equipment
- 1 Mixing Bowl
- 1 Mixing Spoon
- Measuring Cups
Ingredients
- 2 ½ cups fine play sand (any color works!)
- 1 ½ cups cornstarch
- ½ cup vegetable oil
Instructions
- Add 2 ½ cups of play sand and 1 ½ cups of cornstarch into a mixing bowl. Stir well to evenly distribute everything.
- Slowly mix in the ½ cup oil.
- Use your hands to knead the mixture until it’s fully combined and has a soft, moldable texture. If it’s too dry, add a tiny bit more oil. If it’s too wet, sprinkle in a little more cornstarch.
- Let the sensory play begin!
