How To Make The BEST Homemade Slime (No Borax!)
Create the BEST DIY Homemade Slime Recipe made with only 3 ingredients (no borax)—white school glue, baking soda, and contact solution! The perfect activity to entertain kids of all ages for hours!

Always supervise children during sensory play. See full disclaimer here. This post may contain affiliate links, which means I may earn a small commission if you make a purchase through these links, at no extra cost to you. As an Amazon Associate, I earn from qualifying purchases. I only recommend products I personally use and love! You can read more about my disclosure policy here.
Looking for an easy, fun, and budget-friendly way to entertain your kids? Homemade slime is the perfect solution! It’s one of those classic DIY slime recipes that never seems to go out of style.
My kids are obsessed, and honestly, I totally get it. Slime is oozy, stretchy, and endlessly fun to play with. And it’s super simple to make! Plus, it’s a great activity when you’re stuck inside and need to keep little hands busy.
Why Make Homemade Slime?
Slime has this magical ability to keep kids entertained for hours. It’s a sensory toy they get to make themselves. It’s squishy, stretchy, and so relaxing.
Plus, it’s one of those rare activities that’s fun for multiple age groups. Whether you have a preschooler or an older child, everyone loves getting their hands in some gooey slime. And, because this slime recipe is so simple, older kids can even make it themselves (with a little supervision, of course).
The best part is that this slime recipe only takes three ingredients that you likely already have at home: white school glue, baking soda, and contact solution. No fancy or hard to find stuff here!
Why Slime Is Awesome Sensory Play
Slime is more than just a fun, gooey mess. It’s actually a great sensory play activity that helps kids develop fine motor skills and provides them with tactile stimulation.
The squishy, stretchy texture is relaxing, and kids love the hands-on engagement. It’s also a calming activity that can be used as a quiet play option when you need a little break.
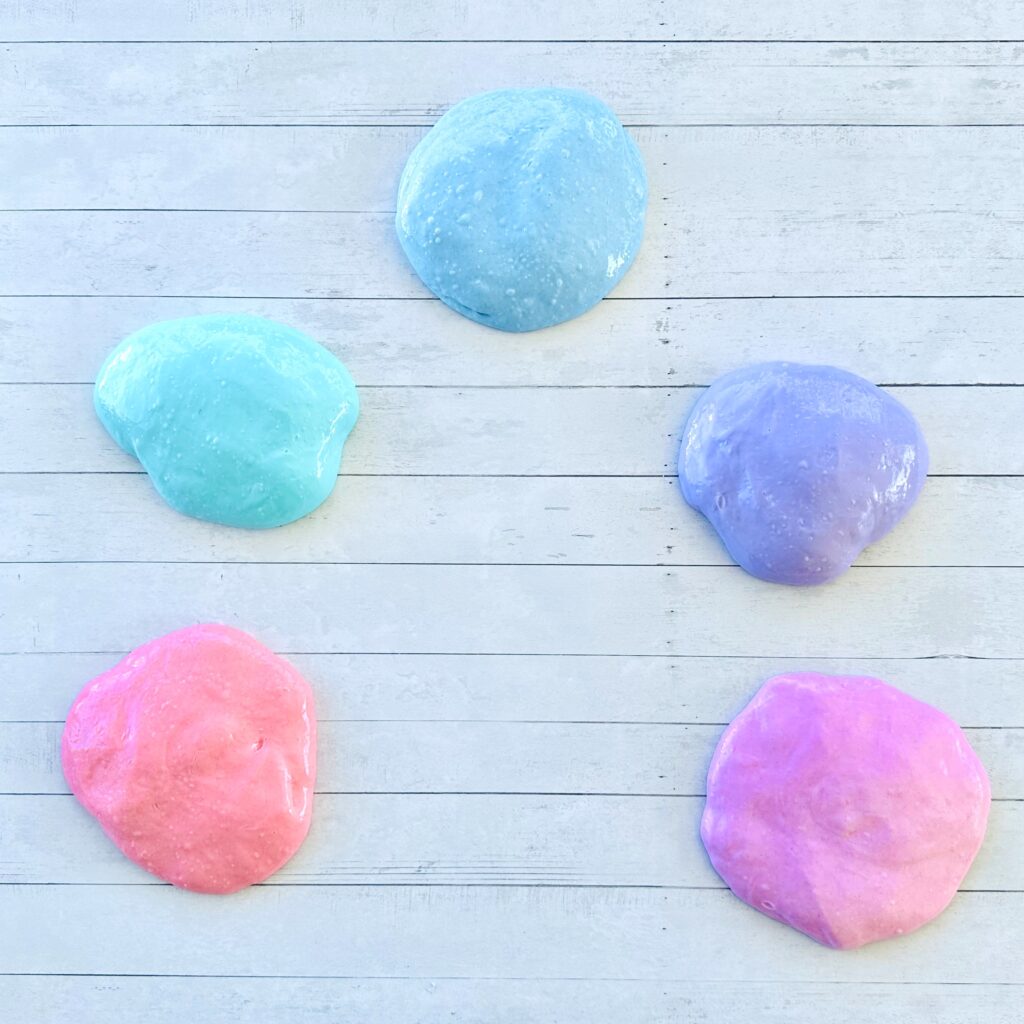
The Best Homemade Slime Recipe
Here’s the ultimate go-to homemade slime recipe we use again and again. It’s quick, easy, and gives you that perfect stretchy slime texture every time.
Ingredients
- 1 cup Elmer’s School glue
- 1 tablespoon baking soda
- 1-2 tablespoons Contact Lens Solution (make sure it contains boric acid or sodium borate): We used Bauch+Lomb Renu.
- Food coloring
- Optional: glitter, slime charms, pom pom balls, or other fun add-ins (because who doesn’t love a little sparkle?)
- Mixing bowl and spoon
Instructions
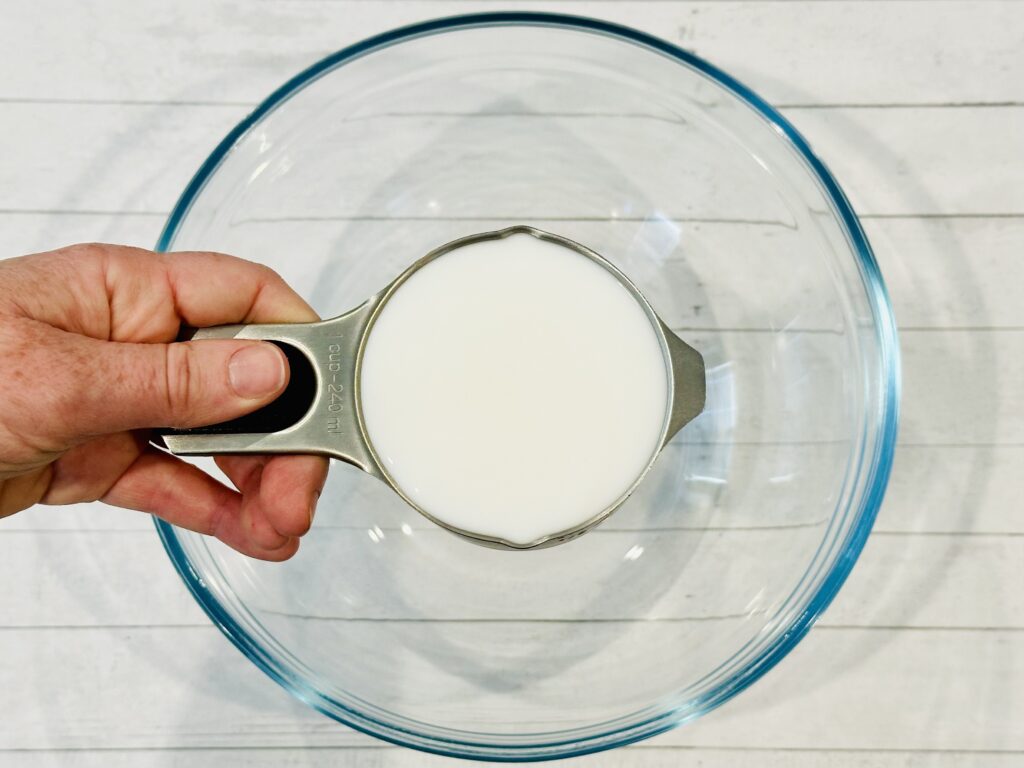
1. Add the Glue
Start by adding 1 cup glue into a mixing bowl.
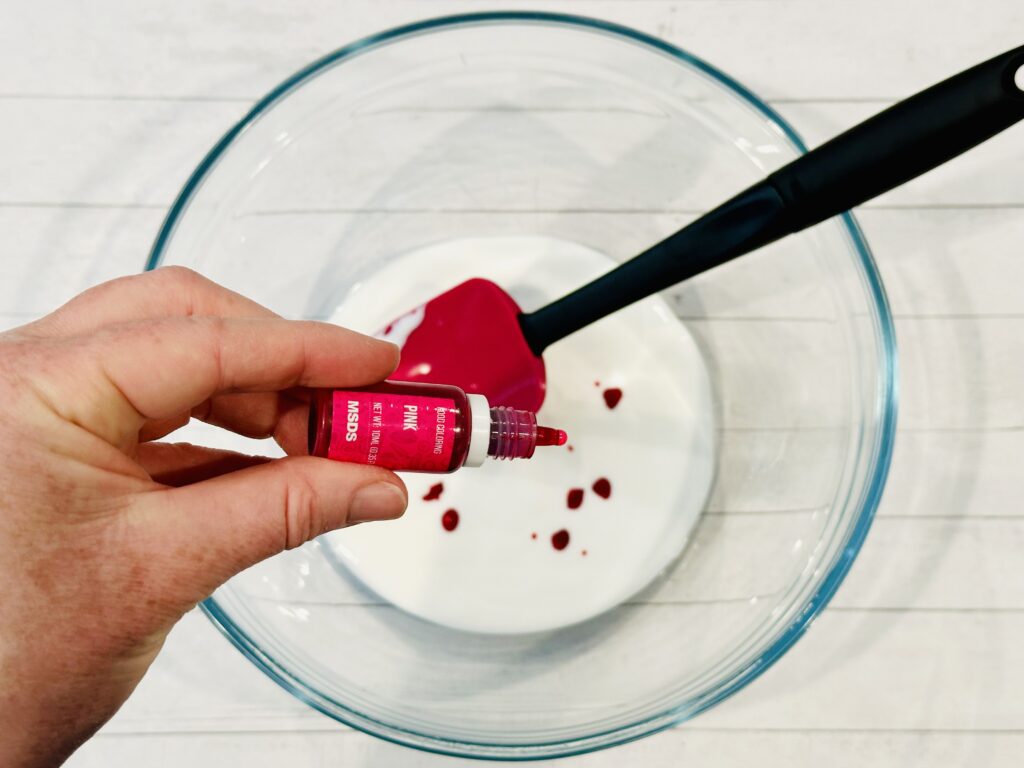
2. Mix In Food Coloring
If you want colorful slime, this is the time to add a few drops of food coloring (a little food coloring goes a long way!). Mix it all together until the color is even.
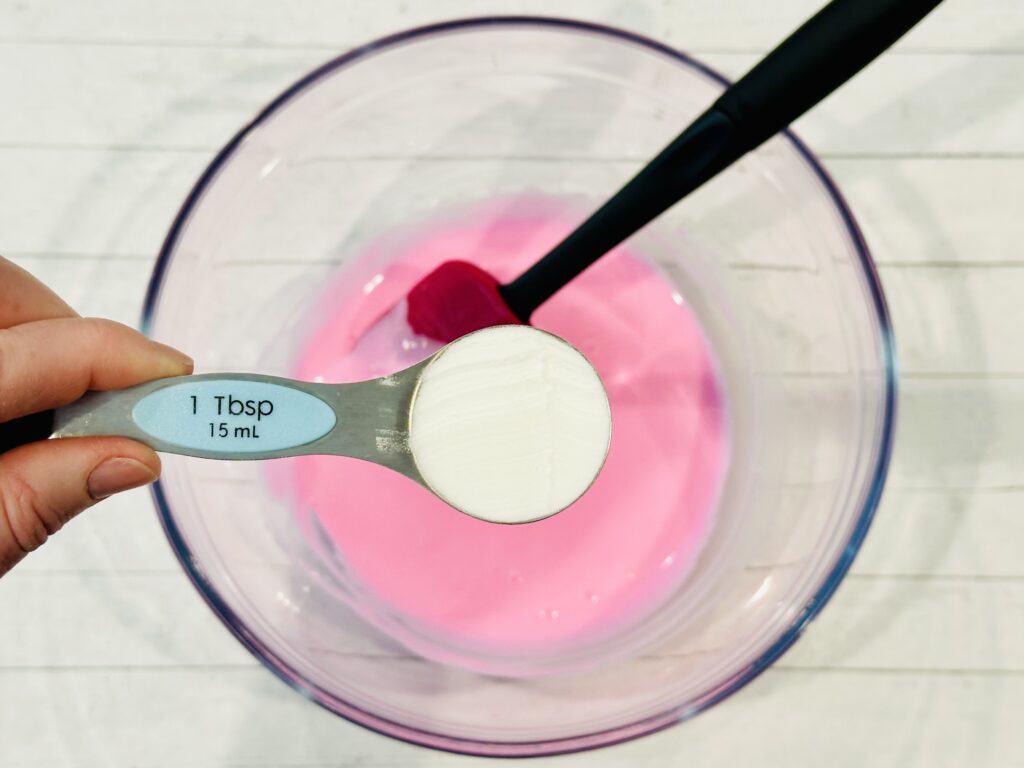
3. Add the Baking Soda
Next, add 1 tablespoon of baking soda to the glue mixture. This will give your slime a bit of structure and thickness.
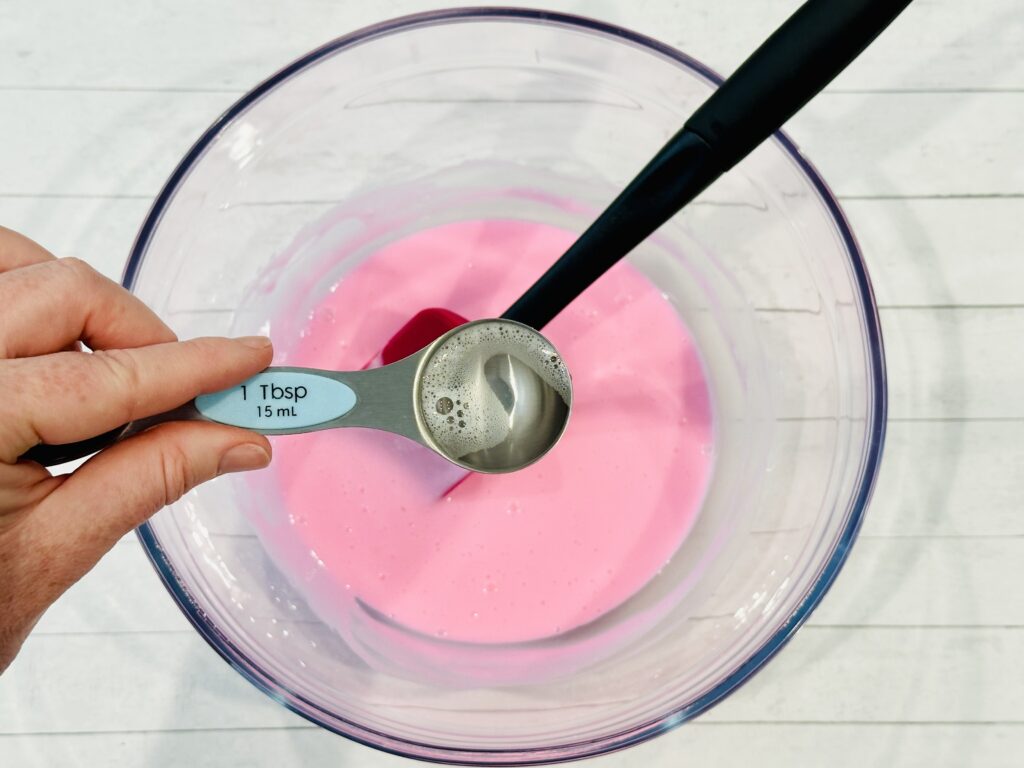
4. Add the Contact Solution
Slowly add 1 tablespoon of contact solution while stirring continuously. As you mix, you’ll see the slime start to come together and thicken. The mixture will begin pulling away from the sides of the bowl.
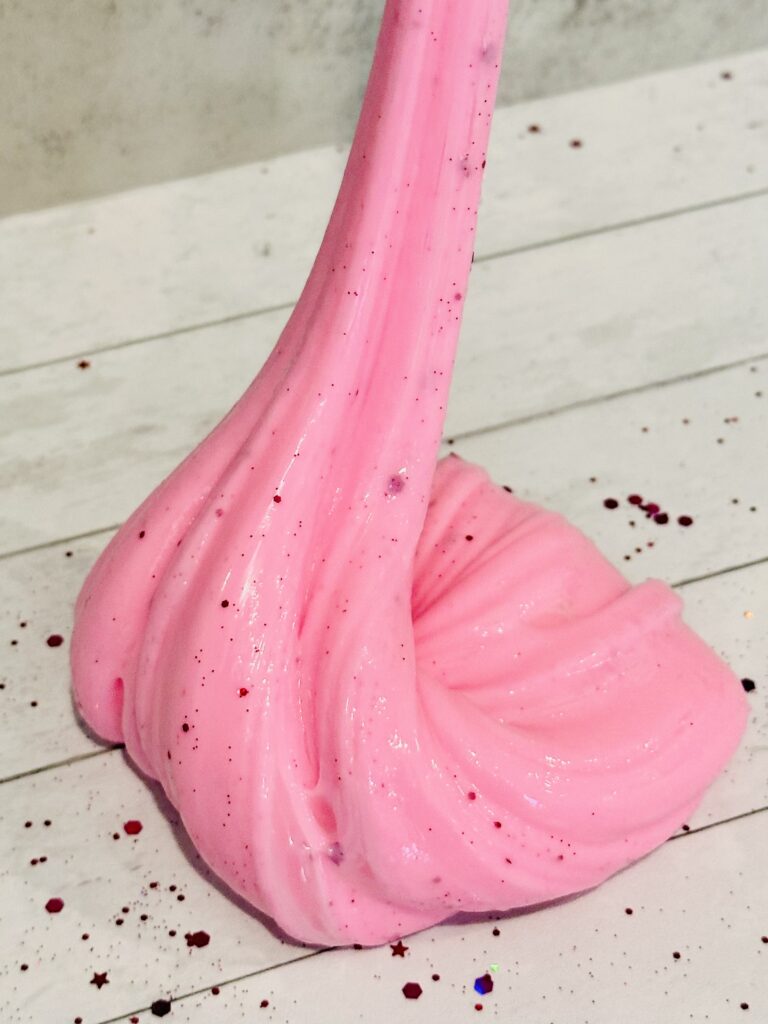
4. Knead the Slime
Once the slime is thickened, it’s time to get in there with your hands! Knead the slime for a few minutes until it’s smooth and fully mixed. At first, it’ll be a bit sticky and wet, but don’t worry—just keep working it until it comes together.
If it’s still too sticky, add a little more solution, a few drops at a time. You want it to be stretchy but not gluey.
Pro Tip: If you rub a few drops of saline solution on your hands before kneading, it’ll help keep the slime from sticking to your fingers.

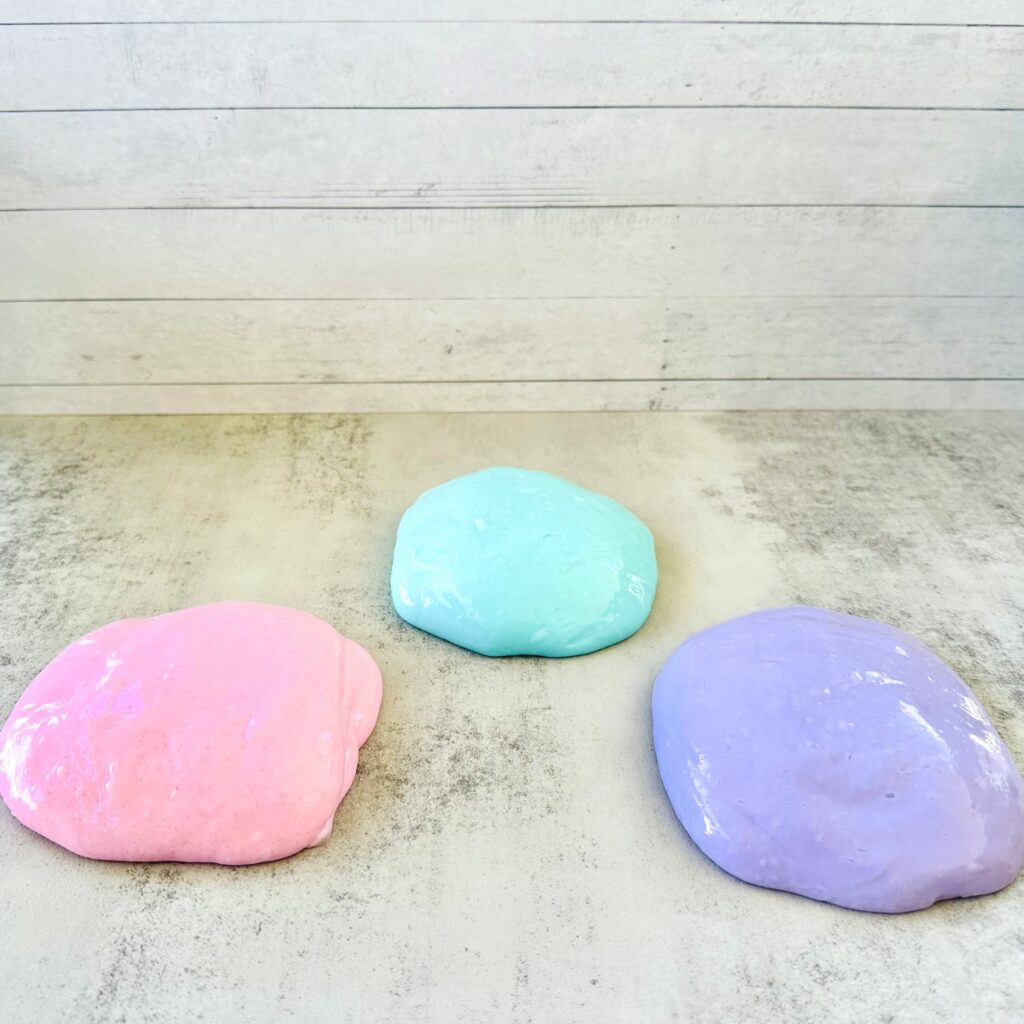
5. Play Time!

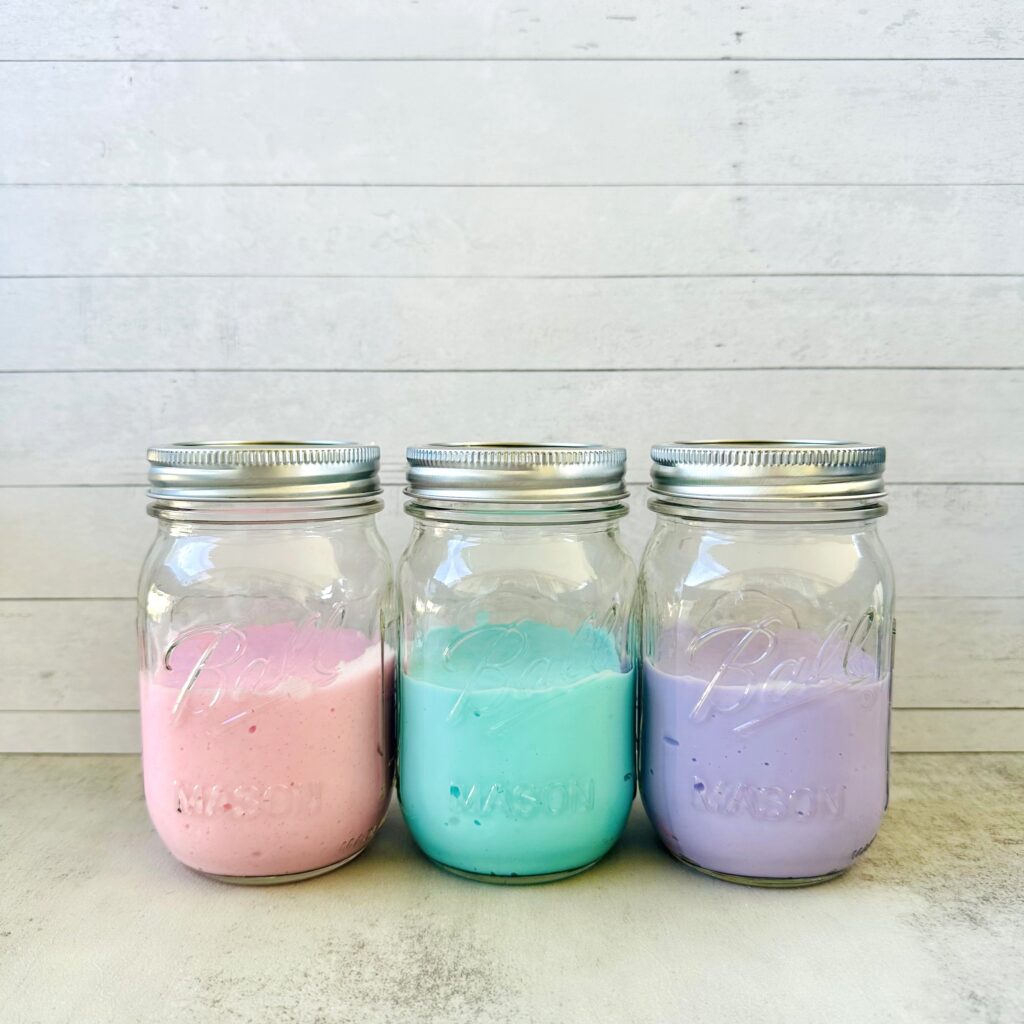
Storing Your Homemade Slime
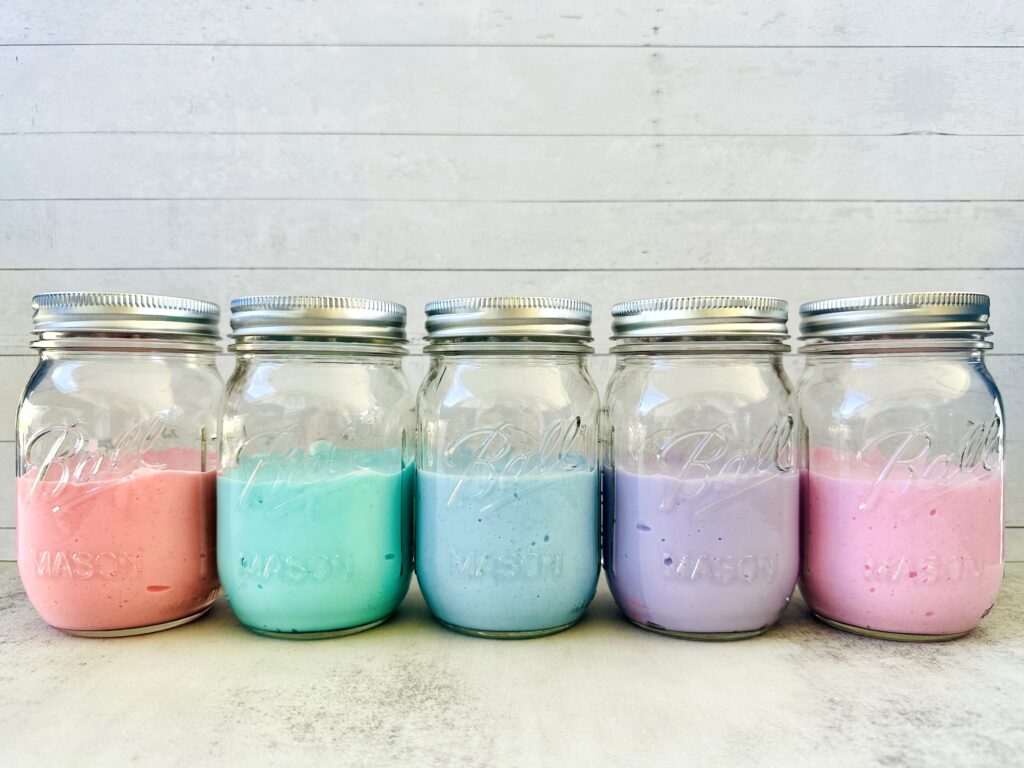
Now that you’ve made your slime, how do you keep it from drying out? Store it in an airtight container, like a zip-top bag or glass mason jar. This will help it last for several of weeks (as long as you keep it clean).
Why No Borax?
You might see Borax in a lot of traditional homemade slime recipes, but I prefer to skip it. Borax can be pretty harsh on sensitive skin, and there are concerns about repeated exposure to it. Some sources say it’s okay if diluted properly and used with gloves, but why risk it?
Besides, the baking soda and contact solution recipe makes a softer, more pliable slime that feels better in little hands and doesn’t smell funky like Borax-based slime. It’s just a safer, more kid-friendly option.
Fun Slime Variations
Ready to take homemade slime to the next level? Check out these fun DIY slime variations:
1. Fluffy Slime
Add shaving cream to get a super stretchy, pillowy, and squishy type of slime. Check out our Fluffy Slime Recipe!
2. Clear Slime
Make glossy, transparent slime that lets you see through it, making it perfect for adding glitter, beads, or small toys for a fun, crystal-like effect. Check out our Crystal Clear Slime Recipe!
3. Glitter Glue Slime
If you don’t want to deal with loose glitter, grab some glitter glue! It adds all the sparkle without any of the mess. Check out our Glitter Glue Slime Recipe!
4. Floam Slime
Floam slime is a stretchy, textured slime filled with tiny foam beads that make it extra squishy and fun to mold into different shapes. Check out our Floam Slime Recipe!
5. Holiday-Themed Slime
Try making different holiday homemade slime recipes:
- Halloween: Halloween Slime or Pumpkin Fluffy Slime
- Christmas: Candy Cane Fluffy Slime or Snowflake Clear Slime
- Valentine’s Day: Glitter & Hearts Clear Slime or Valentine’s Day Fluffy Slime
- St Patrick’s Day: Shamrock & Glitter Clear Slime or Fluffy Shamrock Slime
- Easter: Glitter & Bunnies Slime or Easter Fluffy Slime
A few helpful tips
Ready To Try The Best Homemade Slime Recipe?
So, whether you’re looking for a fun and engaging school break activity or just want to try something different, homemade slime is always a great choice. It’s easy, affordable, and totally customizable. Plus, the kids will love it!
Ready to make you own homemade slime? Let me know how it goes in the comments.
Traditional Homemade Slime Recipe
Equipment
- 1 Mixing Bowl
- 1 Mixing Spoon
- Measuring Cups
- Measuring Spoons
Ingredients
- 1 cup Elmer's white school glue
- 1 tbsp baking soda
- 1-2 tbsp contact solution
- 5-10 drops food coloring optional
- glitter optional
Instructions
- Add 1 cup glue to the mixing bowl.
- Add a few drops of food coloring and mix together until the color is even.
- Stir in 1 tbsp baking soda.
- Slowly add in 1 tbsp of contact solution while stirring continuously. As you stir, the mixture will begin to thicken and pull away from the sides of the bowl.
- Knead the slime by hand for a few minutes until it’s smooth and fully mixed. If it’s still too sticky, add a little more contact solution, a few drops at a time.
- Mix in glitter or toys and trinkets (optional).
- After playing, store in an airtight container.

How much does this make?
This recipe makes about 8 ounces of slime. Just the right amount for one or two kids to enjoy!