How to Make Awesome Glitter Glue Slime
Learn how to make perfect glitter slime with just 3 ingredients—glitter glue, baking soda, and contact solution! An easy, fun, no-fail recipe!
Always supervise children during sensory play. See full disclaimer here. This post may contain affiliate links, which means I may earn a small commission if you make a purchase through these links, at no extra cost to you. As an Amazon Associate, I earn from qualifying purchases. I only recommend products I personally use and love! You can read more about my disclosure policy here.
Slime is a tried-and-true activity that kids of all ages love. It’s squishy, stretchy, and just plain fun! If you’re looking to take your slime-making game up a notch, glitter slime is the perfect way to add a little sparkle to the mix.
The best part? It’s super easy to make, and with glitter glue, you don’t have to worry about glitter getting all over your house. This glitter slime recipe only requires three simple ingredients—no borax necessary—making it both kid-friendly and safe.
Why Glitter Glue Slime?
Glitter glue slime offers all the fun of classic slime with an extra dose of magic. Using glitter glue keeps the glitter contained, so you get the sparkle without the mess. Let’s be real: if you’ve ever worked with loose glitter, you know it can haunt you for days!
Plus, since this recipe doesn’t use borax, it’s a safer option for younger kids. Whether you’re making slime for a birthday party, playdate, or just a rainy afternoon, this is the perfect go-to recipe.
What’s even better? Kids can practically make it themselves (with a little guidance), which is especially helpful if you’ve got an older child or independent little one who loves to help!
How to Make Glitter Glue Slime

Ingredients
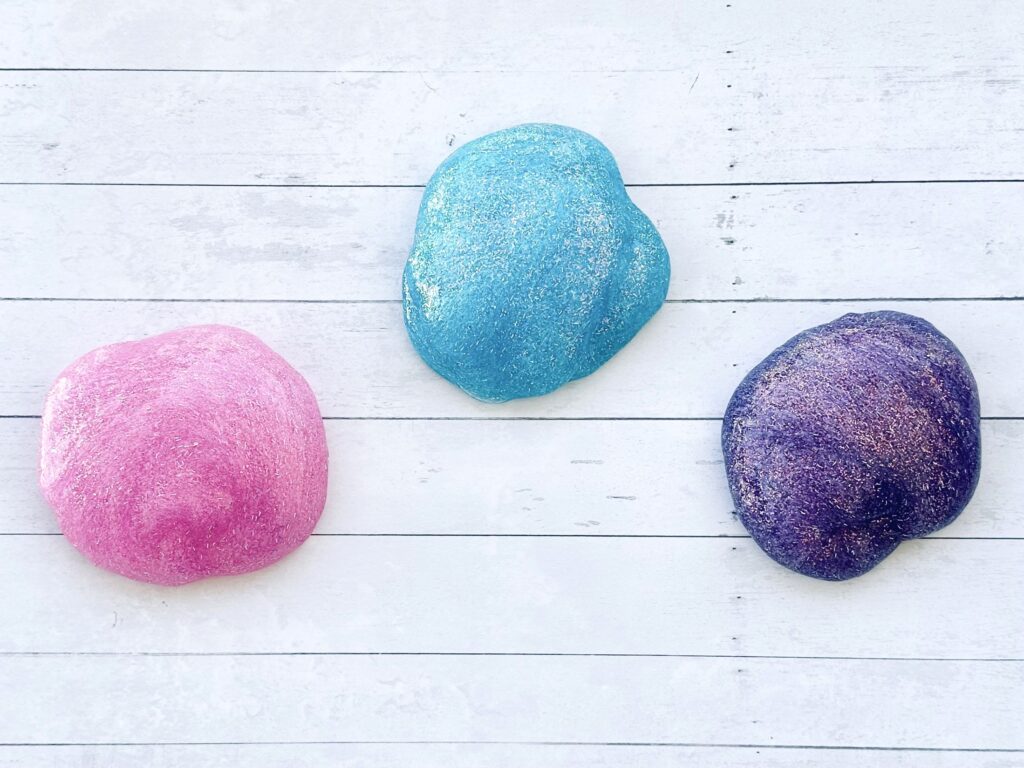
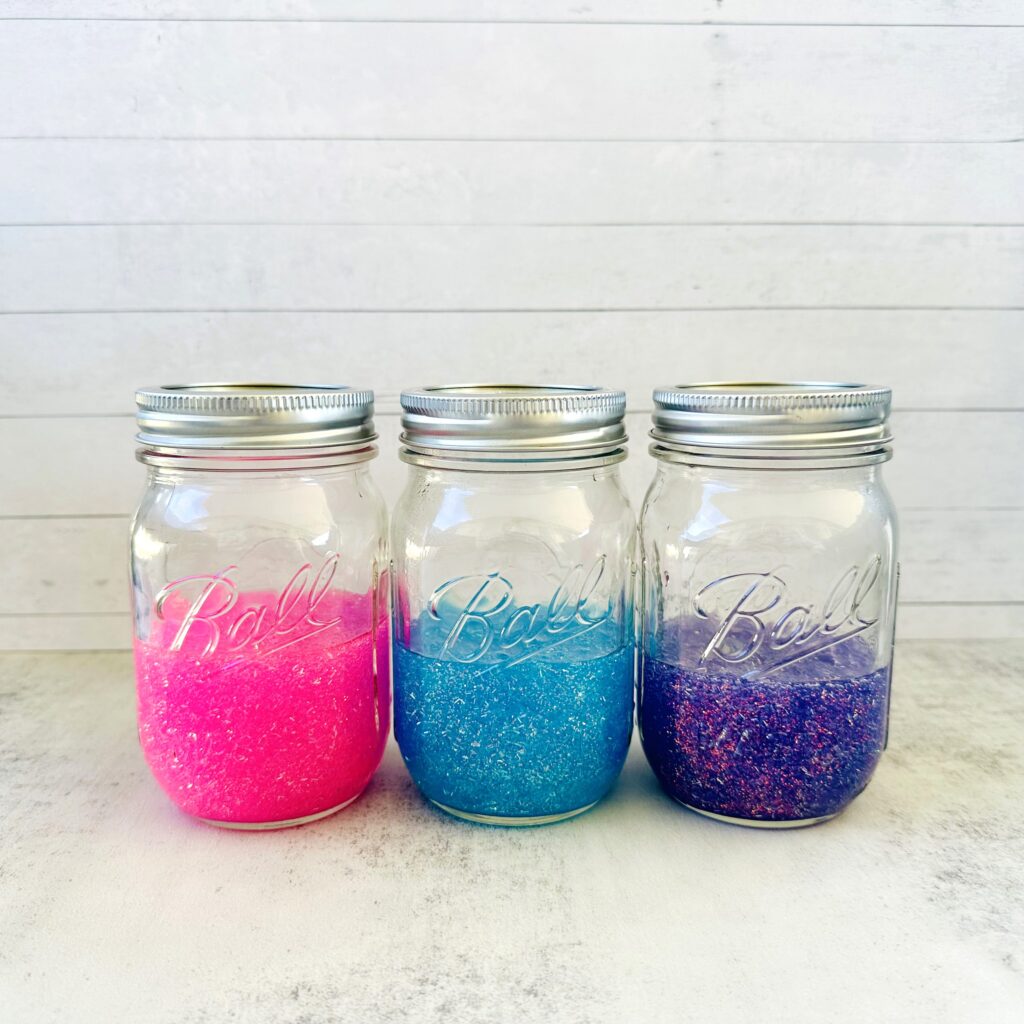
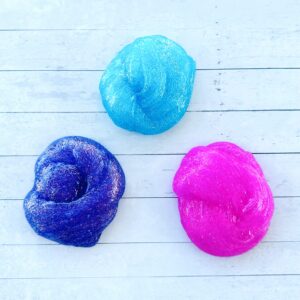
- 6 oz Elmer’s Glitter Glue: We used pink, purple, and blue.
- 1/2 tablespoon baking soda: This helps thicken the glue and starts the process of turning it into slime.
- 1-2 tablespoons Contact Lens Solution (make sure it contains boric acid or sodium borate): We used Bauch+Lomb Renu.
- Optional: Glitter or slime charms: Feeling extra sparkly? You can always sprinkle in some extra glitter or slime charms to make your slime shine even more!
Instructions
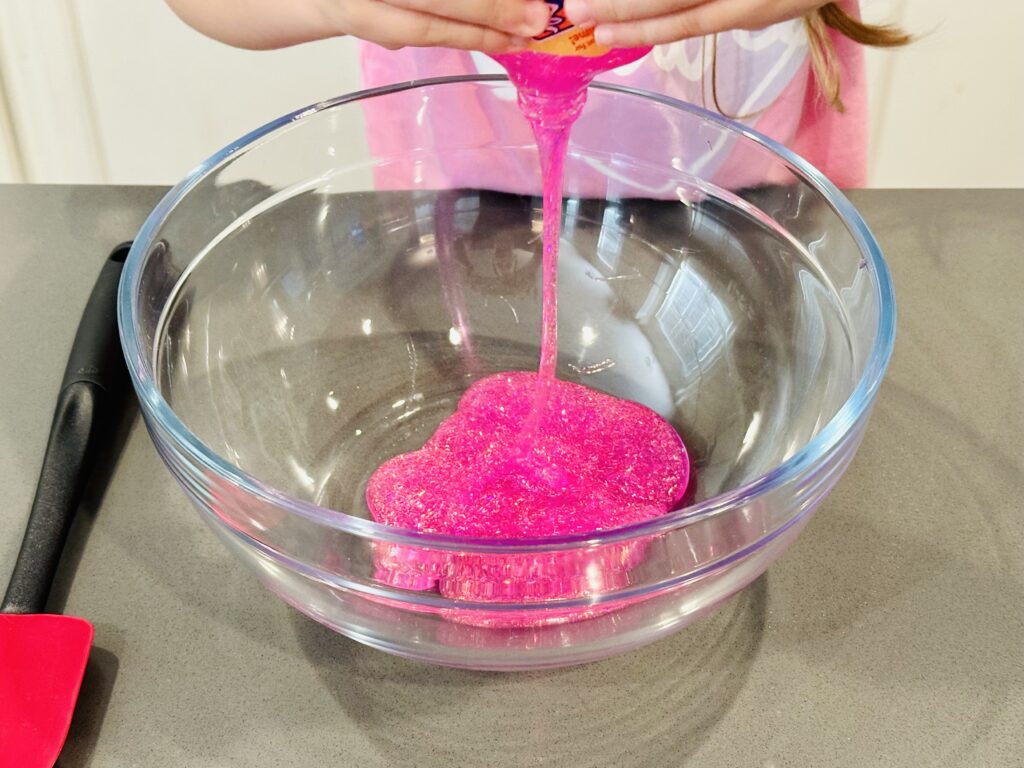
1. Grab a Mixing Bowl
Pour the entire bottle of glitter glue into a mixing bowl. If you’ve got a larger bottle of glue, just measure out 3/4 cup.
2. Add Baking Soda
Stir in 1/2 tablespoon of baking soda. Make sure to mix it thoroughly—it helps firm up the glue so it can start transforming into slime.
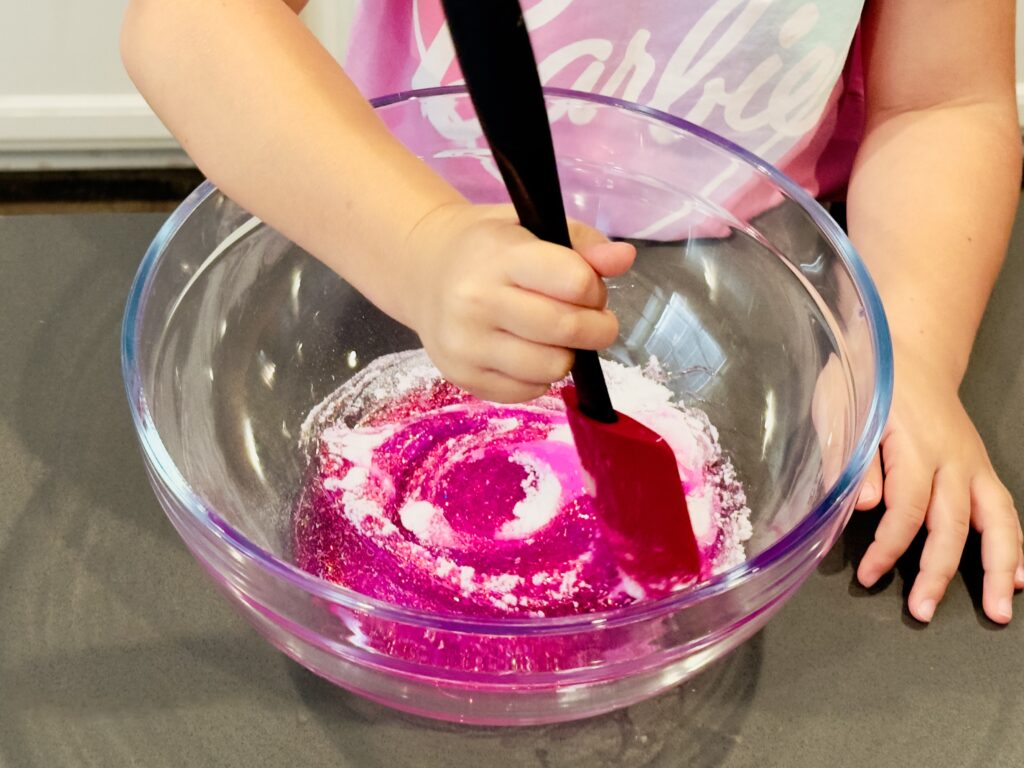
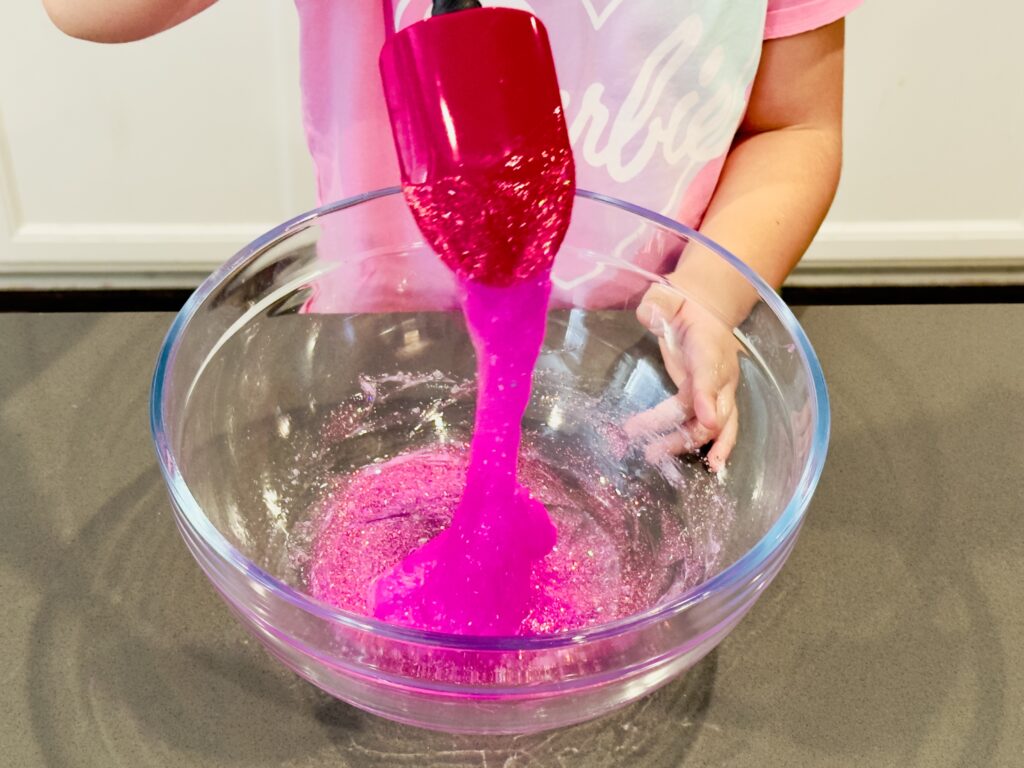
3. Add Contact Solution Slowly
Slowly add 1 tablespoon of contact solution to the glue mixture, stirring as you go. You’ll see the slime begin to form immediately, pulling away from the sides of the bowl. If the slime is too sticky, add a little more contact solution, but wait 3-4 minutes for the activator to work. Do this slowly to avoid ending up with firm, rubbery slime.
4. Knead the Slime
Once the mixture starts sticking together, it’s time to get your hands in there. Take the slime out of the bowl and start kneading it. This step is crucial for getting that perfect stretchy texture. It might feel a bit sticky at first, but keep kneading—this helps the slime come together properly.
If your slime is still too sticky, add a bit more contact solution 1/2 teaspoon at a time. Be careful not to overdo it, or your slime will end up stiff.
Pro tip: If the slime feels dry or tough, a little water can help loosen it up.

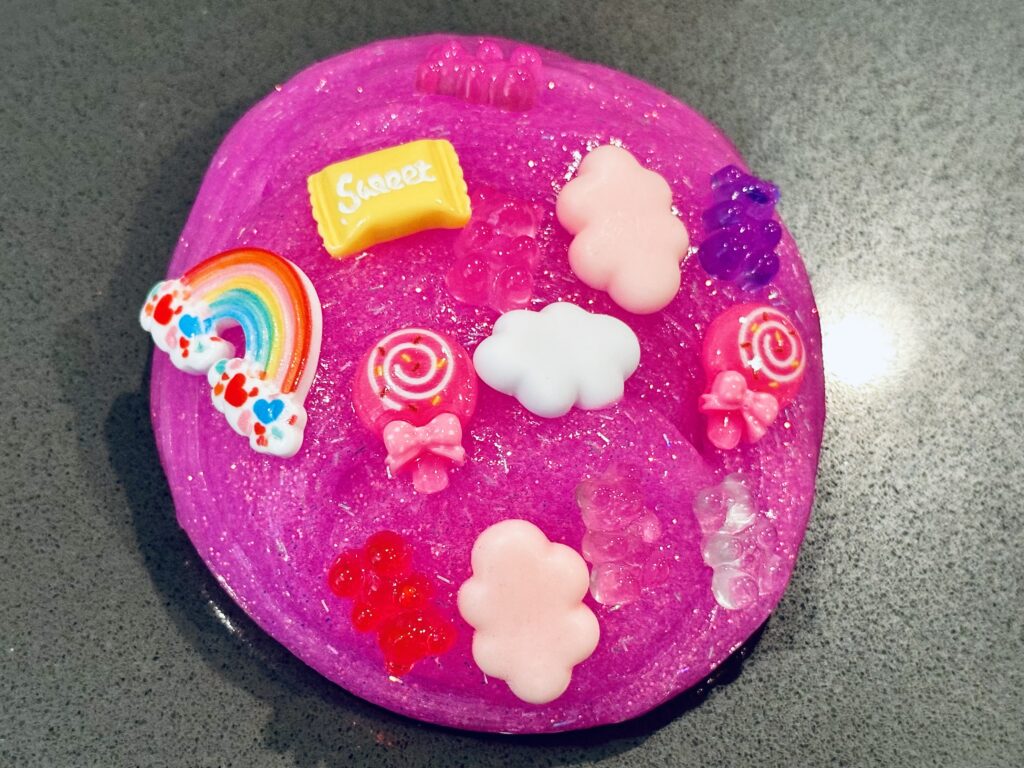
5. Customize Your Slime (Optional)
If you’re in the mood for more sparkle, now’s the time to add extra glitter. Just sprinkle it in and knead some more. We added some slime charms to our glitter glue slime.
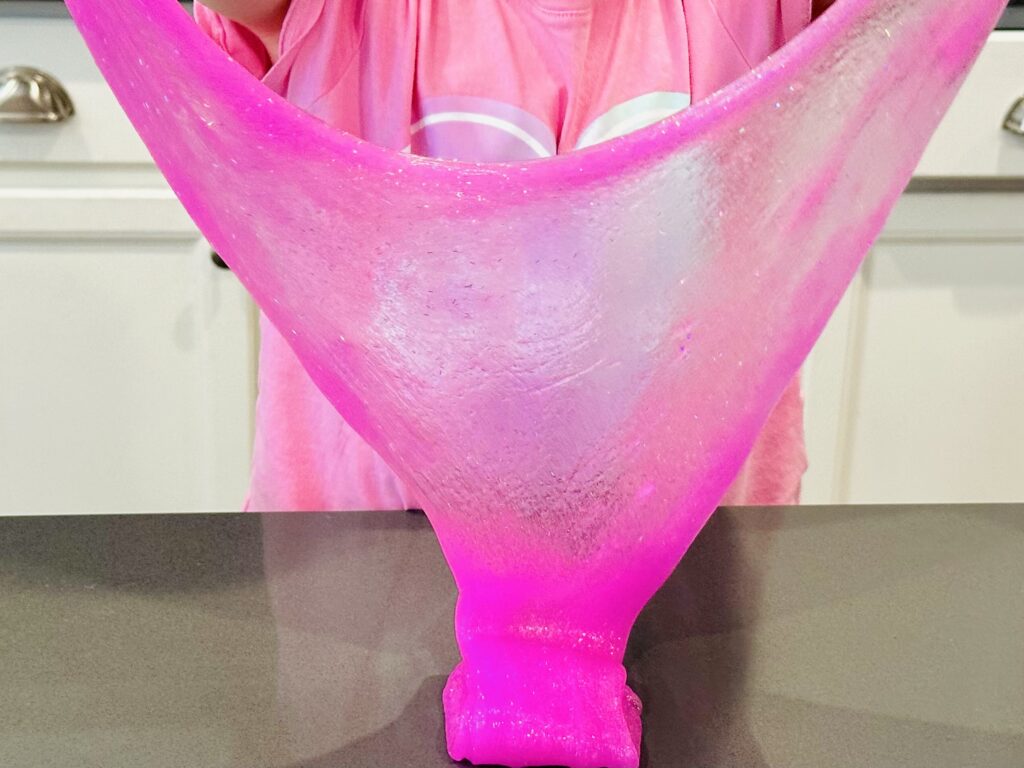
6. Enjoy!
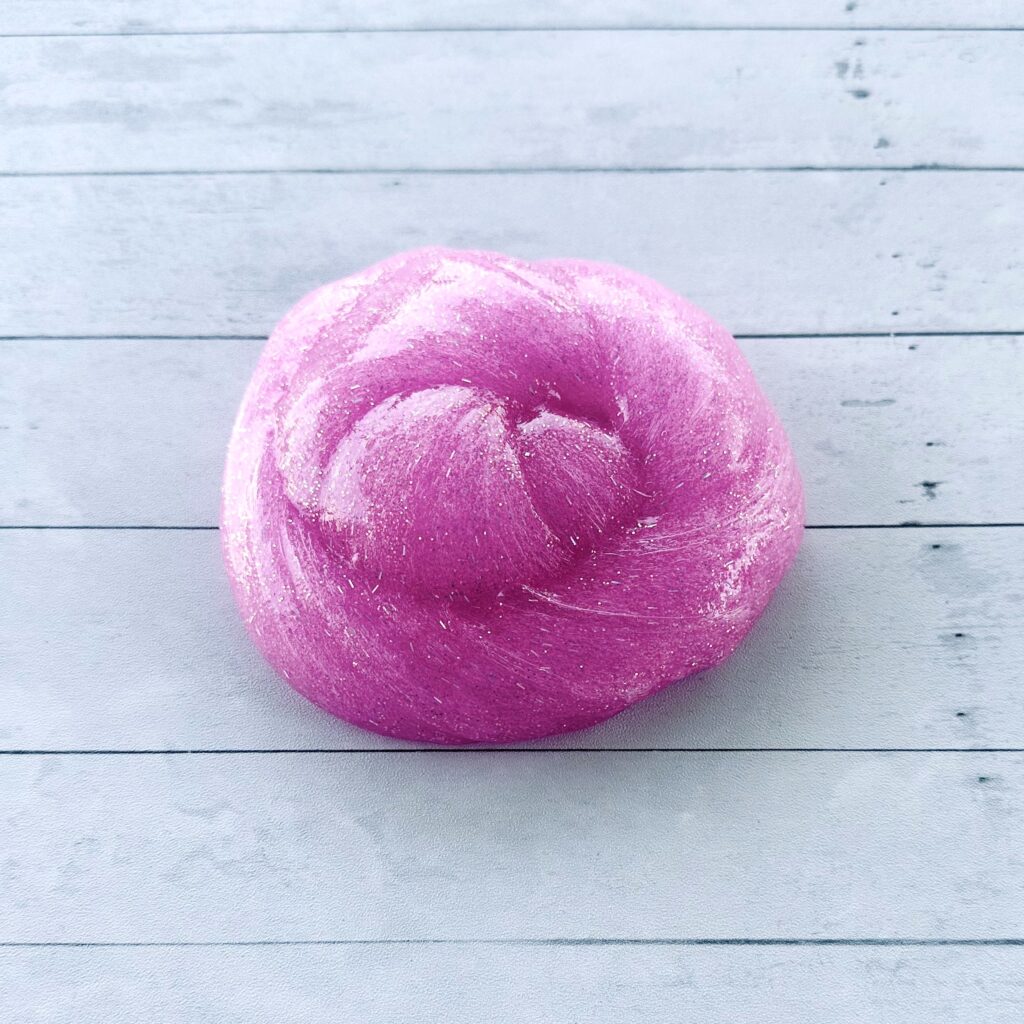
Once you’ve got your glitter glue slime at the perfect consistency, it’s time to play! Stretch it, squish it, mold it, and let the glittery fun begin.
Cleanup and Storage
After your glitter glue slime session, make sure to store the slime in an airtight container, we love using mason jars, to keep it from drying out. Properly stored, your slime can last for weeks of fun! Just remind the kids to wash their hands after playing with the slime to keep things clean.

Troubleshooting Your Glitter Glue Slime
- Too Sticky?: If your slime is sticking to everything, slowly add more contact solution, 1/2 teaspoon at a time, and keep kneading. Wait 3-4 minutes for the activator to work.
- Too Firm?: If your slime is too stiff, knead in some water or lotion to soften it up and make it more stretchy.
- Still Not Right?: If your slime isn’t coming together at all, double-check your contact solution. It must contain boric acid and sodium borate to work. Without these ingredients, the slime won’t form properly.

Extra Tips for Perfect Glitter Glue Slime
- Contact Solution Over “Slime Activators”: There’s no need to shell out for fancy “slime activators”—they’re just saline solution repackaged with a higher price tag. Any contact solution with boric acid or sodium borate will work just as well, and they’re much more affordable.
- Stick to Elmer’s Glue: Not all glues are created equal. We’ve found that Elmer’s Glitter Glue consistently produces the best slime. Other brands might work, but they tend to result in slime that’s either too sticky or too tough. Elmer’s gets the consistency just right, and it’s widely available.
- Control the Consistency: The amount of contact solution you need will vary depending on how stretchy or firm you want your slime to be. Start slow and adjust as needed. If your slime gets too firm, don’t panic! Just add a little water to soften it up. For an extra squishy slime, work in a bit of lotion or baby oil to make it more pliable.
Why Is Boric Acid Important in Slime?
You might wonder why boric acid (or sodium borate) is always mentioned when making slime. It’s the key activator that transforms glue into slime. When you mix boric acid with the glue’s ingredients, it causes a chemical reaction that creates the stretchy, squishy slime we all love.
While borax itself is a common slime activator, many people prefer using contact solution with boric acid. Borax can be pretty harsh on sensitive skin, and there are concerns about repeated exposure to it. Some sources say it’s okay if diluted properly and used with gloves, but why risk it?
Besides, the baking soda and contact solution recipe makes a softer, more pliable slime that feels better in little hands and doesn’t smell funky like Borax-based slime. It’s just a safer, more kid-friendly option.

Fun Slime Variations
Ready to take slime to the next level? Check out these fun slime variations:
1. Fluffy Slime
Add shaving cream to get a super stretchy, pillowy, and squishy type of slime. Check out our Fluffy Slime Recipe!
2. Clear Slime
Make glossy, transparent slime that lets you see through it, making it perfect for adding glitter, beads, or small toys for a fun, crystal-like effect. Check out our Crystal Clear Slime Recipe!
3. Floam Slime
Floam slime is a stretchy, textured slime filled with tiny foam beads that make it extra squishy and fun to mold into different shapes. Check out our Floam Slime Recipe!
4. Traditional Slime
Traditional slime is the classic, smooth, and stretchy slime made with white school glue, offering endless customization with colors or glitter. Check out our Homemade Slime Recipe!
5. Holiday-Themed Slime
Try making different holiday slime recipes:
- Halloween: Halloween Slime or Pumpkin Fluffy Slime
- Christmas: Candy Cane Fluffy Slime or Snowflake Clear Slime
- Valentine’s Day: Glitter & Hearts Clear Slime or Valentine’s Day Fluffy Slime
- St Patrick’s Day: Shamrock & Glitter Clear Slime or Fluffy Shamrock Slime
- Easter: Glitter & Bunnies Slime or Easter Fluffy Slime
You’ll Love This Glitter Glue Slime
There you have it! A super easy and kid-friendly glitter glue slime recipe that’s guaranteed to be a hit. Whether you’re making slime for a rainy day activity, a party, or just because, this glitter slime is sure to add a little sparkle to your day.
Ready to make your own glitter glue slime? Let me know how it turns out in the comments.
Glitter Glue Slime Recipe (No Borax!)
Equipment
- Mixing Bowl
- Mixing Spoon
- Measuring Cups
- Measuring Spoons
Ingredients
- 6 oz Elmer’s Glitter Glue any color
- ½ tbsp baking soda
- 1 tbsp contact lens solution
- Extra glitter or slime charms optional
Instructions
- Empty the entire bottle of glitter glue into a mixing bowl. If using a larger bottle, measure ¾ cup.
- Stir in ½ tablespoon of baking soda until fully combined.
- Add 1 tablespoon of contact solution while stirring. Slime will begin to form and pull away from the bowl. If still sticky, wait 3–4 minutes, then add a little more solution.
- Remove slime from the bowl and knead until stretchy. If too sticky, add contact solution a few drops at a time. If too stiff, knead in a small amount of water.
- Sprinkle in extra glitter or add slime charms, then knead to mix.
- Stretch, squish, and have fun with your glitter glue slime!