The Best Clear Slime Recipe (No Borax!)
Learn how to make the BEST Clear Slime Recipe with just 3 simple ingredients—clear glue, baking soda, and contact solution. No borax recipe!
Always supervise children during sensory play. See full disclaimer here. This post may contain affiliate links, which means I may earn a small commission if you make a purchase through these links, at no extra cost to you. As an Amazon Associate, I earn from qualifying purchases. I only recommend products I personally use and love! You can read more about my disclosure policy here.
Clear slime is having a moment, and it’s easy to see why. Kids love its stretchy, squishy feel. Parents appreciate the simple ingredients. But it’s also a fun way to sneak in a little science! In fact, slime is a perfect example of a Non-Newtonian fluid, meaning it doesn’t behave like most everyday liquids. Pretty cool, right?
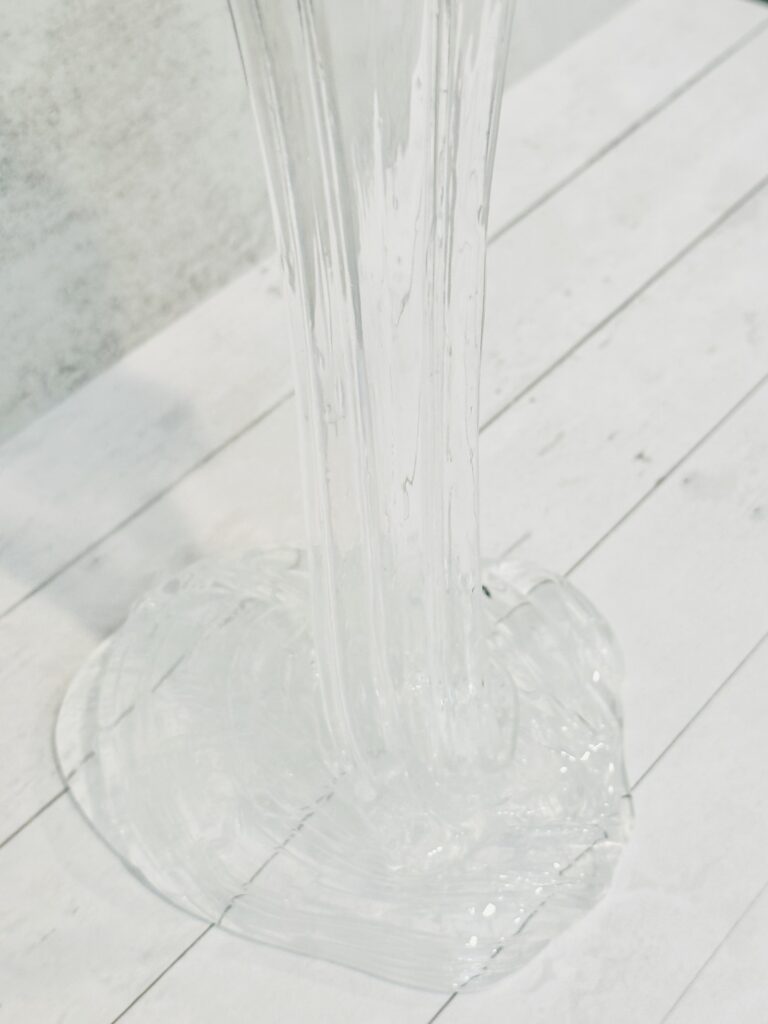
Now, what’s even better? Making crystal clear slime at home. You don’t need fancy supplies or hours of prep. Just a few common items and a little patience, and you can create slime so transparent it looks like liquid glass.
Whether you’re looking for a fun sensory activity, science project, or just something cool for the kids to play with, this guide will walk you through everything you need to know about making the perfect crystal clear slime recipe.
The Best Clear Slime Recipe

Ingredients
To make this clear slime recipe, you’ll need the following:
- 1/2 cup Elmer’s Clear Glue
- 1/2 cup Warm Water
- 1/2 teaspoon Baking Soda
- 1-2 tablespoons Contact Lens Solution (make sure it contains boric acid or sodium borate): We used Bauch+Lomb Renu.
- Optional: Food coloring, Glitter or Pom-Pom Balls to add extra sparkle!
Instructions
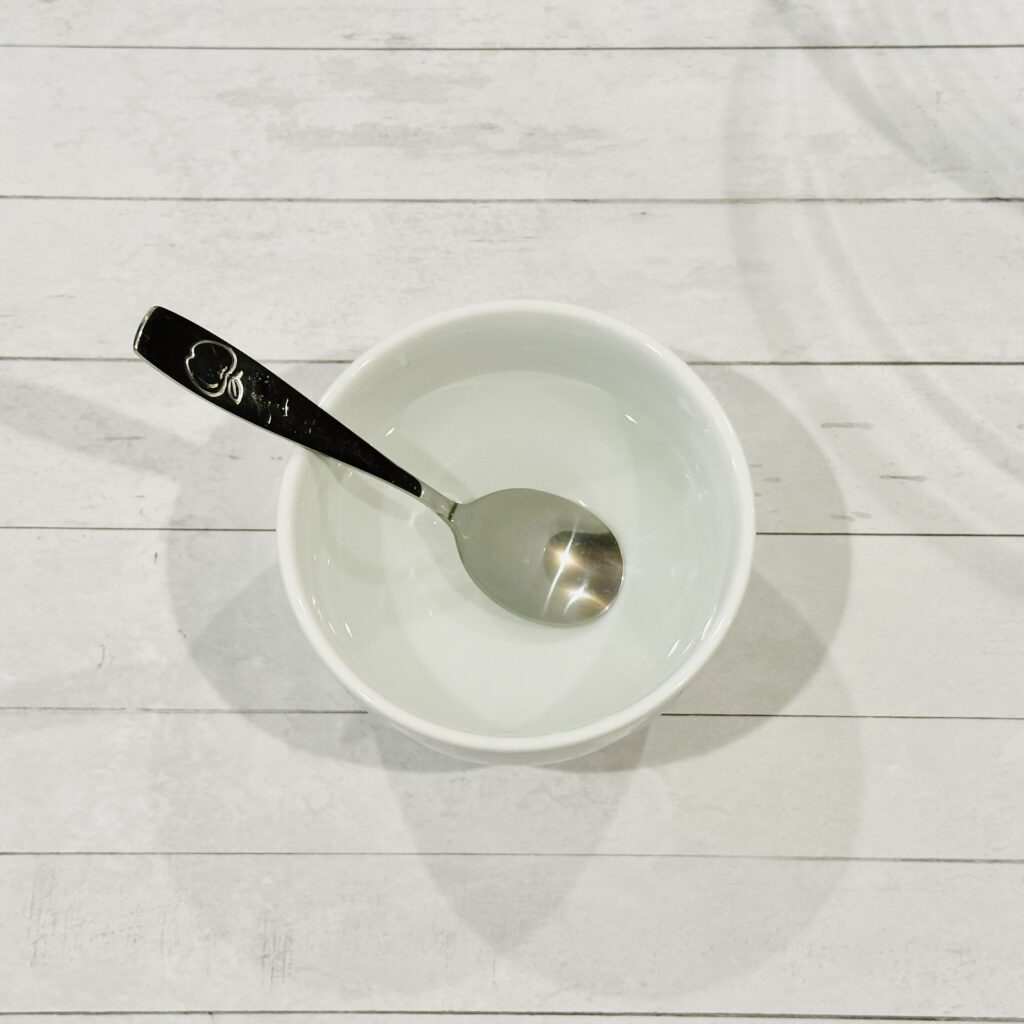
1. Mix Your Baking Soda and Water
In a separate small bowl, dissolve 1/2 tsp baking soda into 1/2 cup warm water. Be sure the baking soda dissolves completely and then let the mixture cool slightly. This ensures you won’t get a sticky or runny slime later on.
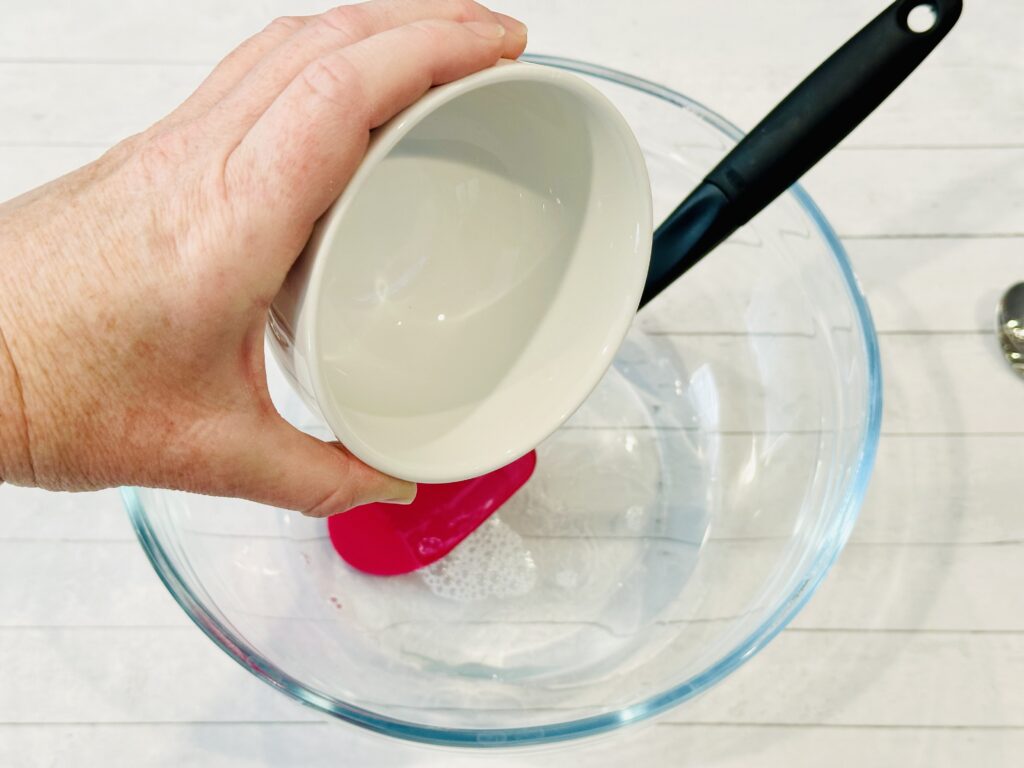
2. Add Glue
Add 1/2 cup clear glue to a mixing bowl.

3. Combine Glue and Water Mixture
Slowly add the water and baking soda mixture to the clear glue in the mixing bowl. It’s important to stir gently so that you don’t create too many bubbles.
Fewer bubbles in this step means clearer slime in the end! If you’re really trying to get that perfect crystal-clear look, slow and steady wins the race.
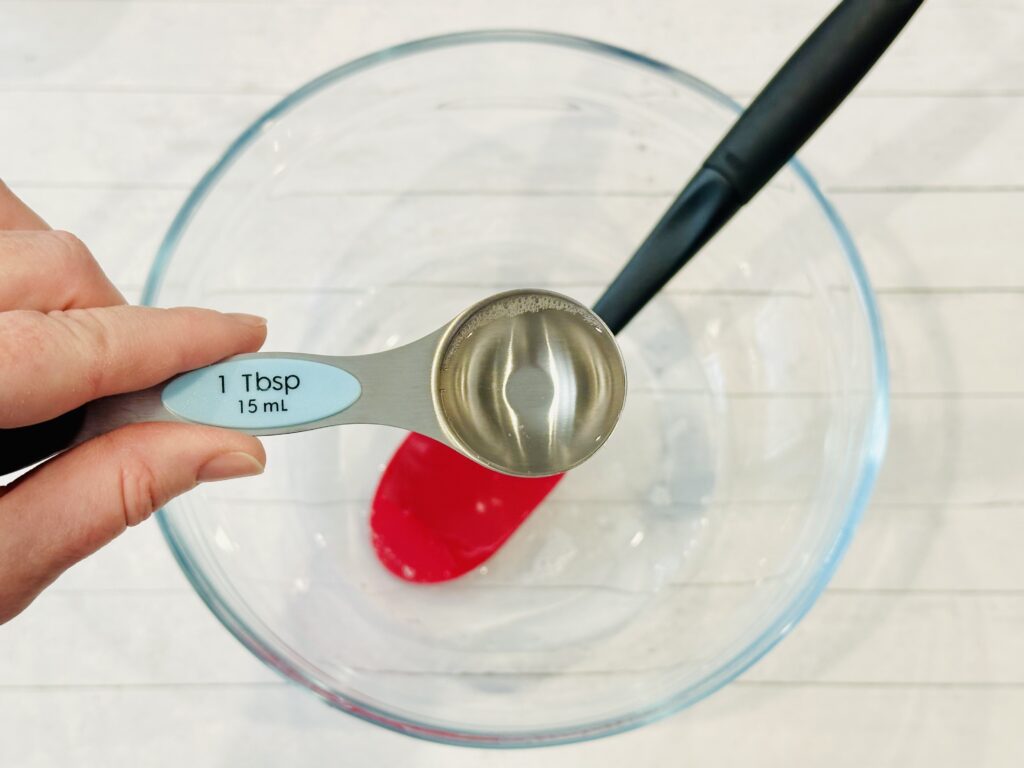
4. Add Contact Solution
Slowly stir in your contact lens solution (start with about 1 tablespoon). You’ll notice the mixture starts to firm up and pull away from the sides of the bowl.
If it’s still too sticky after mixing, just add a little more contact lens solution, a little bit at a time. Be careful not to overdo it though, or you might end up with rubbery slime instead of that smooth, stretchy texture you’re aiming for.
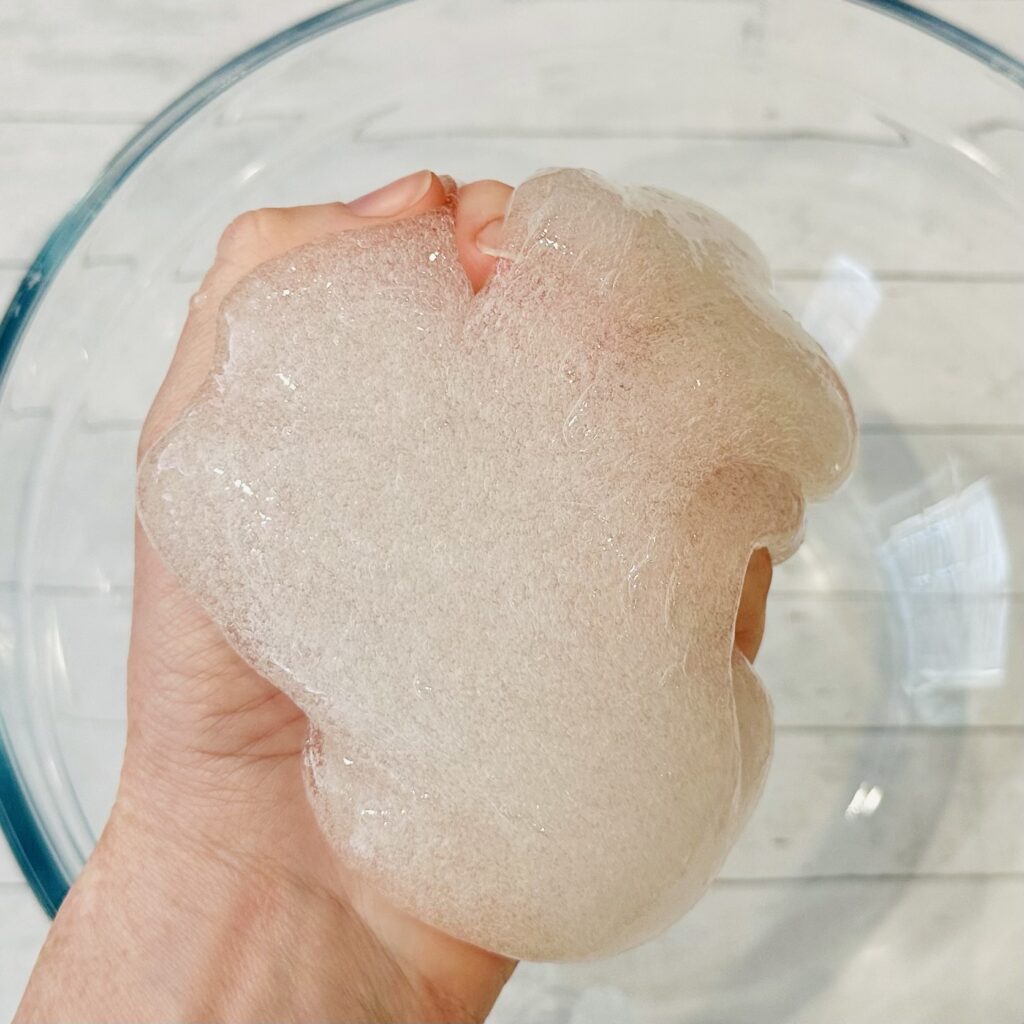
5. Knead the Slime
Time to get hands-on! Add a couple of drops of contact solution to your hands and knead the slime in your hands for a few minutes. Kneading helps the slime become less sticky and gives it that perfect stretchiness.
If it’s still a little too sticky, just keep adding tiny amounts of contact solution until it reaches the right consistency.
6. Let the Slime Rest
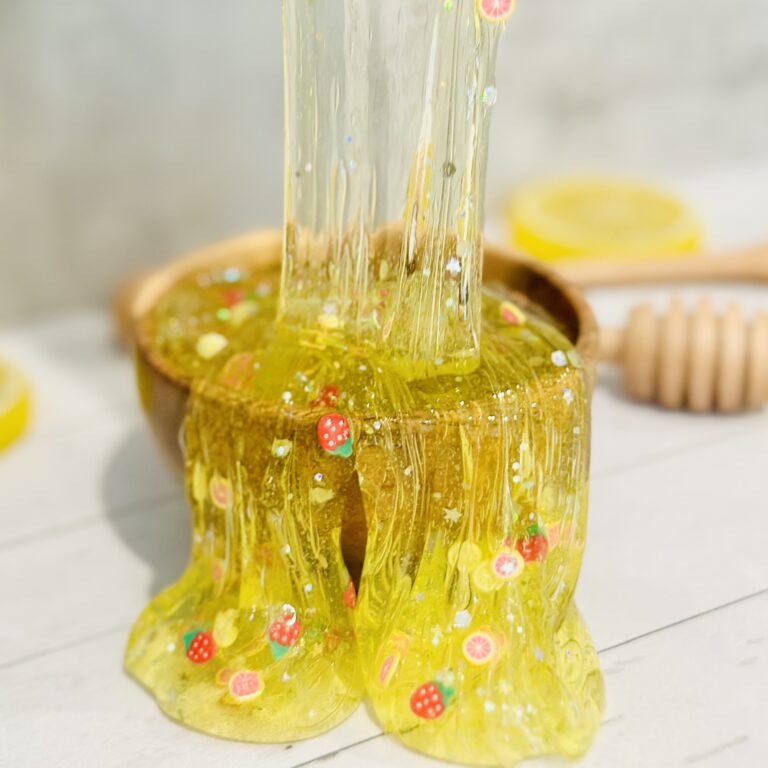
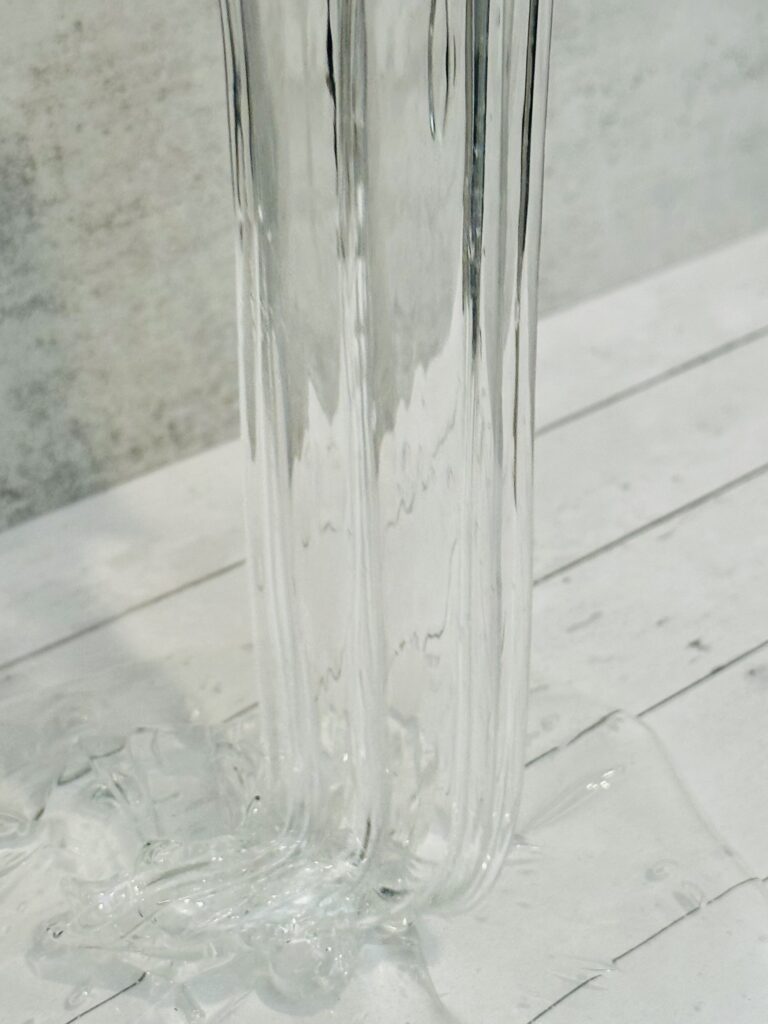
Here’s the trick to achieving perfectly clear slime—patience! To remove all the air bubbles that make the slime cloudy, place your slime in an airtight container and let it sit for 1-5 days. The phots show my slime right after making it (left) and about 3 days later (right).
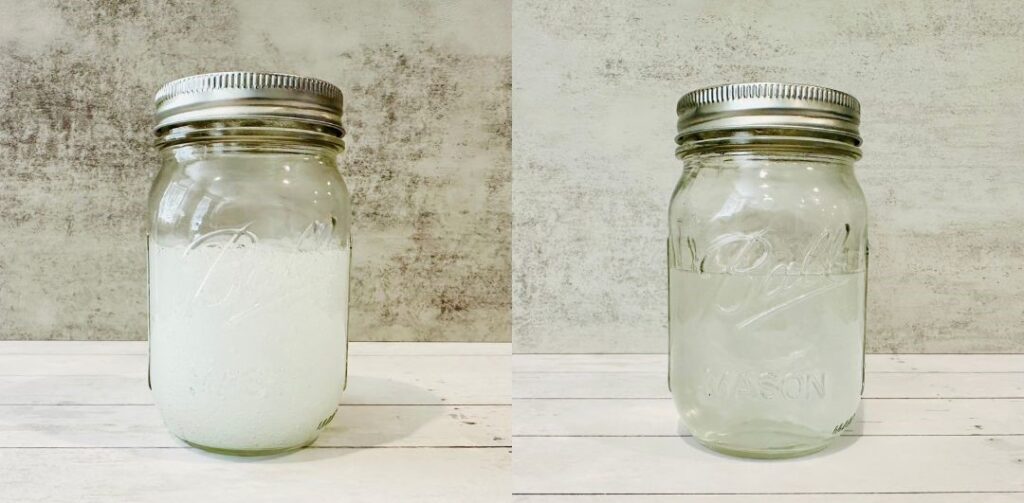
The bubbles will slowly rise to the top, and after a few days, you’ll have crystal-clear slime at the bottom. You can even gently peel off the top bubbly layer if you want to play with it sooner.
Fun Mix-Ins
The beauty of this clear slime recipe is that it’s like a blank canvas, ready for all sorts of fun mix-ins! Here are a few ideas for what you can add to your clear slime to make it even more exciting:
- Glitter: Add some sparkle with fine or chunky glitter.
- Confetti: Tiny pieces of confetti add a playful touch.
- Pom-Poms: Small colored pom-poms give your slime a pop of color.
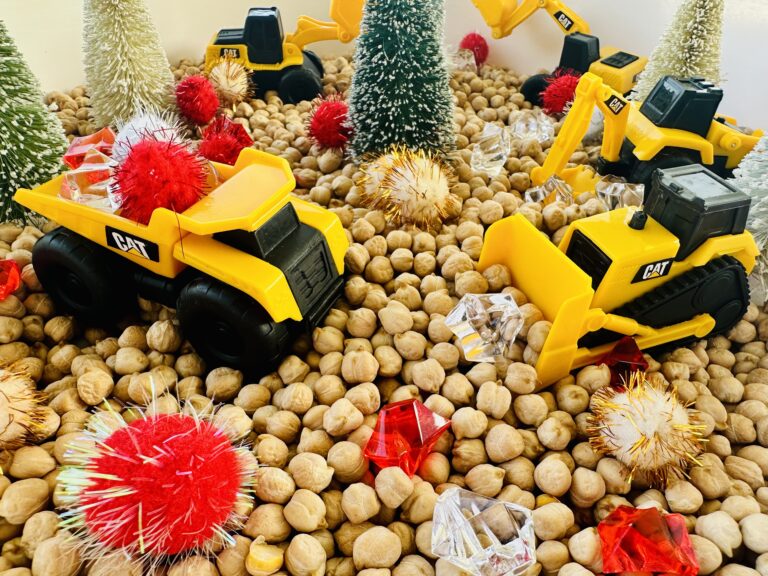
- Small Toys: Try adding tiny items like resin mini-figures, beads, or gems for a fun surprise!
- Food Coloring: Give your slime a translucent color by adding a small amout of food coloring.
Pro Tip: The more you mix in, the cloudier your slime might get. If keeping it clear is your goal, stick to glitter or very small items.
Tips and Tricks For The Best Clear Slime Recipe
Too Sticky?
If your slime is sticking to everything, add just a drop or two of contact lens solution and keep kneading. Be cautious not to add too much at once—clear slime is naturally firmer than white glue slime, so it’s all about finding that perfect balance.
Cloudy Slime?
It’s completely normal for your slime to look cloudy right after mixing. If you mixed it too quickly or squished it too much while playing, that introduces more bubbles into the slime. No worries! Just let the slime sit in an airtight container for a few days and the bubbles will work their way out. For an extra-clear result, stir gently during each step.
Choosing the Right Contact Lens Solution
Check the label of your contact lens solution to ensure it contains boric acid or sodium borate—this is the key ingredient that activates the slime. We used Target’s Up and Up brand and it worked really well, but the amount of boric acid can vary between brands. If your slime isn’t coming together as expected, try adjusting the amount of contact solution.
Why No Borax?
You might see Borax in a lot of traditional homemade slime recipes, but I prefer to skip it. Borax can be pretty harsh on sensitive skin, and there are concerns about repeated exposure to it. Some sources say it’s okay if diluted properly and used with gloves, but why risk it?
How to Store Your Slime
Once you’ve perfected your clear slime recipe, it’s important to store it properly so it lasts as long as possible. Keep your slime in an airtight container when you’re not playing with it. This will prevent it from drying out.
This clear slime recipe can last anywhere from 1 to 3 weeks depending on how much you play with it. If the slime starts to feel too firm after a while, you can knead in a tiny bit of water to soften it up again.
Fun Slime Variations
1. Fluffy Slime
Add shaving cream to get a super stretchy, pillowy, and squishy type of slime. Check out our Fluffy Slime Recipe!
2. Traditional Slime
Traditional slime is the classic, smooth, and stretchy slime made with white school glue, offering endless customization with colors or glitter. Check out our Homemade Slime Recipe!
3. Glitter Glue Slime
If you don’t want to deal with loose glitter, grab some glitter glue! It adds all the sparkle without any of the mess. Check out our Glitter Glue Slime Recipe!
4. Floam Slime
Floam slime is a stretchy, textured slime filled with tiny foam beads that make it extra squishy and fun to mold into different shapes. Check out our Floam Slime Recipe!
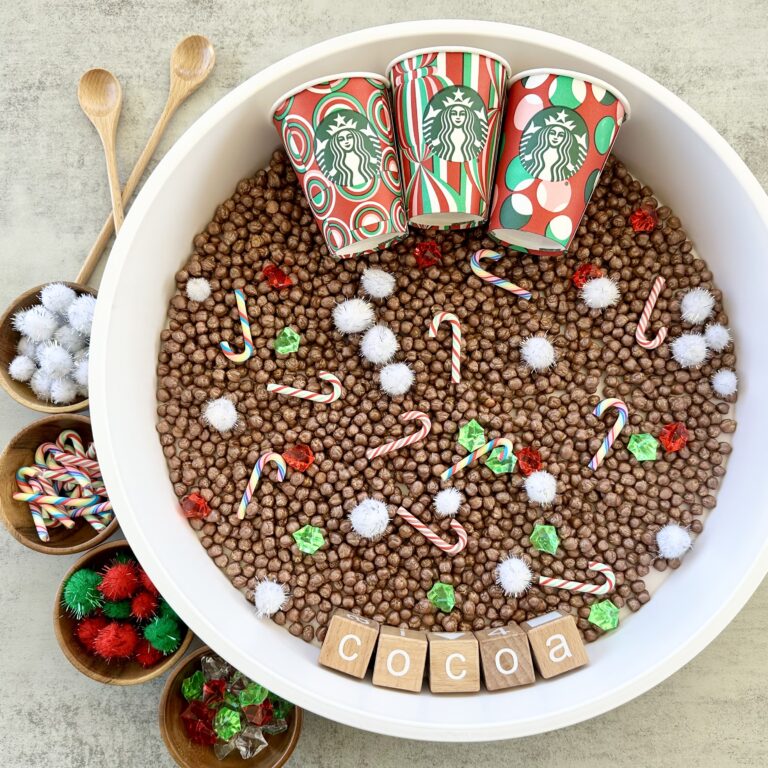
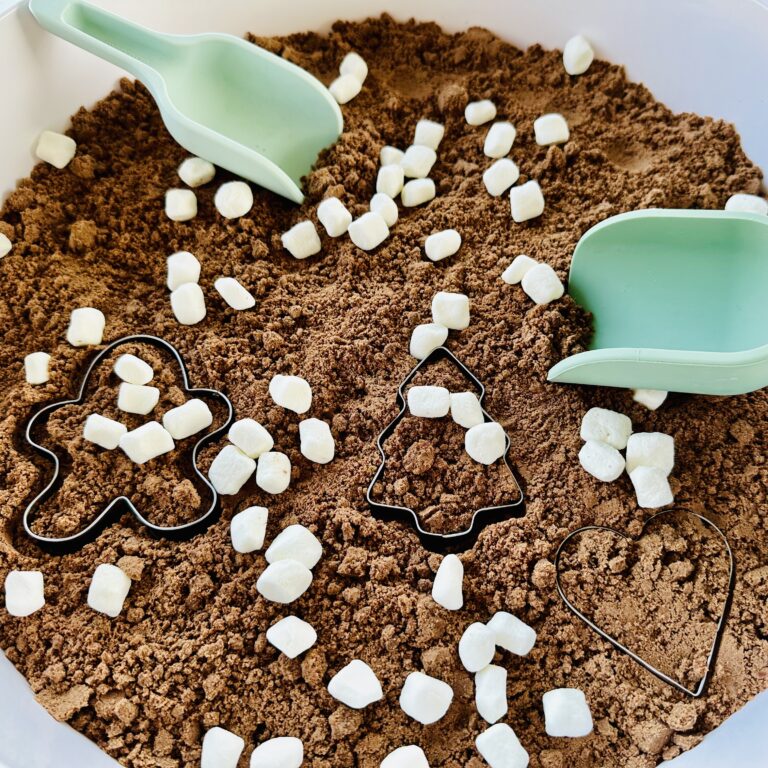
5. Holiday-Themed Slime
Try making different holiday slime recipes:
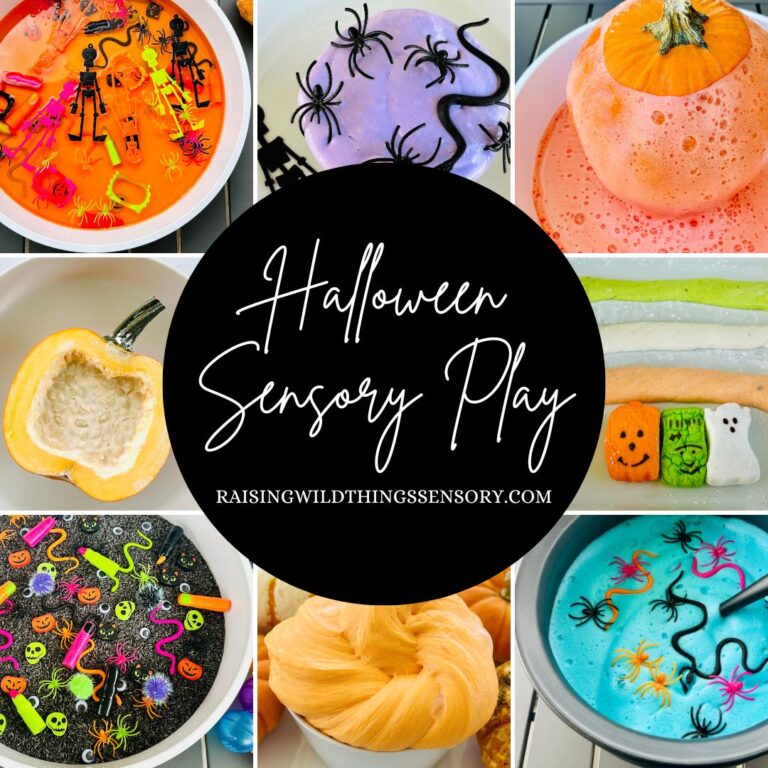
- Halloween: Purple Halloween Slime or Orange Pumpkin Fluffy Slime
- Christmas: Red and White Candy Cane Fluffy Slime or Clear Snowflake Slime
- Valentine’s Day: Glitter & Hearts Slime or Valentine’s Day Fluffy Slime
- St Patrick’s Day: Shamrock & Glitter Slime or Fluffy Shamrock Slime
- Easter: Glitter & Bunnies Slime or Easter Fluffy Slime
Ready To Make The Best Clear Slime Recipe?
Making slime is all about having fun, experimenting, and getting a little messy. So, grab your glue, sprinkle in some glitter, and get started on your crystal-clear slime adventure!

Clear Slime Recipe
Equipment
- 1 Mixing Bowl
- 1 Mixing Spoon
- Measuring Cups
- Measuring Spoons
Ingredients
- ½ cup Elmer's clear glue
- ½ cup warm water
- ½ tsp baking soda
- 1-2 tbsp contact lens solution
- Food coloring optional
- Glitter optional
Instructions
- Mix ½ tsp baking soda into ½ cup warm water. Stir until fully dissolved, then let cool slightly.
- Pour ½ cup of clear glue into a mixing bowl.
- Slowly stir the baking soda and water mixture into the glue.
- Add a few drops of food coloring (optional) and mix well. Now’s the time to add some glitter, confetti, beads, or any other trinkets of you want in the slime.
- Slowly stir in your contact lens solution (start with about 1 tablespoon). You’ll notice the mixture firm up and pull away from the sides of the bowl.
- Knead the slime with hands until stretchy. If it’s too sticky, keep adding tiny amounts of contact solution until it reaches the desired consistency.